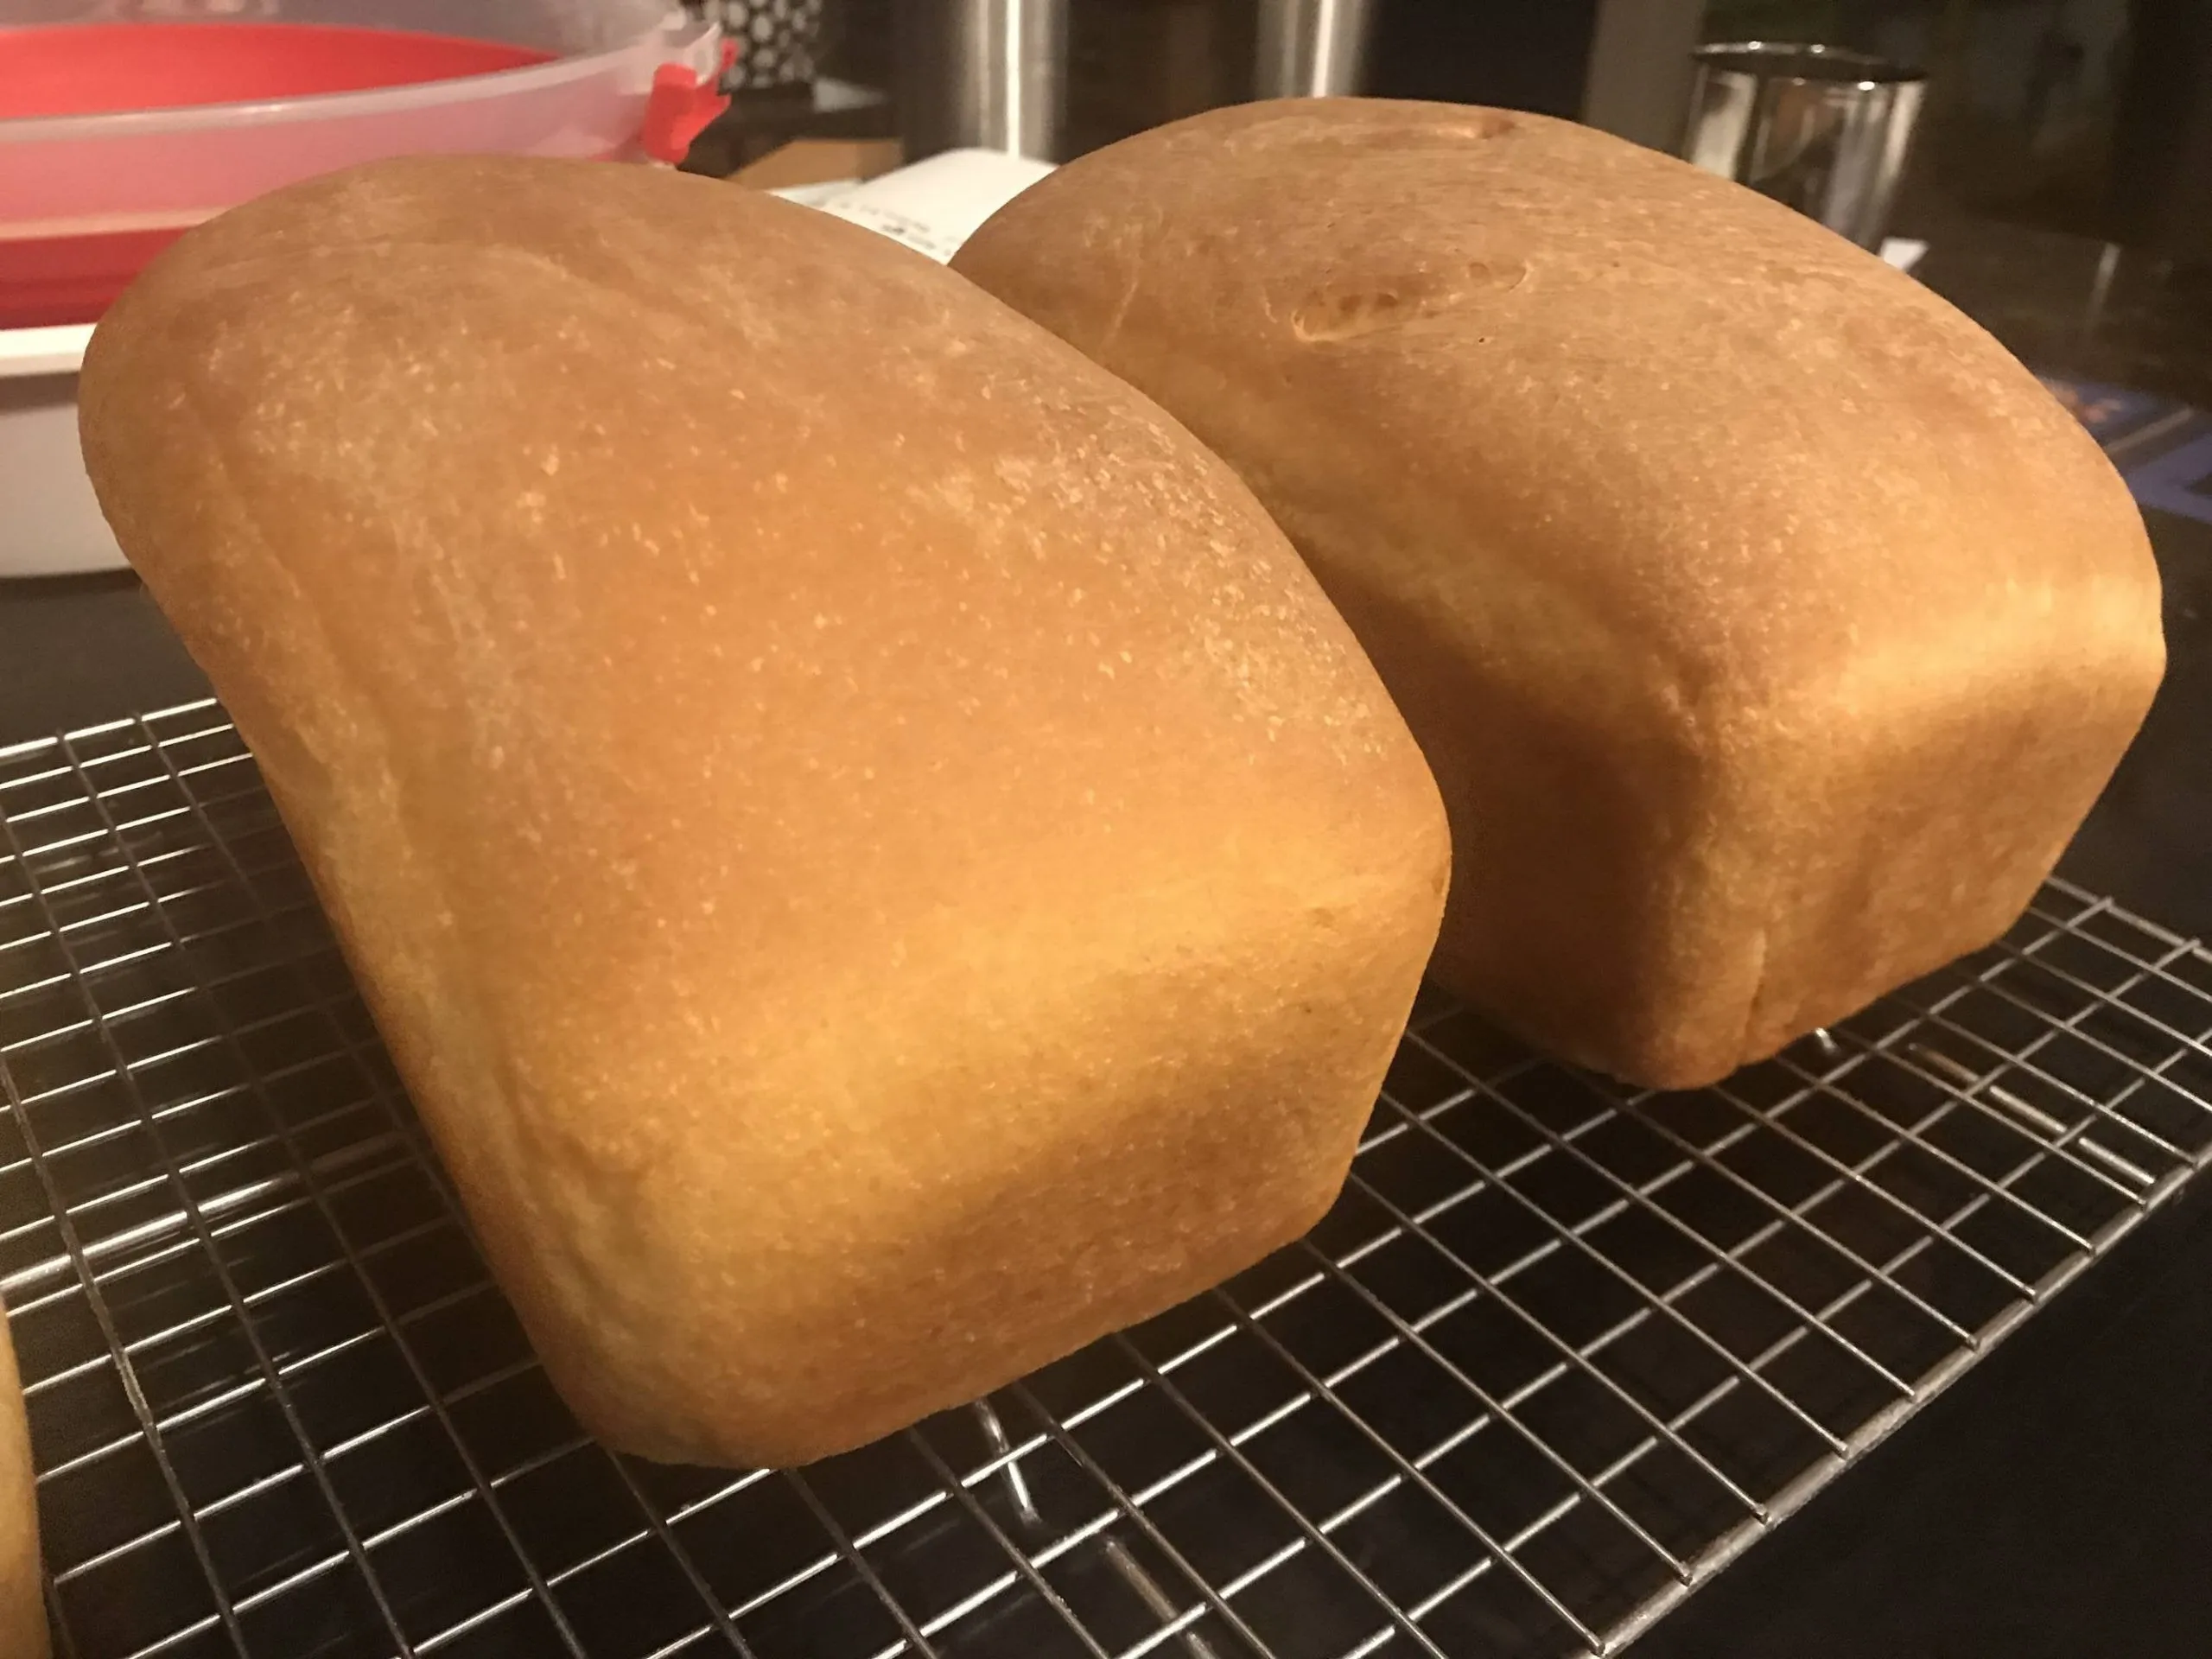
Imagine pulling out two perfect, golden-brown loaves from your oven, with a crisp crust and soft, pillowy interior that makes your entire home smell like a professional bakery. These Big Beautiful White Pan Loaves aren't just bread—they're a culinary masterpiece waiting to transform your home baking skills from ordinary to extraordinary. Whether you're a novice baker or a seasoned pro, this foolproof recipe will have you creating restaurant-quality bread that will impress family and friends with every single slice.
Prep Time: 15 mins
Cook Time: 30 mins
Total Time: 45 mins
Cuisine: American
Serves: 2 loaves
Ingredients
- 4 cups all-purpose flour
- 1 tablespoon sugar
- 1 tablespoon salt
- 2 tablespoons active dry yeast
- 1 1/2 cups warm water
- 2 tablespoons olive oil
Instructions
- In a large mixing bowl, combine the warm water (around 110-115°F) with active dry yeast and sugar. Let the mixture sit for 5-7 minutes until it becomes frothy and bubbling, indicating the yeast is active.
- Add olive oil to the yeast mixture and stir gently to combine.
- In a separate large bowl, whisk together all-purpose flour and salt to ensure even distribution.
- Gradually pour the wet yeast mixture into the flour, stirring with a wooden spoon or spatula until a shaggy dough begins to form.
- Turn the dough out onto a lightly floured surface and knead for 8-10 minutes. The dough should become smooth, elastic, and slightly tacky but not sticky.
- Place the kneaded dough in a lightly oiled bowl, cover with a clean kitchen towel or plastic wrap, and let rise in a warm, draft-free area for about 1 hour or until the dough has doubled in size.
- After the first rise, punch down the dough to release air bubbles and divide it into two equal portions.
- Shape each portion into a loaf by gently rolling and tucking the edges underneath to create a smooth top surface.
- Place the shaped loaves into greased 9x5 inch bread pans, cover, and let rise again for 30-45 minutes until they've risen just above the pan edges.
- Preheat the oven to 375°F (190°C) about 15 minutes before baking.
- Optional: Make a shallow slash across the top of each loaf with a sharp knife to allow for expansion during baking.
- Bake the loaves in the preheated oven for 25-30 minutes, or until the tops are golden brown and the bread sounds hollow when tapped on the bottom.
- Remove from the oven and immediately turn out onto a wire cooling rack. Let the loaves cool completely before slicing to allow the internal structure to set.
- Once cooled, slice and serve. These loaves can be stored in an airtight container at room temperature for 3-4 days or frozen for up to a month.
Tips
- Water Temperature is Crucial: Ensure your water is precisely between 110-115°F to activate the yeast without killing it. Use a kitchen thermometer for accuracy.
- Kneading Matters: Don't rush the 8-10 minute kneading process. This develops the gluten, giving your bread its signature soft, stretchy texture.
- Rising Environment: Find a warm, draft-free spot for your dough—near (but not on) a warm oven or in a slightly heated room works perfectly.
- Don't Overwork the Dough: When shaping loaves, handle gently to maintain the air bubbles that give bread its light texture.
- Slash Before Baking: The optional top slash isn't just decorative—it helps control bread expansion and creates a professional look.
- Cooling is Key: Always let bread cool completely before slicing to allow internal structure to set, preventing a gummy texture.
Nutrition Facts
Calories: kcal
Carbohydrates: g
Protein: g
Fat: g
Saturated Fat: g
Cholesterol: 0mg