Are you ready to elevate your baking game with a loaf of bread that practically bakes itself? Say hello to the No Knead Whole Wheat Dutch Oven Bread—a rustic masterpiece that combines simplicity with incredible flavor! With just four basic ingredients and minimal hands-on time, you can create a golden-brown loaf with a crispy crust and a soft, airy interior that will leave your family and friends begging for more. Perfect for sandwiches, toast, or simply slathered with butter, this recipe is your ticket to homemade bread bliss. Dive into this article to discover how easy it is to impress your taste buds and transform your kitchen into a bakery!
Prep Time: 12 hrs
Cook Time: 45 mins
Total Time: 12 hrs 45 mins
Cuisine: American
Serves: 1 loaf
Ingredients
- 3 cups whole wheat flour
- 1 1/2 teaspoons salt
- 1/4 teaspoon instant yeast
- 1 1/2 cups warm water
Instructions
- In a large mixing bowl, combine 3 cups of whole wheat flour, 1 1/2 teaspoons of salt, and 1/4 teaspoon of instant yeast. Whisk the dry ingredients together until they are well blended.
- Slowly add 1 1/2 cups of warm water to the dry ingredients. Use a wooden spoon or spatula to mix the ingredients until a shaggy dough forms. Make sure there are no dry pockets of flour remaining. The dough will be sticky and wet.
- Cover the bowl with plastic wrap or a clean kitchen towel. Allow the dough to rest at room temperature for about 12 hours, or until the surface is dotted with bubbles and the dough has doubled in size. This resting period is crucial for developing flavor and texture.
- After the resting period, prepare a work surface by lightly flouring it. Turn the dough out onto the floured surface. With floured hands, gently fold the dough over itself a few times to shape it into a ball. Avoid excessive handling to maintain the dough's airy structure.
- Place the shaped dough seam-side down on a piece of parchment paper. Cover it with a kitchen towel and let it rise for an additional 1 to 2 hours, or until it has puffed up noticeably.
- About 30 minutes before the dough is ready, preheat your oven to 450°F (232°C). Place a Dutch oven (with its lid) in the oven as it preheats. This will create a steamy environment that helps the bread develop a crispy crust.
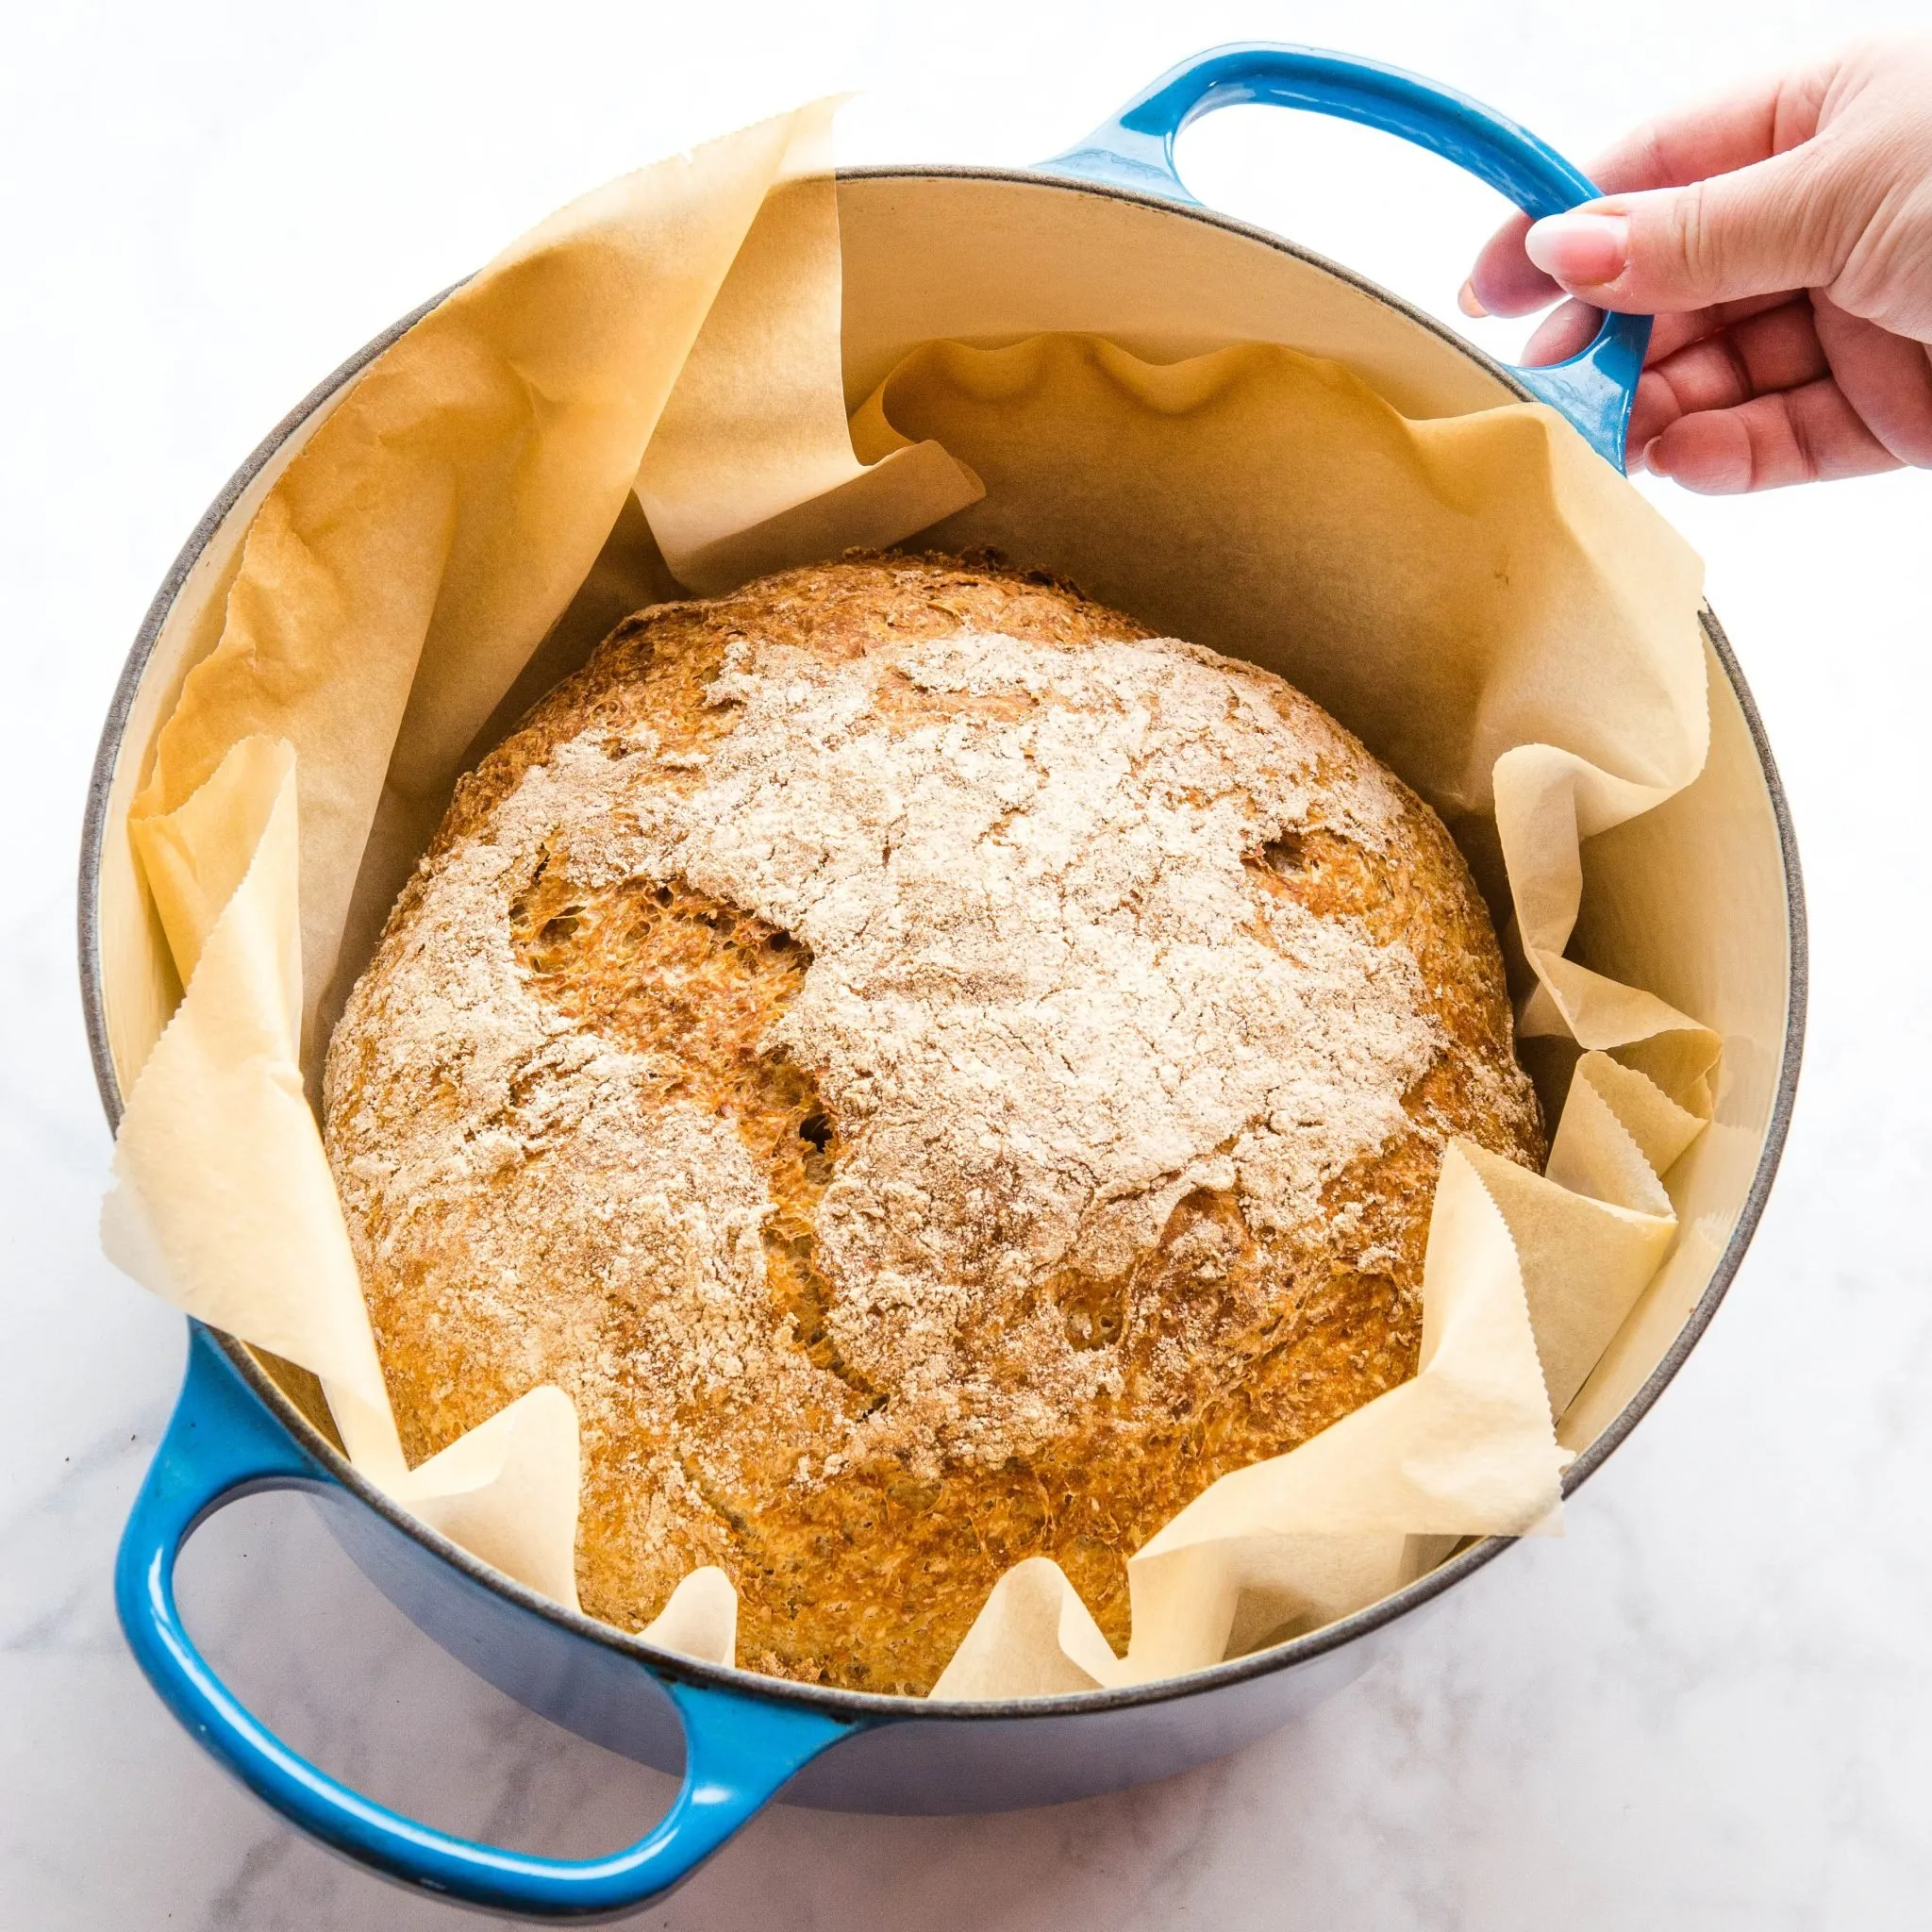
- Once the oven is preheated and the dough has risen, carefully remove the hot Dutch oven from the oven using oven mitts. Lift the parchment paper with the dough and place it into the Dutch oven. Be cautious as the pot will be extremely hot.
- Cover the Dutch oven with its lid and return it to the oven. Bake for 30 minutes with the lid on. This step helps trap steam, which is essential for a good crust.
- After 30 minutes, carefully remove the lid from the Dutch oven. Continue baking for an additional 15 minutes, or until the bread is golden brown and has a crisp crust.
- Once baked, remove the Dutch oven from the oven and carefully lift the bread out using the parchment paper. Allow the bread to cool on a wire rack for at least 30 minutes before slicing. This cooling period allows the crumb to set properly.
- Enjoy your homemade No Knead Whole Wheat Dutch Oven Bread fresh or toasted, with butter, jam, or as a side to your favorite dishes!
Tips
- Use Fresh Ingredients: Ensure your yeast is fresh for optimal rising. Old yeast can lead to dense bread that doesn’t rise properly.
- Warm Water Matters: The water should be warm, around 100°F (37°C), to activate the yeast without killing it. A quick test is to dip your finger in; it should feel comfortably warm.
- Patience is Key: Don’t rush the resting period! Allowing the dough to rest for 12 hours develops deep flavor and a wonderful texture, so set it aside and let time work its magic.
- Handle with Care: When shaping the dough, be gentle. Overworking can deflate the air bubbles that have formed, which are essential for a light and airy loaf.
- Preheat Your Dutch Oven: This step is crucial for achieving that perfect crust. The hot pot creates steam that helps the bread rise and develop a crispy exterior.
- Cool Before Slicing: Resist the urge to slice into your bread right away! Letting it cool for at least 30 minutes allows the crumb to set, resulting in better texture and flavor.
- Experiment with Add-ins: Once you master the basic recipe, feel free to get creative! Add herbs, seeds, or even dried fruits for a unique twist on this classic bread.
Nutrition Facts
Calories: kcal
Carbohydrates: g
Protein: g
Fat: g
Saturated Fat: g
Cholesterol: 0mg