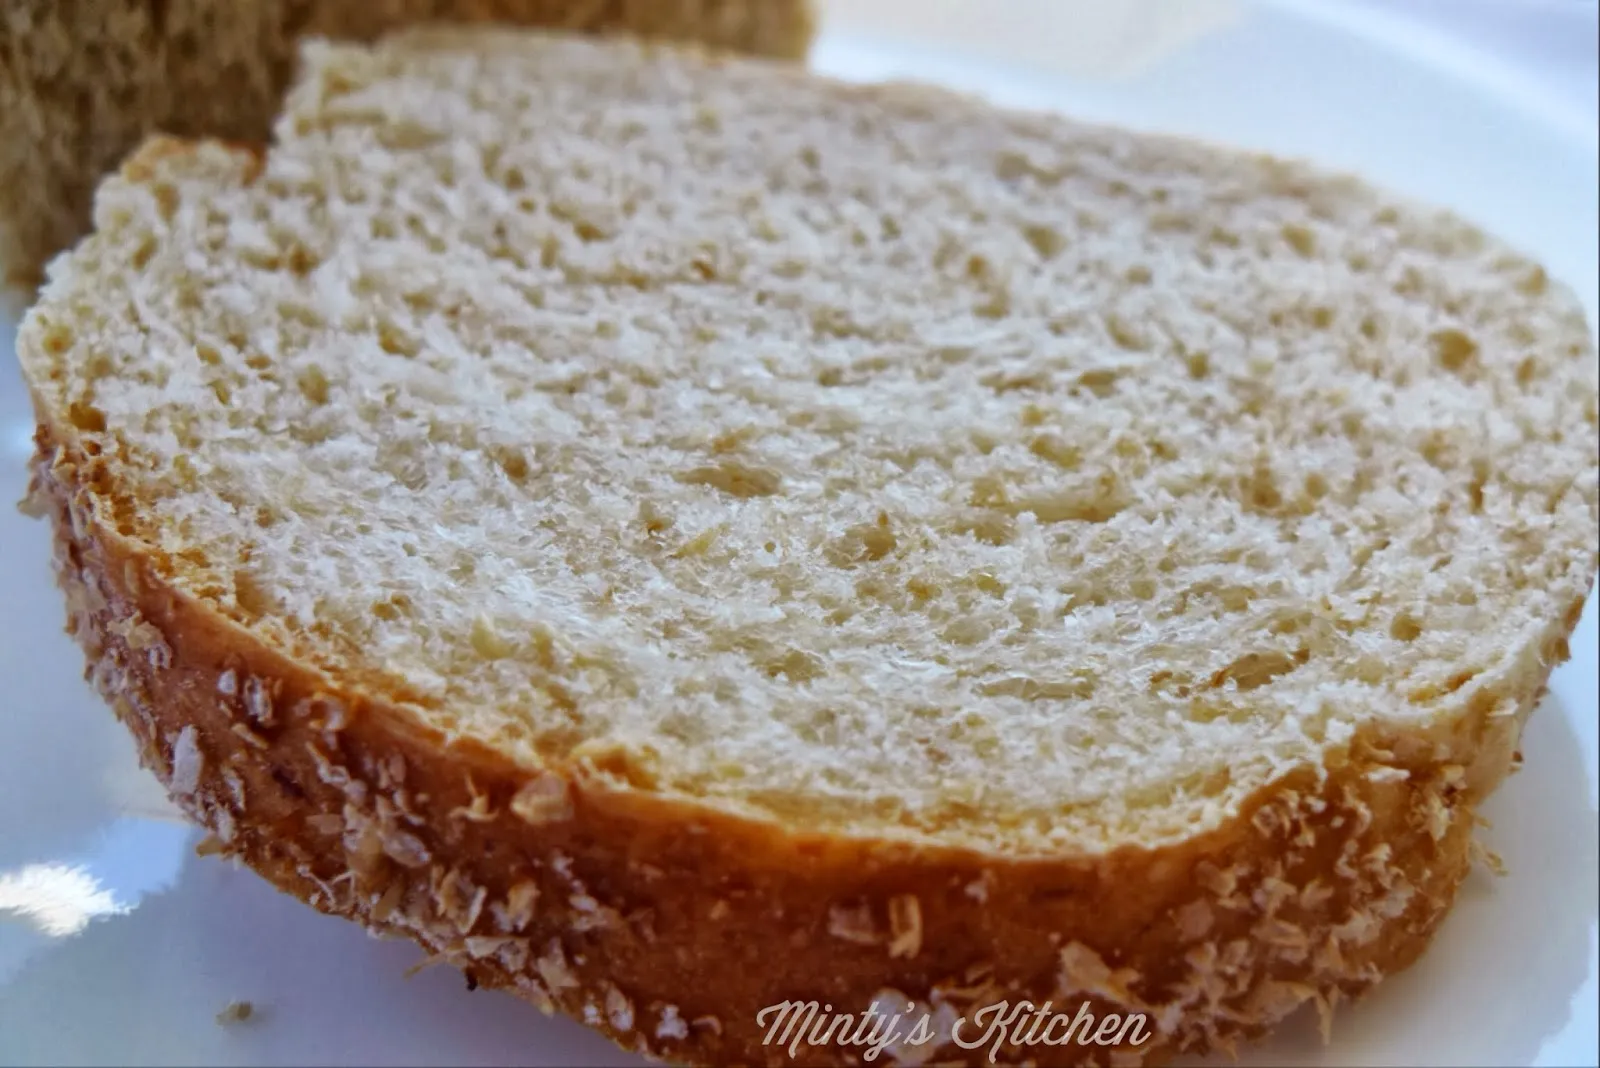
Imagine the warm, comforting aroma of freshly baked bread wafting through your kitchen, inviting everyone to gather around the table. This Whole Wheat Bread from Sponge recipe is not just any bread; it’s a wholesome delight that combines the nutty flavor of whole wheat with the natural sweetness of honey. Perfect for sandwiches, toast, or simply enjoyed on its own, this loaf is easy to make and will impress your family and friends. Whether you're a seasoned baker or a novice in the kitchen, this recipe will guide you step-by-step to create a delicious loaf that’s both nutritious and satisfying. Ready to elevate your baking game? Let’s dive into the recipe!
Ingredients
- 1 cup whole wheat flour
- 1 cup water
- 1 teaspoon yeast
- 2 cups whole wheat flour
- 1 1/2 teaspoons salt
- 1 tablespoon honey
Instructions
- In a large mixing bowl, combine 1 cup whole wheat flour, 1 cup water, and 1 teaspoon of active dry yeast. Whisk together until smooth, creating the sponge mixture.
- Cover the sponge with a clean kitchen towel and let it rest at room temperature for 1-2 hours. During this time, the mixture will become bubbly and develop a slightly fermented aroma.
- After the sponge has developed, add 2 cups of whole wheat flour, 1 1/2 teaspoons of salt, and 1 tablespoon of honey to the mixture.
- Mix the ingredients thoroughly using a wooden spoon or your hands until a shaggy dough forms. The dough will be slightly sticky and dense.
- Turn the dough out onto a lightly floured surface and knead for 10-12 minutes. The kneading develops gluten and creates a smoother, more elastic texture.
- Place the kneaded dough in a lightly oiled bowl, cover with a damp cloth, and let it rise in a warm, draft-free area for 1-
- 5 hours or until doubled in size.
- Punch down the risen dough to release air bubbles, then shape it into a loaf and place in a greased 9x5 inch bread pan.
- Cover the loaf and let it rise a second time for about 45-60 minutes, or until it has risen just above the pan's edges.
- Preheat the oven to 375°F (190°C) during the final rising period.
- Optional: Make a few diagonal slashes on top of the loaf with a sharp knife to allow for expansion during baking.
- Bake the bread in the preheated oven for 30-35 minutes, or until the crust is golden brown and the bread sounds hollow when tapped on the bottom.
- Remove from the oven and let the bread cool in the pan for 10 minutes, then transfer to a wire rack to cool completely before slicing.
Tips
- Use Fresh Ingredients: Ensure your yeast is fresh for the best rise. If it doesn’t bubble in the sponge mixture, it may be expired.
- Kneading is Key: Don’t skip the kneading step! Proper kneading develops gluten, which is crucial for a good texture. If the dough feels too sticky, sprinkle a little extra flour while kneading.
- Warm Rising Spot: For optimal rising, place your dough in a warm, draft-free area. If your kitchen is cool, try turning on the oven for a few minutes, then turning it off and placing the dough inside to rise.
- Second Rise: Allow the loaf to rise until it’s just above the edges of the pan. This ensures a light and fluffy bread.
- Check for Doneness: To test if your bread is done, tap the bottom; it should sound hollow. If you have a kitchen thermometer, the internal temperature should be around 190°F (88°C).
- Cool Completely: Let the bread cool completely on a wire rack before slicing. This helps maintain its structure and prevents it from becoming gummy.
- Store Properly: To keep your bread fresh, store it in a paper bag at room temperature for a few days, or freeze it for longer storage. Just slice it before freezing for easy access!
Nutrition Facts
Calories: 740kcal
Carbohydrates: 148g
Protein: 24g
Fat: 4g
Saturated Fat: g
Cholesterol: 0mg


