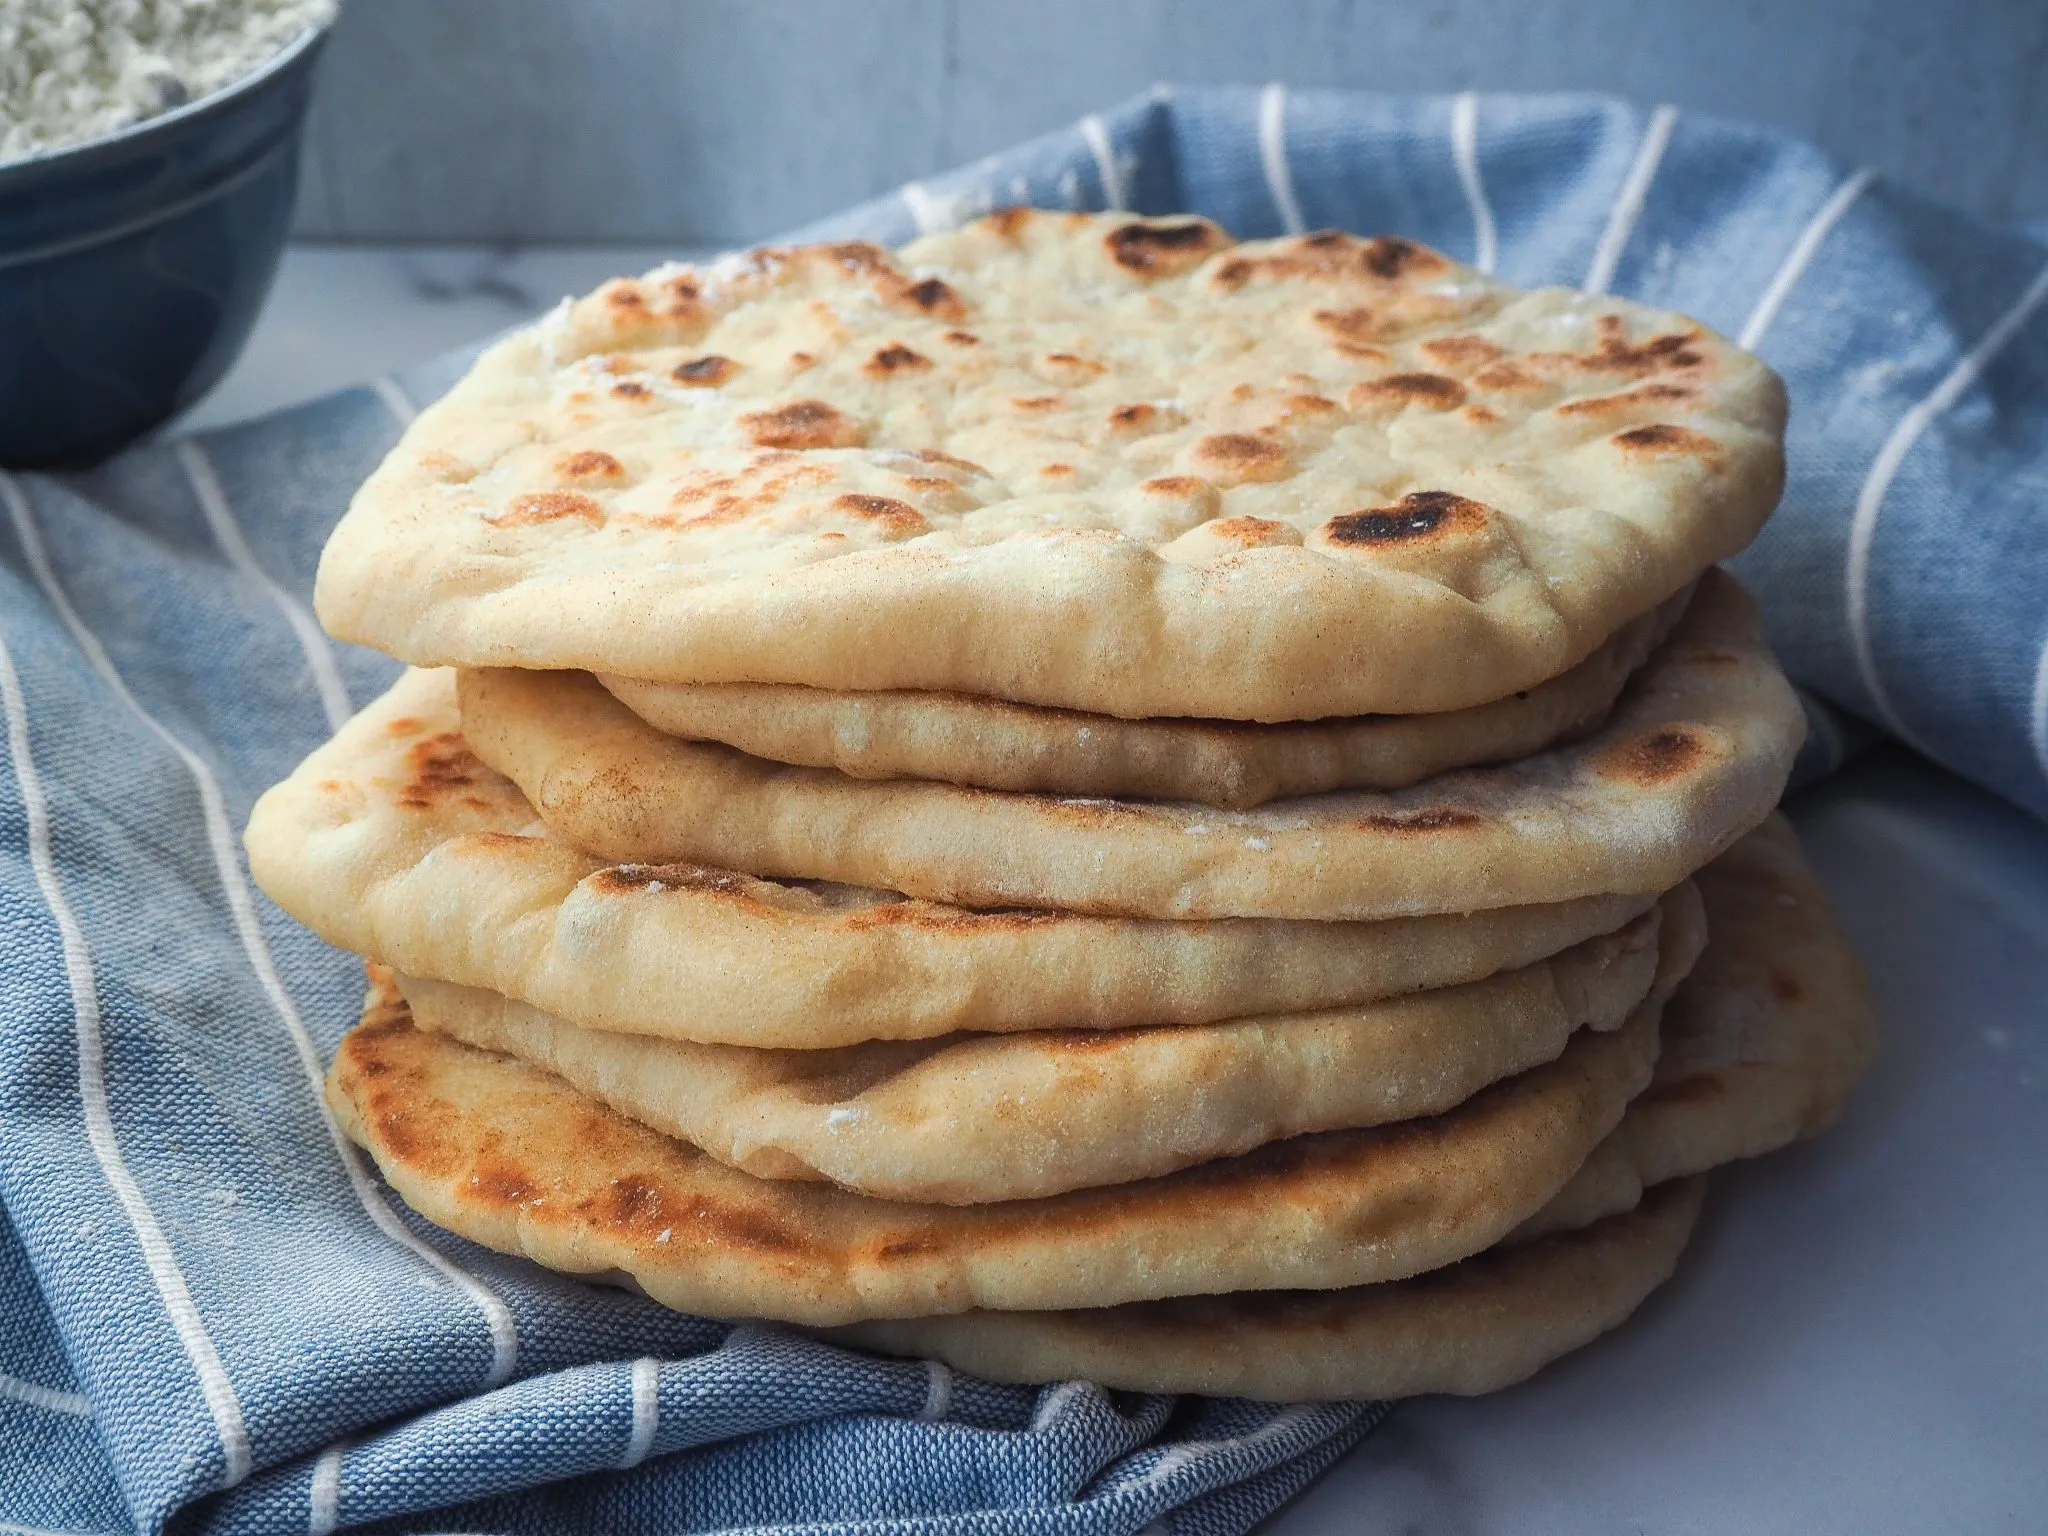
Imagine pulling a perfectly puffed, golden-brown pita straight from the skillet, its warm aroma filling your kitchen with an irresistible promise of culinary delight. Forget store-bought flatbreads – this homemade rustic pita bread recipe will transform your cooking game and transport your taste buds to the vibrant streets of the Middle East. With just a few simple ingredients and some kitchen magic, you'll create pillowy, soft pitas that are worlds apart from anything you've ever tasted before.
Prep Time: 1 hrs
Cook Time: 10 mins
Total Time: 1 hrs 10 mins
Cuisine: Middle Eastern
Serves: 8 pitas
Ingredients
- 2 cups all-purpose flour
- 1 cup whole wheat flour
- 1 teaspoon salt
- 1 tablespoon sugar
- 1 packet active dry yeast
- 1 1/4 cups warm water
Instructions
- In a large mixing bowl, combine the all-purpose flour, whole wheat flour, salt, and sugar. Mix the dry ingredients thoroughly to ensure even distribution.
- In a separate small bowl, activate the yeast by dissolving it in warm water (around 110°F/43°C). Let the mixture sit for 5-7 minutes until it becomes frothy and bubbling, indicating the yeast is active.
- Create a well in the center of the dry ingredients and slowly pour in the activated yeast mixture. Gradually mix the wet and dry ingredients using a wooden spoon or your hands until a shaggy dough forms.
- Transfer the dough onto a lightly floured surface and knead for 8-10 minutes. The dough should become smooth, elastic, and slightly tacky but not sticky. Add small amounts of flour if the dough feels too wet.
- Place the kneaded dough in a lightly oiled bowl, cover with a clean kitchen towel or plastic wrap, and let it rise in a warm, draft-free area for about 45-60 minutes or until the dough has doubled in size.
- After rising, punch down the dough to release air bubbles and divide it into 8 equal portions. Shape each portion into a smooth ball.
- On a floured surface, roll out each dough ball into a thin, round circle about 1/4 inch thick. Let the rolled-out pitas rest for 10 minutes to relax the gluten.
- Preheat a cast-iron skillet or heavy griddle over medium-high heat. If using an oven, preheat to 500°F (260°C) with a baking stone or inverted baking sheet.
- Cook each pita for about 2-3 minutes on each side. In a skillet, look for bubbles forming and slight browning. In an oven, the pitas will puff up and develop golden-brown spots.
- Remove the pitas and immediately wrap them in a clean kitchen towel to keep them soft and prevent drying. Serve warm or at room temperature.
- Store cooled pitas in an airtight container or plastic bag at room temperature for up to 3 days, or freeze for longer storage.
Tips
- Temperature is Key: Ensure your water is precisely warm (around 110°F/43°C) when activating the yeast. Too hot, and you'll kill the yeast; too cold, and it won't activate properly.
- Kneading Matters: Don't rush the kneading process. A full 8-10 minutes of thorough kneading develops the gluten, giving your pitas that perfect chewy texture.
- Rising Environment: Choose a warm, draft-free spot for your dough to rise. A turned-off oven with the light on works perfectly.
- Even Rolling: Use a rolling pin and aim for consistent thickness (about 1/4 inch) to ensure even cooking.
- High Heat is Crucial: Whether using a skillet or oven, high heat is essential for that classic pita puff and beautiful golden-brown spots.
- Keep Them Soft: Immediately wrap freshly cooked pitas in a clean kitchen towel to retain moisture and softness.
- Make Ahead: These pitas freeze beautifully. Stack with parchment paper between them for easy separation and enjoy fresh pitas anytime!
Nutrition Facts
Calories: 170kcal
Carbohydrates: 35g
Protein: 5g
Fat: 1g
Saturated Fat: g
Cholesterol: 0mg