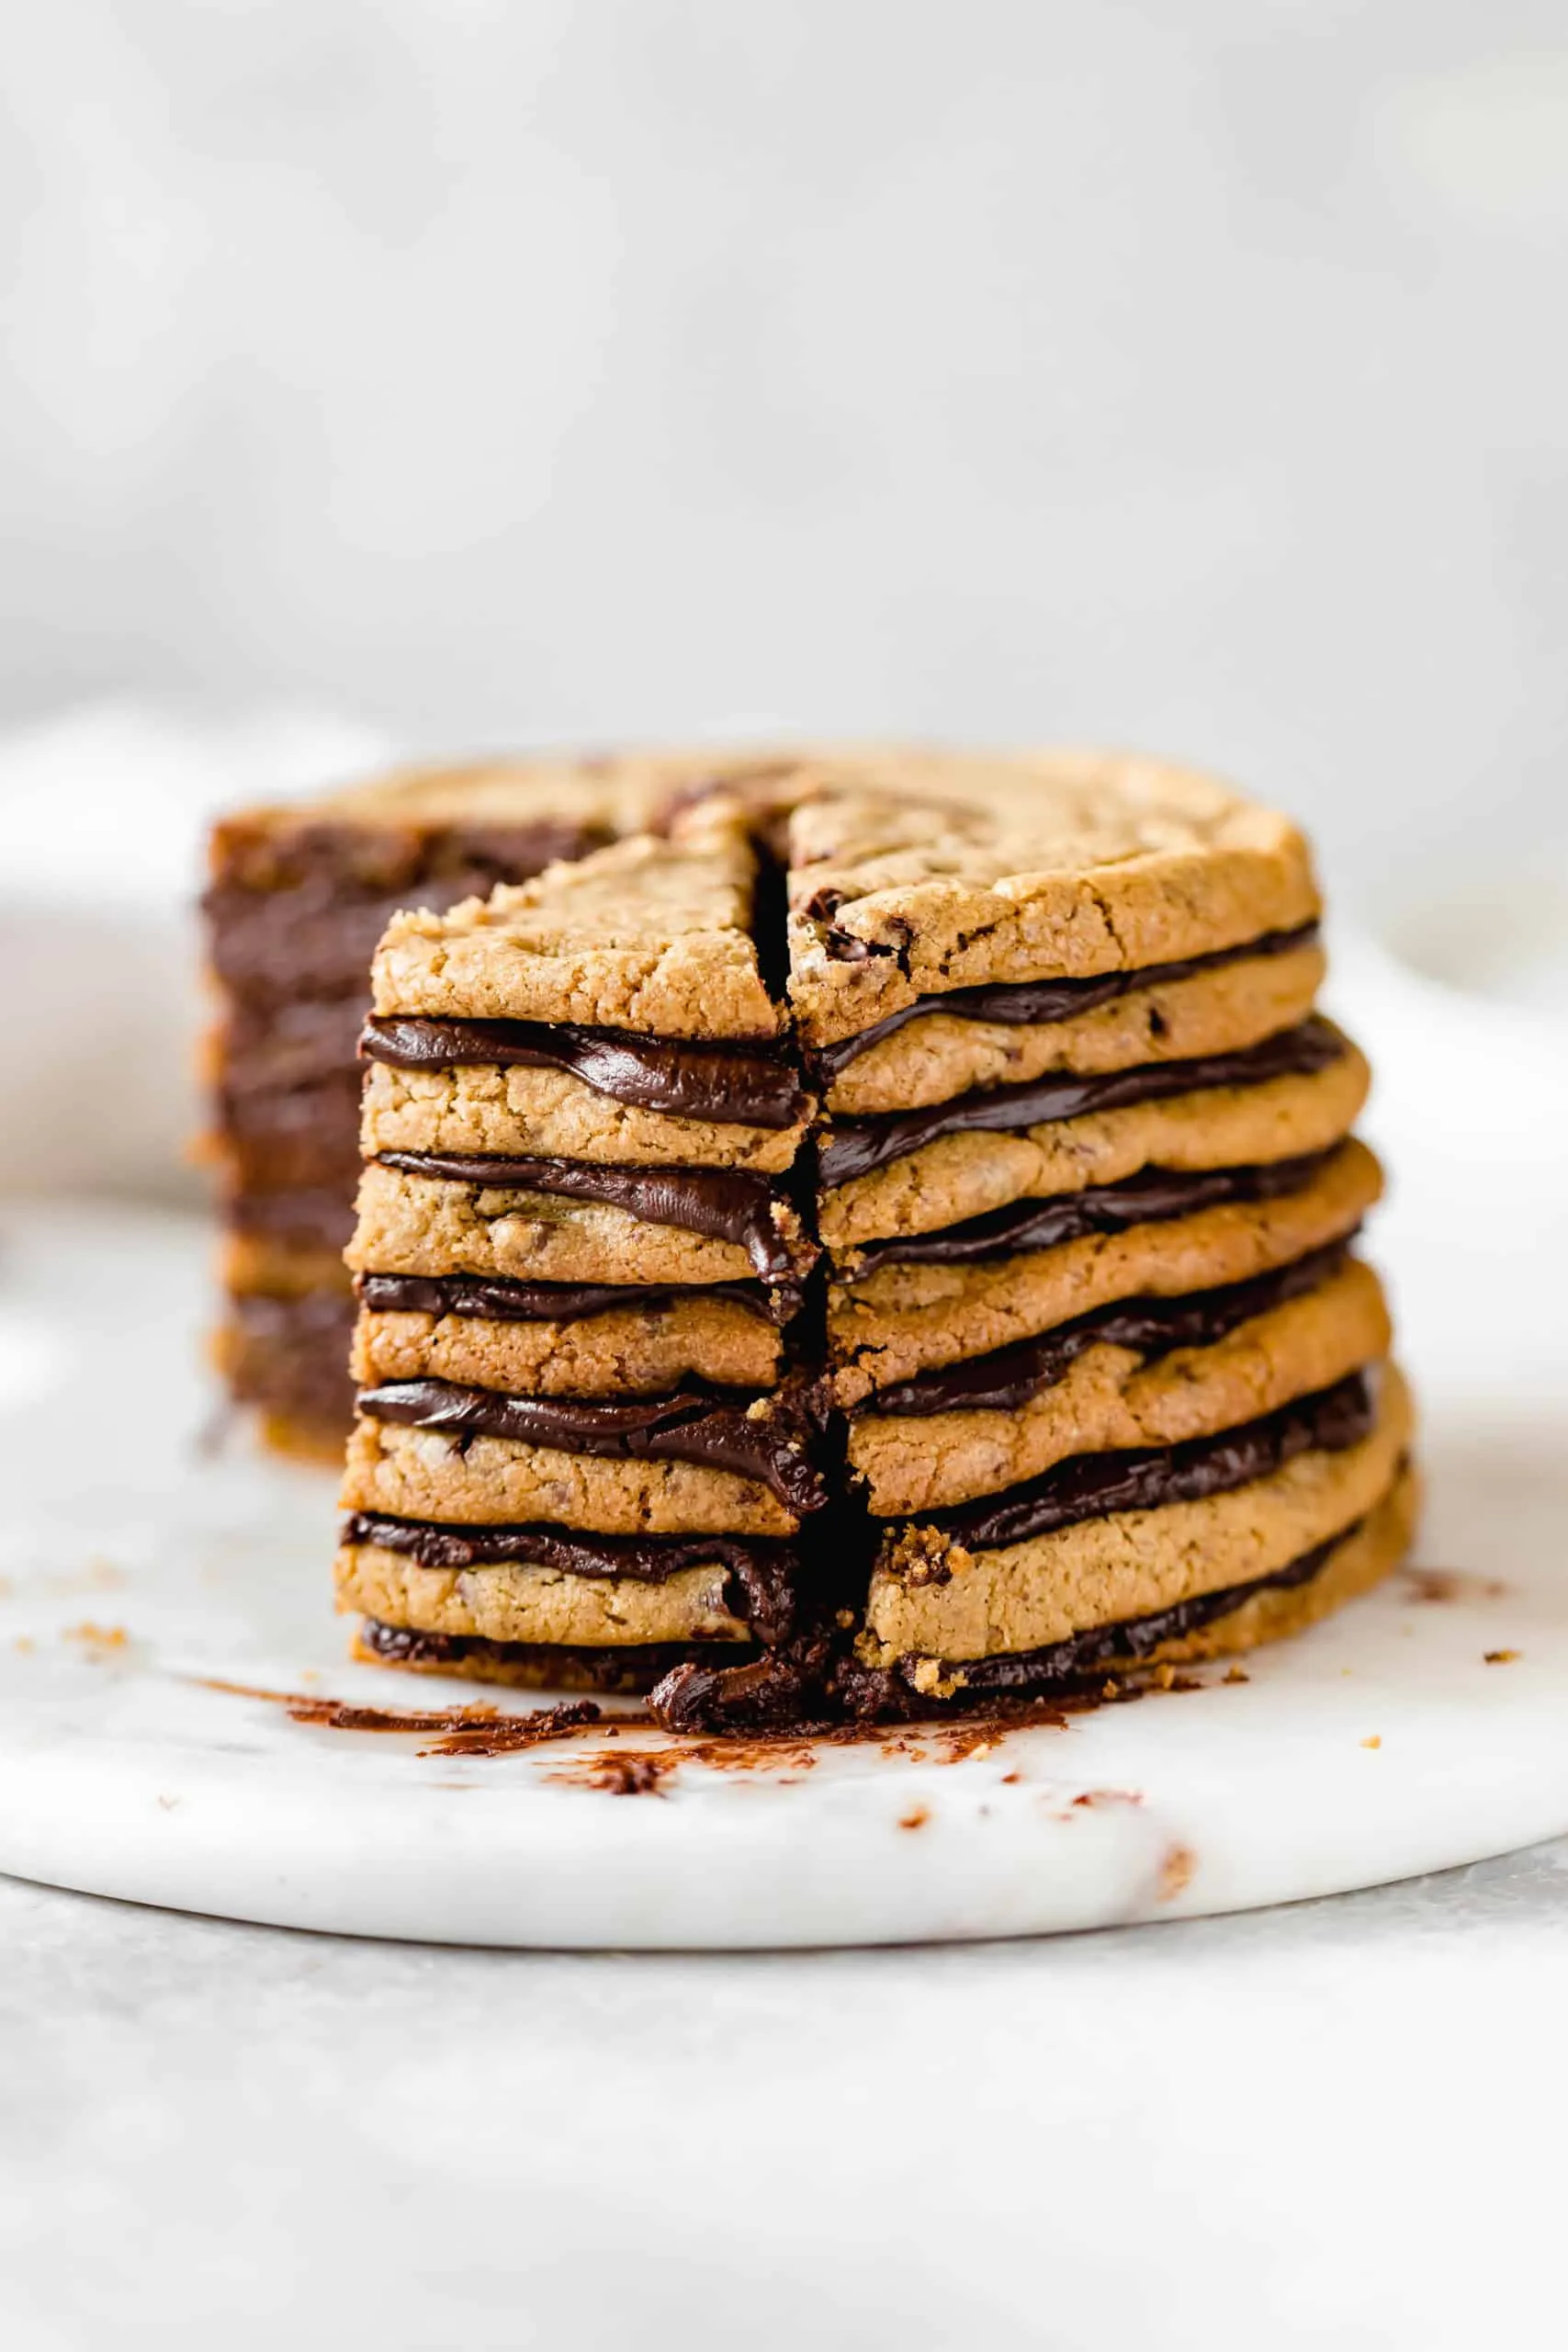
Indulge your sweet tooth with the ultimate treat: Layered Chocolate Chip Cookies! These delightful cookies are not just any ordinary dessert; they boast a unique layered design that adds a fun twist to the classic chocolate chip cookie. Imagine biting into a warm, gooey cookie with a perfect blend of textures and flavors that will leave you craving more. With just 25 minutes from start to finish, you can whip up a batch of 24 irresistible cookies that are sure to impress friends and family alike. Ready to elevate your baking game? Let’s dive into this mouthwatering recipe!
Prep Time: 15 mins
Cook Time: 10 mins
Total Time: 25 mins
Cuisine: American
Serves: 24 cookies
Ingredients
- 1 cup unsalted butter, softened
- 1 cup brown sugar
- ½ cup granulated sugar
- 2 large eggs
- 1 teaspoon vanilla extract
- 2 ½ cups all-purpose flour
- 1 teaspoon baking soda
- ½ teaspoon salt
- 2 cups chocolate chips
Instructions
- Preheat the oven to 350°F (175°C) and line two baking sheets with parchment paper, ensuring even surface coverage.
- In a large mixing bowl, cream together softened butter, brown sugar, and granulated sugar using an electric mixer. Beat until the mixture becomes light and fluffy, approximately 3-4 minutes.
- Add eggs one at a time, mixing thoroughly after each addition. Incorporate vanilla extract and mix until well combined.
- In a separate bowl, whisk together all-purpose flour, baking soda, and salt to ensure even distribution of dry ingredients.
- Gradually add dry ingredient mixture to the wet ingredients, mixing on low speed until just combined. Avoid overmixing to maintain cookie texture.
- Fold in chocolate chips using a spatula, distributing them evenly throughout the dough.
- For layered effect, alternate scooping dough in different heights: first layer slightly thinner, second layer slightly thicker. This creates visual and textural interest.
- Drop rounded tablespoons of dough onto prepared baking sheets, spacing cookies approximately 2 inches apart to allow spreading.
- Bake in preheated oven for 10-12 minutes, or until edges are golden brown and centers appear slightly soft.
- Remove from oven and let cookies cool on baking sheets for 5 minutes, then transfer to wire racks to cool completely.
Tips
- Use Room Temperature Ingredients: Make sure your butter and eggs are at room temperature for better mixing and a smoother dough. This will help achieve that light and fluffy texture in your cookies.
- Don’t Overmix: When combining the dry and wet ingredients, mix just until incorporated. Overmixing can lead to tough cookies, so be gentle!
- Layering Technique: For the layered effect, scoop the dough in alternating heights. This not only looks impressive but also creates varying textures in each cookie.
- Spacing is Key: Leave enough space between each cookie on the baking sheet (about 2 inches apart) to allow for spreading during baking.
- Watch the Baking Time: Keep an eye on your cookies as they bake. They should be golden brown around the edges and slightly soft in the center. Remember, they will continue to cook a bit after being removed from the oven.
- Cool Properly: Allow the cookies to cool on the baking sheet for about 5 minutes before transferring them to wire racks. This helps them set and prevents breakage.
- Experiment with Mix-Ins: Feel free to add nuts, dried fruits, or different types of chocolate chips to customize your cookies to your liking!
Nutrition Facts
Calories: 220kcal
Carbohydrates: 28g
Protein: 2g
Fat: 12g
Saturated Fat: 7g
Cholesterol: 35mg