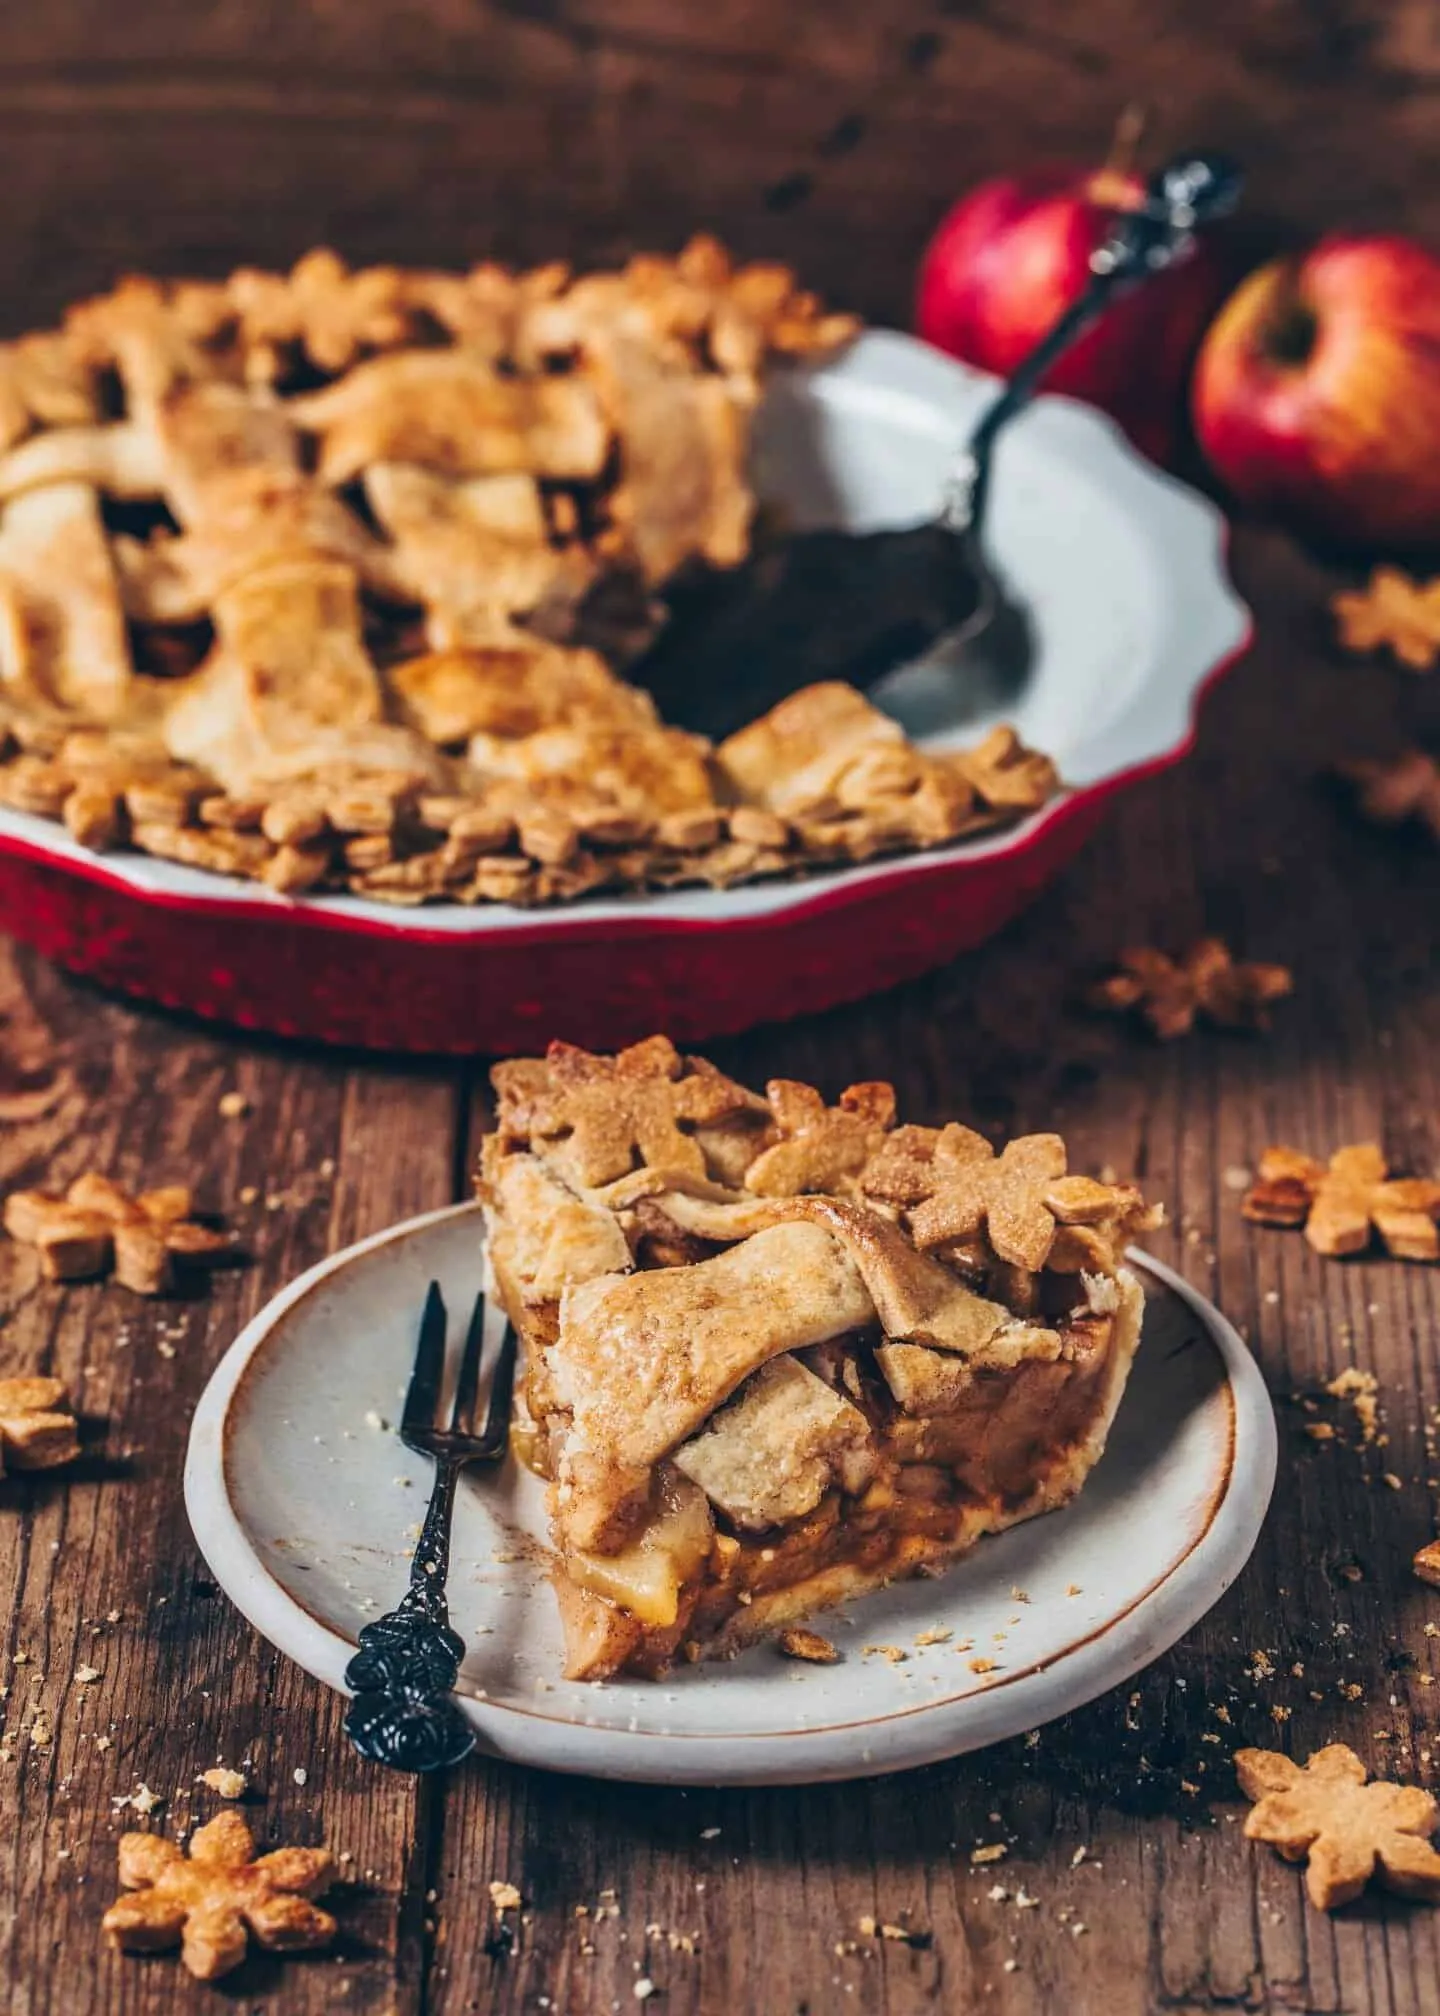
Imagine biting into a perfectly golden, flaky pie crust that crumbles delicately, revealing a warm, cinnamon-spiced apple filling that transports you straight to the cozy kitchens of Germany. This vegan Apfelkuchen is not just a dessert; it's a culinary journey that proves plant-based baking can be just as indulgent and soul-warming as traditional recipes. Whether you're a seasoned vegan baker or just looking to impress your friends and family with a delectable, dairy-free treat, this apple pie will become your new go-to dessert that everyone will be begging you to make again and again!
Prep Time: 20 mins
Cook Time: 45 mins
Total Time: 1 hrs 5 mins
Cuisine: German
Serves: 8 servings
Ingredients
- 2 cups all-purpose flour
- 1/2 cup coconut oil
- 1/2 cup brown sugar
- 1/4 cup almond milk
- 3 cups sliced apples
- 1 teaspoon cinnamon
- 1 tablespoon lemon juice
- 1/4 cup raisins (optional)
Instructions
- Prepare the pie crust by combining all-purpose flour and coconut oil in a large mixing bowl. Use your fingertips to blend the ingredients until they resemble coarse crumbs.
- Add brown sugar to the flour mixture and mix thoroughly. Gradually pour in almond milk, stirring until the dough comes together and forms a cohesive ball.
- Wrap the dough in plastic wrap and refrigerate for 30 minutes to allow it to rest and become more manageable.
- Preheat the oven to 375°F (190°C). Grease a 9-inch pie dish with a small amount of coconut oil.
- Wash and slice the apples thinly. Toss the apple slices with lemon juice, cinnamon, and optional raisins to prevent browning and enhance flavor.
- Remove the chilled dough from the refrigerator and divide it into two portions - one for the bottom crust and one for the top.
- Roll out the first portion of dough on a lightly floured surface and carefully transfer it to the prepared pie dish, pressing it into the corners.
- Arrange the prepared apple slices evenly across the bottom crust, creating a slightly mounded center.
- Roll out the second portion of dough and create a lattice top or full cover for the pie, ensuring to cut some venting holes if using a full cover.
- Crimp the edges of the pie crust to seal and create a decorative border. Brush the top crust with a little almond milk for a golden finish.
- Bake in the preheated oven for 45 minutes, or until the crust is golden brown and the apple filling is bubbling.
- Remove from the oven and let cool for at least 30 minutes before serving to allow the filling to set.
- Serve warm or at room temperature, optionally dusted with powdered sugar or accompanied by vegan vanilla ice cream.
Tips
- Chill Your Dough: The key to a flaky, tender crust is keeping your coconut oil cold. Don't rush the 30-minute refrigeration - this helps prevent the fat from melting and ensures a perfect texture.
- Choose the Right Apples: For the best results, use a mix of tart and sweet apples like Granny Smith and Honeycrisp. This creates a more complex, balanced flavor profile.
- Prevent Soggy Bottom: Sprinkle a thin layer of ground almonds or breadcrumbs on the bottom crust before adding apple filling to absorb excess moisture.
- Lattice Top Trick: If you're creating a lattice top, use a pizza cutter for clean, even strips and weave them carefully for a professional look.
- Venting is Crucial: Whether you're doing a full cover or lattice top, make sure to cut some venting holes to allow steam to escape and prevent a soggy crust.
- Golden Finish: The almond milk brush gives a beautiful golden color, but for an extra shine, you can mix a little maple syrup with the almond milk.
- Cooling is Key: Resist the temptation to cut into the pie immediately. Letting it cool for at least 30 minutes helps the filling set and makes slicing much easier.
Nutrition Facts
Calories: 320kcal
Carbohydrates: 45g
Protein: 3g
Fat: 16g
Saturated Fat: 12g
Cholesterol: 0mg