Are you tired of dry, flavorless chicken that takes forever to cook? Get ready to revolutionize your dinner routine with this foolproof Instant Pot Pressure Cooker Chicken recipe! In just 25 minutes, you'll create restaurant-quality chicken that's so tender it practically melts in your mouth. Whether you're a busy parent, a cooking novice, or a culinary enthusiast, this recipe will become your new go-to meal that promises maximum flavor with minimal effort.
Prep Time: 10 mins
Cook Time: 15 mins
Total Time: 25 mins
Cuisine: American
Serves: 4 servings
Ingredients
- 4 boneless, skinless chicken breasts
- 1 cup chicken broth
- 1 teaspoon garlic powder
- 1 teaspoon onion powder
- Salt and pepper to taste
- 1 tablespoon olive oil
Instructions
- Prepare the chicken breasts by patting them dry with paper towels to remove excess moisture. This helps achieve better seasoning and browning.
- Season the chicken breasts evenly on both sides with garlic powder, onion powder, salt, and pepper, ensuring complete coverage for maximum flavor.
- Turn on the Instant Pot and select the "Sauté" function. Add olive oil and allow it to heat up for 1-2 minutes until shimmering.
- Carefully place the seasoned chicken breasts into the Instant Pot and sear for 2-3 minutes on each side until a light golden-brown crust develops. This step helps lock in moisture and enhance flavor.
- Pour the chicken broth around the chicken breasts, ensuring liquid covers the bottom of the pot to create steam for pressure cooking.
- Close the Instant Pot lid, set the valve to "Sealing" position, and select "Pressure Cook" or "Manual" mode at high pressure.
- Set the cooking time to 8-10 minutes, depending on the thickness of the chicken breasts. Thicker breasts will require closer to 10 minutes.
- Once cooking is complete, allow a natural pressure release for 5 minutes, then carefully do a quick release of remaining pressure.
- Open the lid and check the internal temperature of the chicken with a meat thermometer. It should read 165°F (74°C) for safe consumption.
- Remove chicken breasts and let them rest for 3-5 minutes before slicing to allow juices to redistribute, ensuring moist and tender meat.
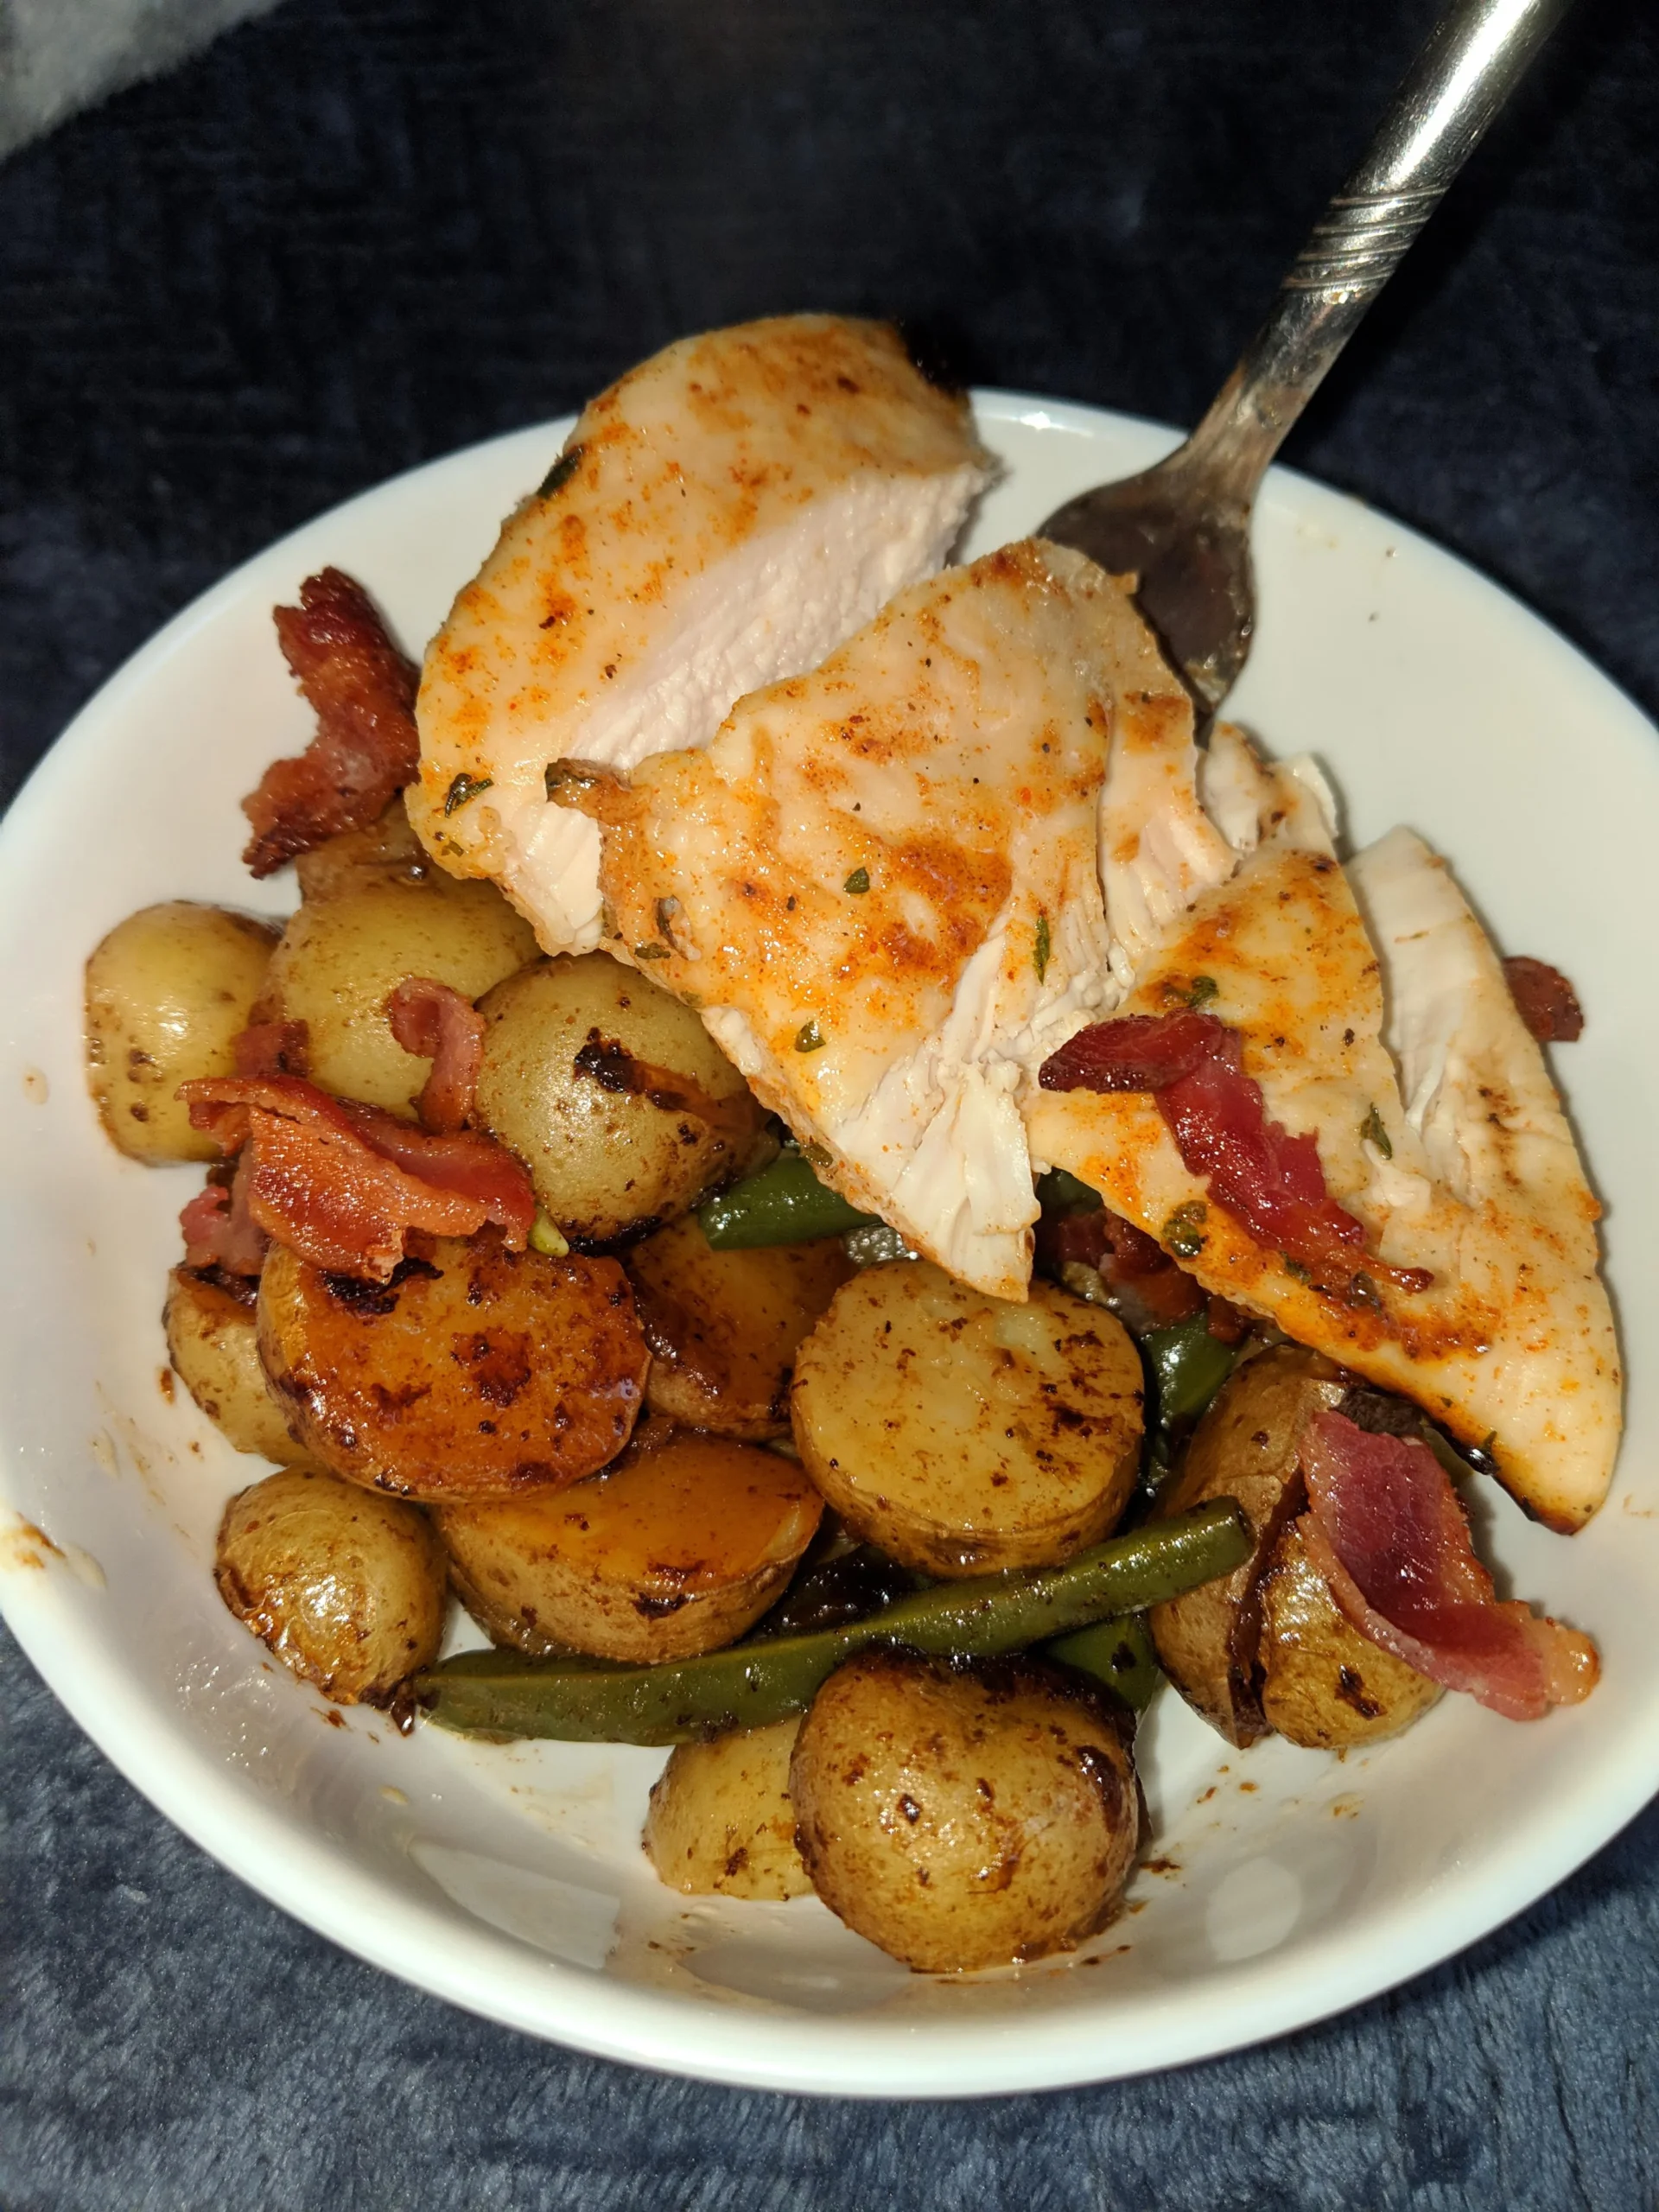
- Serve hot with your preferred side dishes like roasted vegetables, rice, or salad.
Tips
- Pat the chicken dry before seasoning to ensure better browning and flavor absorption.
- Don't skip the searing step - it's crucial for developing a delicious golden crust and locking in moisture.
- Use a meat thermometer to guarantee the chicken reaches the safe internal temperature of 165°F.
- Allow a natural pressure release for the first 5 minutes to help keep the chicken extra juicy.
- Let the chicken rest after cooking to redistribute the juices, preventing dry meat.
- For extra flavor, experiment with different seasoning blends or marinades before cooking.
- If your chicken breasts are of varying thickness, consider pounding them to an even thickness for consistent cooking.
- Always use fresh chicken and check the expiration date before preparing the recipe.
Nutrition Facts
Calories: 180kcal
Carbohydrates: 1g
Protein: 26g
Fat: 8g
Saturated Fat: 2g
Cholesterol: 85mg