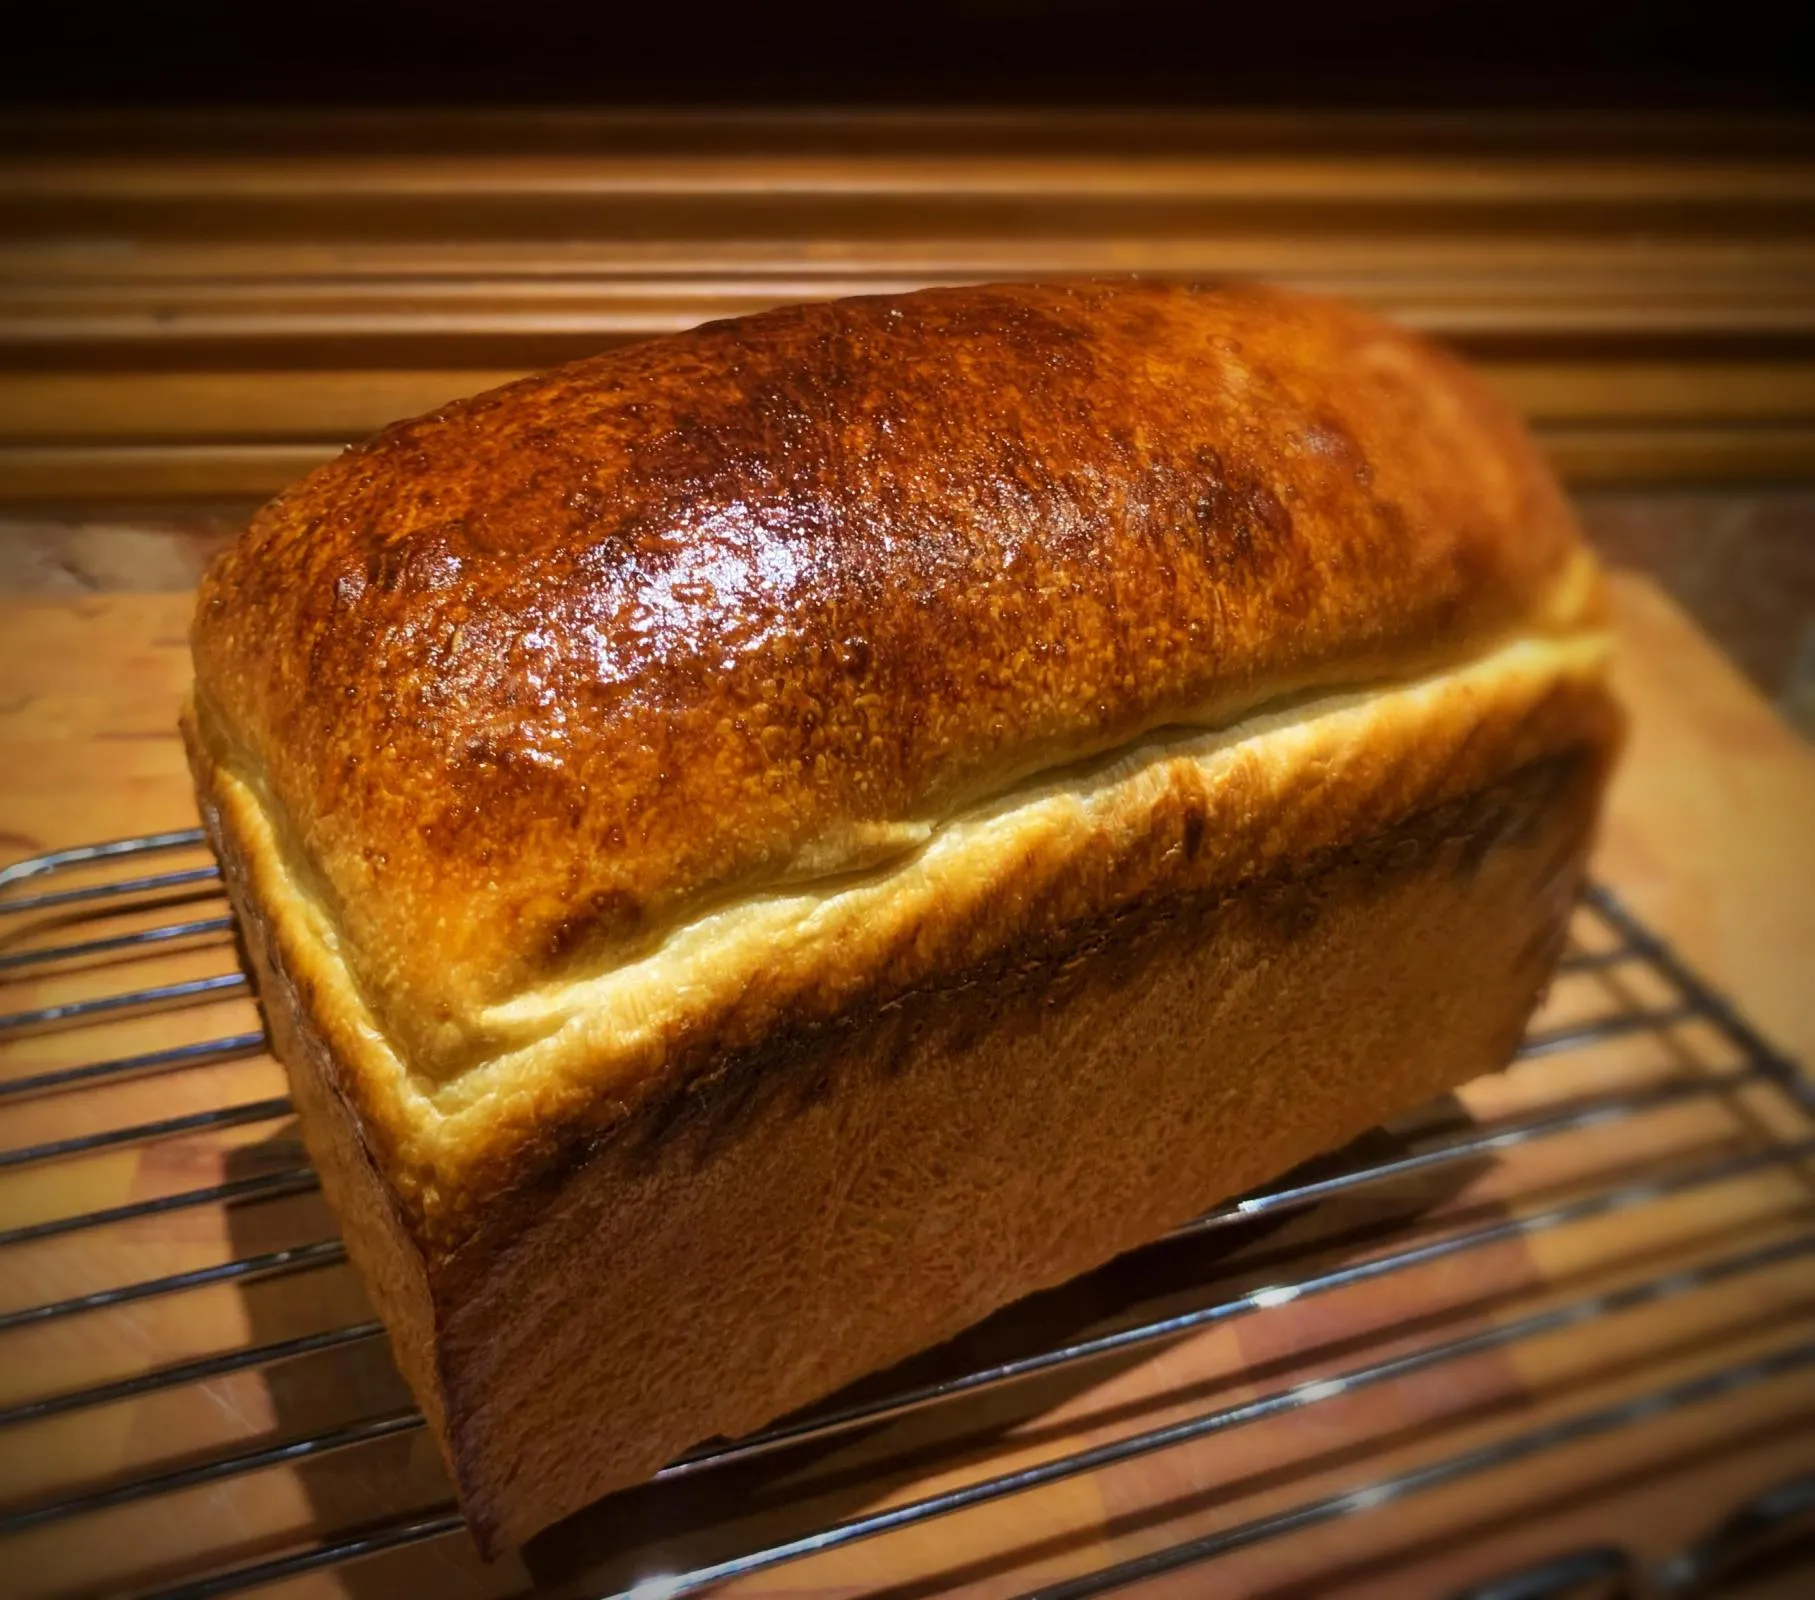
Imagine creating a soft, pillowy loaf of bread that's so delicate it practically melts in your mouth - without using a single pat of butter! This French-style Pain de Mie is a baker's dream, offering a simple yet sophisticated approach to homemade bread that will elevate your culinary skills and impress even the most discerning bread enthusiasts. Whether you're a novice baker or a seasoned pro, this recipe promises a foolproof method to create a stunning loaf that's perfect for sandwiches, toast, or simply enjoying on its own.
Prep Time: 15 mins
Cook Time: 30 mins
Total Time: 45 mins
Cuisine: French
Serves: 1 loaf
Ingredients
- 500g bread flour
- 300ml water
- 10g salt
- 7g instant yeast
Instructions
- Gather all the ingredients: 500g of bread flour, 300ml of water, 10g of salt, and 7g of instant yeast. Ensure your workspace is clean and you have all necessary tools ready, including a mixing bowl, a dough scraper, a kitchen scale, a loaf pan, and a clean cloth or plastic wrap for covering the dough.
- In a large mixing bowl, combine the 500g of bread flour and 7g of instant yeast. Make sure to keep the yeast and salt separate initially, as direct contact can inhibit yeast activity.
- Add the 10g of salt to the flour and yeast mixture. Mix the dry ingredients together thoroughly using your hands or a whisk to ensure even distribution.
- Gradually pour 300ml of lukewarm water into the dry ingredients. Start mixing with your hand or a wooden spoon until the mixture comes together to form a shaggy dough.
- Once the dough begins to form, transfer it to a lightly floured surface. Knead the dough for about 10-15 minutes until it becomes smooth and elastic. If the dough is too sticky, sprinkle a little more flour as needed, but avoid adding too much flour to keep the bread soft.
- Shape the kneaded dough into a ball and place it in a lightly oiled bowl. Cover the bowl with a clean cloth or plastic wrap to prevent the dough from drying out.
- Let the dough rise in a warm, draft-free area for about 1 hour, or until it has doubled in size. This is the first proofing stage.
- After the dough has risen, gently punch it down to release any air bubbles. Transfer it back to the floured surface and shape it into a loaf by flattening it into a rectangle and then rolling it tightly from one end to the other.
- Place the shaped loaf into a lightly greased loaf pan, seam side down. Cover it again with the cloth or plastic wrap and allow it to rise for another 30 minutes, or until it has risen just above the rim of the pan.
- While the dough is rising for the second time, preheat your oven to 220°C (428°F). Make sure the oven is fully heated before baking the bread.
- Once the dough has finished rising, you can optionally score the top with a sharp knife for a decorative touch. This will also help control the expansion of the bread as it bakes.
- Place the loaf pan in the preheated oven and bake for approximately 30 minutes, or until the bread is golden brown and sounds hollow when tapped on the bottom.
- After baking, remove the loaf from the oven and let it cool in the pan for about 5 minutes. Then, transfer it to a wire rack to cool completely before slicing.
- Once cooled, slice your Bread Pain de Mie No Butter and enjoy it fresh or store it in an airtight container for later use.
Tips
- Temperature Matters: Ensure your water is lukewarm (around 110°F) to activate the yeast without killing it. Too hot or too cold can prevent proper rising.
- Kneading Technique: Don't rush the kneading process. A full 10-15 minutes of consistent kneading develops the gluten, giving your bread its signature soft texture.
- Rising Environment: Find a warm, draft-free spot for proofing. A slightly warm oven (turned off) or a sunny spot near a window works perfectly.
- Moisture is Key: Cover your dough during rising to prevent it from drying out. A damp cloth or plastic wrap works great.
- Oven Accuracy: Use an oven thermometer to ensure your oven is at the exact temperature. Consistent heat is crucial for perfect bread.
- Cooling is Crucial: Always let your bread cool completely before slicing to allow the crumb to set and prevent a gummy texture.
- Storage Tip: Store your Pain de Mie in an airtight container at room temperature for up to 3-4 days, or freeze for longer preservation.
Nutrition Facts
Calories: 172kcal
Carbohydrates: g
Protein: g
Fat: g
Saturated Fat: g
Cholesterol: 0mg