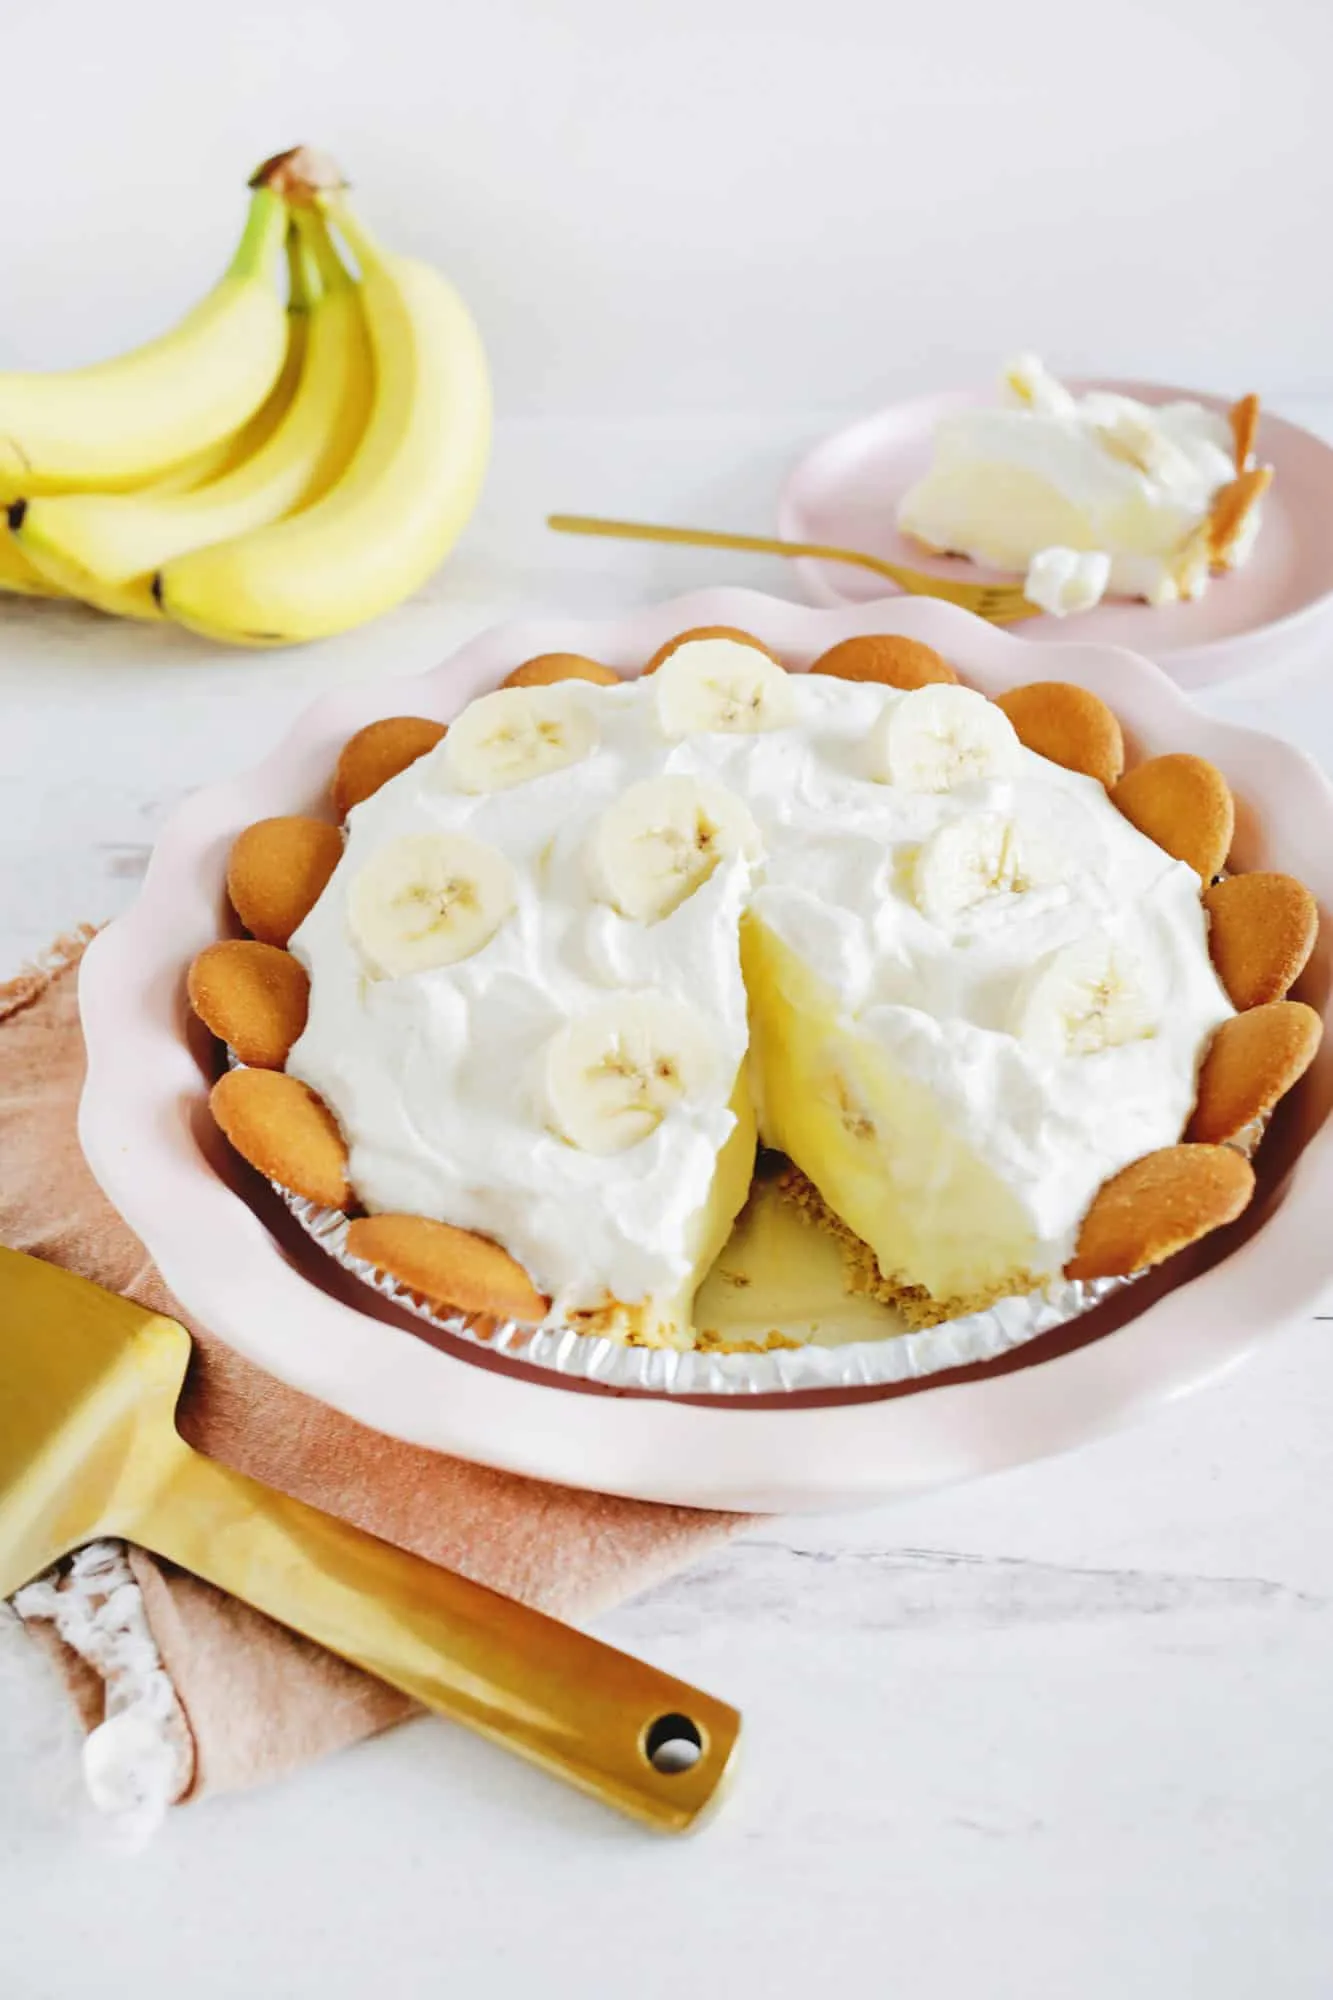
Indulge your sweet tooth with a delightful twist on a classic favorite—No Bake Banana Cream Pudding Pies! This irresistible dessert combines the creamy richness of banana pudding with the crunchy goodness of graham cracker crust, all topped with fluffy whipped cream and a sprinkle of vanilla wafers. Perfect for any occasion, these mini pies are not only incredibly easy to make but also require no baking at all! In just 15 minutes, you can whip up a treat that will have your friends and family begging for seconds. Ready to impress? Let’s dive into this deliciously simple recipe!
Prep Time: 15 mins
Cook Time: -
Total Time: 15 mins
Cuisine: American
Serves: 4 pies
Ingredients
- 1 pre-made graham cracker pie crust
- 2 cups of banana cream pudding mix
- 3 cups of milk
- 2 bananas, sliced
- 1 cup of whipped cream
- 1/4 cup of crushed vanilla wafers for topping
Instructions
- In a large mixing bowl, combine the banana cream pudding mix with cold milk. Whisk vigorously for 2-3 minutes until the mixture is smooth and begins to thicken.
- Allow the pudding mixture to sit and set for approximately 5 minutes, stirring occasionally to prevent lumps from forming.
- Take the pre-made graham cracker pie crusts and prepare them for filling by ensuring they are at room temperature.
- Slice the fresh bananas into thin, even rounds, approximately 1/4 inch thick.
- Layer the banana slices evenly across the bottom of each graham cracker pie crust, creating a uniform base layer.
- Carefully pour the prepared banana cream pudding mixture over the banana slices, filling each pie crust to about 3/4 full.
- Use a spatula to smooth the pudding surface, ensuring an even distribution and removing any air bubbles.
- Refrigerate the pies for at least 1 hour to allow the pudding to set completely and develop a firm consistency.
- Before serving, top each pie with a generous layer of whipped cream, spreading it evenly across the surface.
- Sprinkle the crushed vanilla wafers over the whipped cream as a final garnish, adding texture and extra flavor.
- Chill the pies for an additional 15-30 minutes before serving to allow the toppings to set.
Tips
- Choose Ripe Bananas: For the best flavor and sweetness, select ripe bananas that are slightly speckled but not overly brown. This will enhance the taste of your pudding pies.
- Chill Your Ingredients: If possible, chill your mixing bowl and whisk before making the pudding. This helps the mixture set faster and improves the texture.
- Layering Technique: When layering the banana slices, try to overlap them slightly to ensure every bite has that delicious banana flavor.
- Pudding Consistency: Make sure to whisk the pudding mix and milk thoroughly until it thickens. If it’s too runny, it may not set properly in the crust.
- Customize Your Toppings: Feel free to get creative with your toppings! Consider adding chocolate shavings, caramel drizzle, or even a sprinkle of cinnamon for an extra flavor boost.
- Serving Size: These pies are perfect for sharing, but if you want to keep them all to yourself, they store well in the refrigerator for a couple of days—just be sure to cover them to maintain freshness.
- Make Ahead: These pies can be prepared a day in advance. Just be sure to add the whipped cream and crushed vanilla wafers right before serving to keep them fresh and crunchy.
Nutrition Facts
Calories: 320kcal
Carbohydrates: 45g
Protein: 5g
Fat: 12g
Saturated Fat: 6g
Cholesterol: 20mg