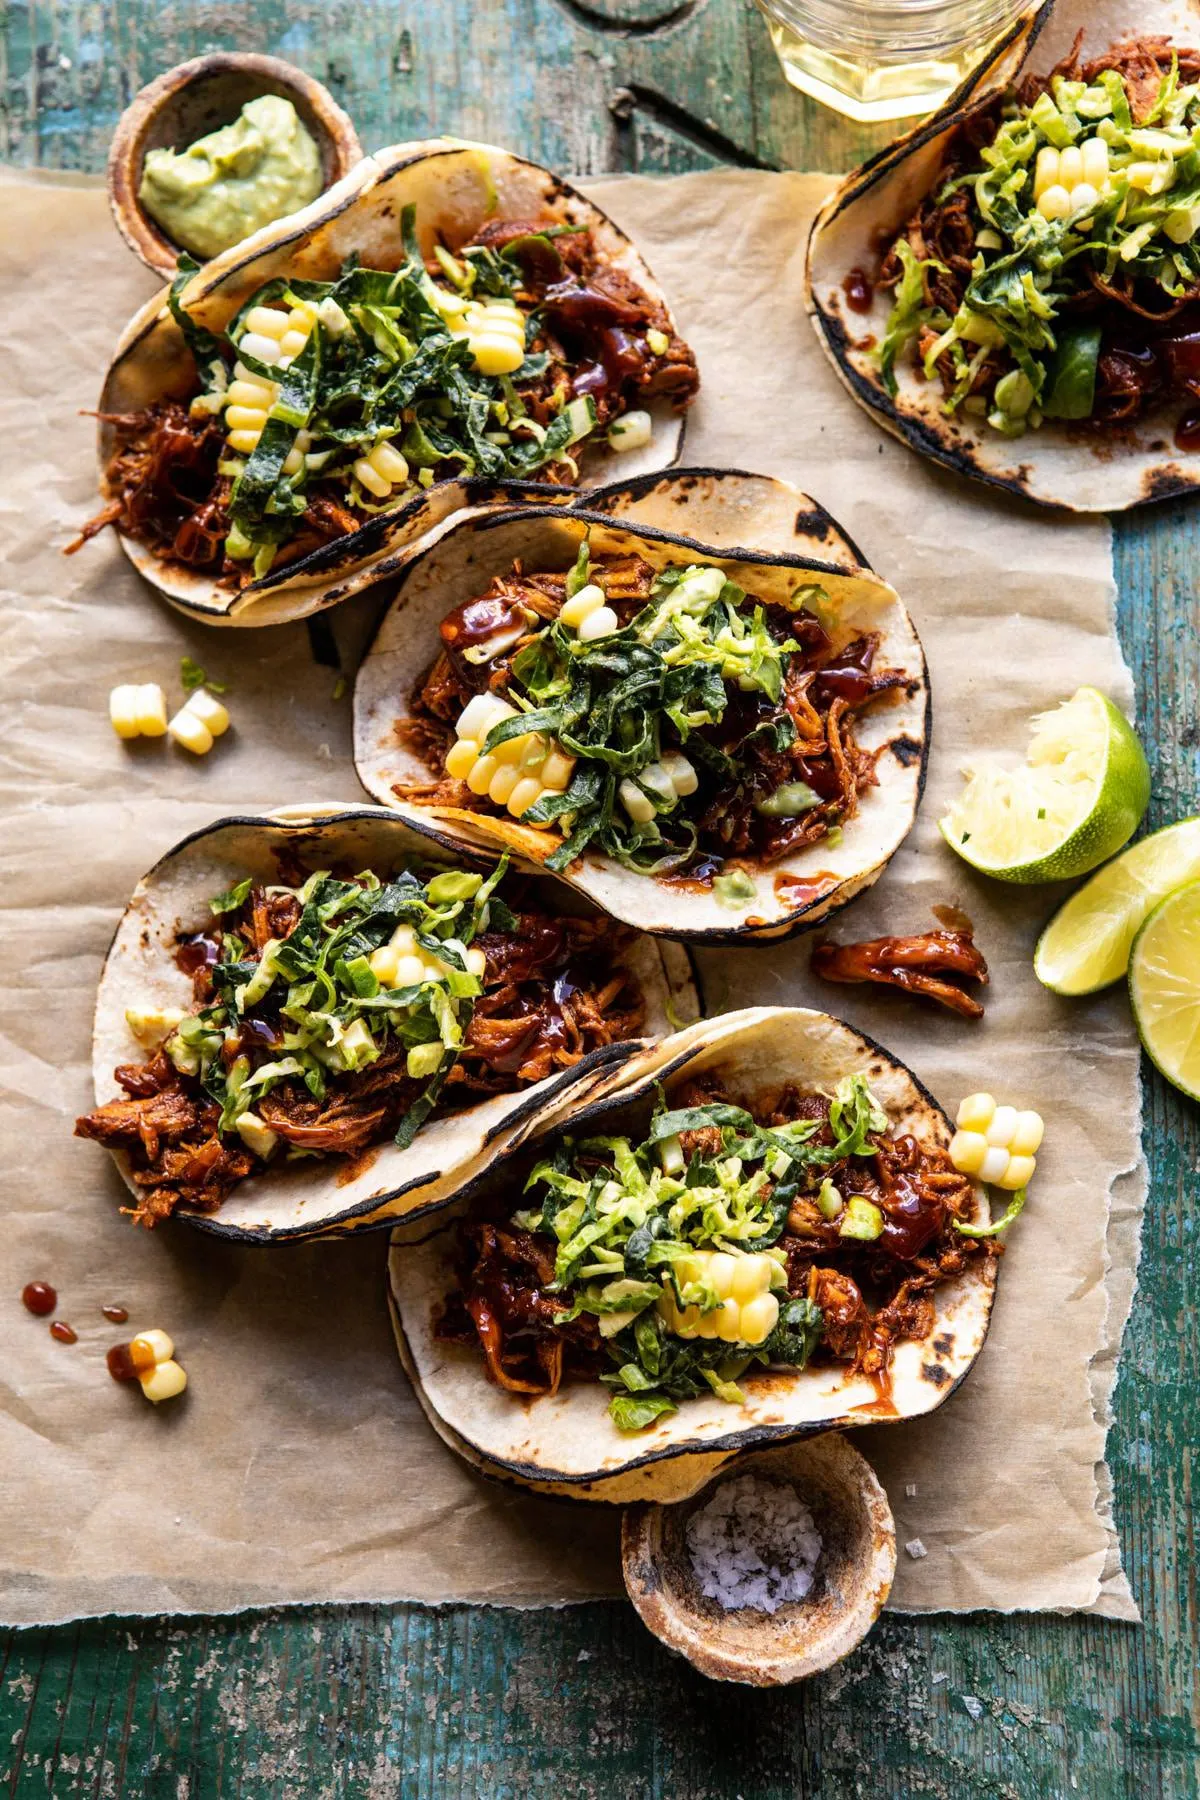
Get ready to transform your weeknight dinner into a mouthwatering fiesta with these incredibly easy and irresistible Instant Pot BBQ Chicken Tacos! In just 25 minutes, you'll create a meal so delicious, your family will think you've been secretly training with a professional chef. Imagine tender, juicy chicken smothered in tangy BBQ sauce, nestled in crispy taco shells, and topped with fresh, vibrant ingredients - this recipe is about to become your new go-to comfort food that combines the best of American and Mexican cuisine.
Prep Time: 10 mins
Cook Time: 15 mins
Total Time: 25 mins
Cuisine: American
Serves: 4 servings
Ingredients
- 1 pound chicken breasts
- 1 cup BBQ sauce
- 8 taco shells
- 1 cup shredded lettuce
- 1/2 cup diced tomatoes
- 1/2 cup shredded cheese
- Salt and pepper to taste
Instructions
- Begin by gathering all your ingredients: 1 pound of chicken breasts, 1 cup of BBQ sauce, 8 taco shells, 1 cup of shredded lettuce, 1/2 cup of diced tomatoes, 1/2 cup of shredded cheese, and salt and pepper to taste.
- Set your Instant Pot to the 'Sauté' mode. Allow it to heat up for a couple of minutes.
- While the Instant Pot is heating, season the chicken breasts with salt and pepper on both sides.
- Once the Instant Pot is hot, add a small amount of oil to the pot. Carefully place the seasoned chicken breasts into the pot and sear them for about 2-3 minutes on each side, until they are golden brown.
- After searing, pour 1 cup of BBQ sauce over the chicken breasts, ensuring they are well coated.
- Close the lid of the Instant Pot and set the valve to the 'Sealing' position. Select 'Pressure Cook' (or 'Manual') and set the timer for 10 minutes.
- Once the cooking time is complete, allow the Instant Pot to naturally release pressure for 5 minutes, then carefully switch the valve to 'Venting' to release any remaining pressure.
- Open the lid and use a meat thermometer to ensure the chicken has reached an internal temperature of 165°F (75°C). If it hasn't, you can close the lid and cook for an additional 2-3 minutes.
- Remove the chicken from the pot and shred it using two forks. Mix the shredded chicken with the BBQ sauce in the pot to combine.
- While the chicken is being shredded, prepare your taco shells according to package instructions, either heating them in the oven or microwave.
- To assemble the tacos, take a taco shell and fill it with a generous amount of the BBQ chicken mixture.
- Top the chicken with shredded lettuce, diced tomatoes, and shredded cheese to your liking.
- Serve the BBQ chicken tacos warm, with any additional toppings or sides you prefer, such as sour cream or avocado.
Tips
- Choose the Right Chicken: Use fresh, boneless chicken breasts for the most tender results. If possible, opt for organic or free-range chicken for better flavor.
- BBQ Sauce Matters: Select a high-quality BBQ sauce that complements the chicken. Experiment with different brands to find your favorite flavor profile.
- Instant Pot Timing is Crucial: Don't overcook the chicken. The 10-minute pressure cook time ensures the meat stays moist and tender.
- Shredding Technique: For perfect shredded chicken, use two forks and pull the meat apart while it's still warm.
- Taco Shell Hack: For extra crispiness, warm your taco shells in the oven for a few minutes before filling.
- Customize Your Toppings: While the recipe suggests lettuce, tomatoes, and cheese, feel free to add your favorite toppings like cilantro, sour cream, or avocado.
- Make Ahead Friendly: This recipe can be prepared in advance and reheated, making it perfect for meal prep or busy weeknights.
- Leftover Magic: Any remaining BBQ chicken can be used in salads, sandwiches, or as a topping for nachos.
Nutrition Facts
Calories: 387kcal
Carbohydrates: g
Protein: g
Fat: g
Saturated Fat: g
Cholesterol: 113mg