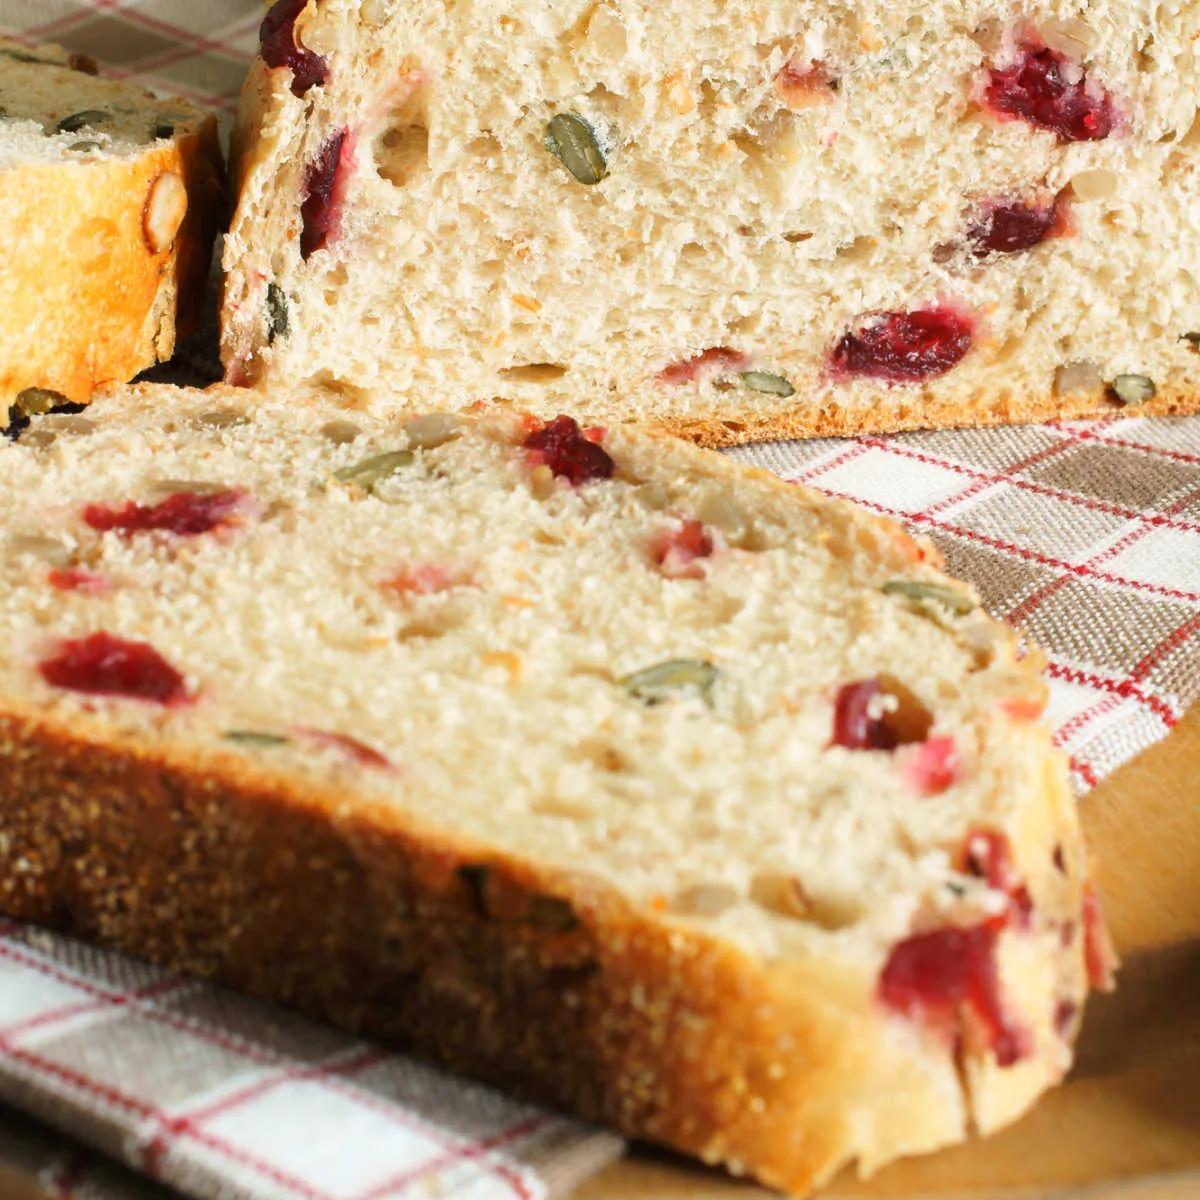
Imagine the warm, inviting aroma of freshly baked bread wafting through your kitchen, enticing everyone to gather around the table. Our Artisan Pumpkin Seed Bread is not just any loaf; it’s a delightful blend of nutty pumpkin seeds and soft, chewy bread that will elevate your baking game to new heights! With a golden crust and a soft interior, this bread is perfect for sandwiches, toasting, or simply enjoying with a pat of butter. Ready to impress your family and friends with this scrumptious recipe? Let’s dive in and discover how to create this mouthwatering masterpiece!
Prep Time: 15 mins
Cook Time: 40 mins
Total Time: 55 mins
Cuisine: American
Serves: 1 loaf
Ingredients
- 3 cups bread flour
- 1 1/2 cups warm water
- 1 packet active dry yeast
- 1 tbsp salt
- 1/2 cup pumpkin seeds
- 1 tbsp honey
Instructions
- In a large mixing bowl, combine warm water (around 110°F) with active dry yeast and honey. Let the mixture sit for 5-7 minutes until it becomes frothy and bubbling, indicating the yeast is activated.
- Add bread flour and salt to the yeast mixture. Mix initially with a wooden spoon until a shaggy dough begins to form, then transition to kneading with your hands.
- Knead the dough on a lightly floured surface for 10-12 minutes, developing gluten and creating a smooth, elastic texture. The dough should become soft and slightly tacky but not sticky.
- Gently fold in the pumpkin seeds, distributing them evenly throughout the dough. Ensure seeds are pressed into the dough to prevent falling off during baking.
- Place the dough in a lightly oiled bowl, cover with a clean kitchen towel, and let rise in a warm, draft-free area for approximately 1-
- 5 hours or until the dough doubles in size.
- After the first rise, gently punch down the dough and shape it into a round loaf. Place on a parchment-lined baking sheet or in a proofing basket.
- Allow the shaped loaf to undergo a second rise for 30-45 minutes. Preheat your oven to 450°F with a cast-iron Dutch oven inside during the last 20 minutes of rising.
- Score the top of the loaf with a sharp knife or razor blade, creating a decorative pattern that allows steam to escape during baking.
- Carefully transfer the loaf into the preheated Dutch oven, cover with the lid, and bake for 30 minutes. Then remove the lid and bake for an additional 10-15 minutes until the crust is golden brown and crisp.
- Remove the bread from the oven and let it cool completely on a wire rack for at least 1 hour before slicing to allow the internal structure to set.
Tips
- Activate Your Yeast Properly: Ensure the water temperature is around 110°F to effectively activate the yeast. If it’s too hot, it can kill the yeast; too cold, and it won’t activate.
- Knead with Care: Kneading the dough for 10-12 minutes is crucial for developing gluten, which gives the bread its structure. Don’t rush this step; a well-kneaded dough will yield a better texture.
- Don’t Skip the Rising Time: Allow the dough to rise until it doubles in size. This fermentation process is key to achieving a light and airy loaf.
- Use a Dutch Oven: Baking in a preheated cast-iron Dutch oven creates a steamy environment that helps form a beautiful crust. If you don’t have one, a baking stone or a regular baking sheet will also work.
- Let It Cool: Patience is key! Allow the bread to cool completely on a wire rack before slicing. This helps the internal structure set and prevents a gummy texture.
- Experiment with Seeds: Feel free to mix in different seeds or nuts for added flavor and texture. Sunflower seeds or flaxseeds can be great alternatives to pumpkin seeds.
- Store Properly: To keep your bread fresh, store it in a paper bag at room temperature for a few days, or freeze it for longer storage. Just make sure to slice it before freezing for easy access!
Nutrition Facts
Calories: kcal
Carbohydrates: g
Protein: g
Fat: g
Saturated Fat: g
Cholesterol: 0mg