Imagine transforming a humble butternut squash into a crunchy, golden-brown masterpiece that's not just a snack, but a culinary revelation! These homemade butternut squash chips are about to change the way you think about healthy eating. Forget boring vegetable snacks – we're talking about a crispy, flavor-packed treat that's so delicious, you won't believe it's actually good for you. Whether you're looking for a guilt-free munch or an impressive appetizer that will have your guests begging for the recipe, these crispy baked butternut squash chips are your ultimate game-changer!
Prep Time: 10 mins
Cook Time: 25 mins
Total Time: 35 mins
Cuisine: American
Serves: 4 servings
Ingredients
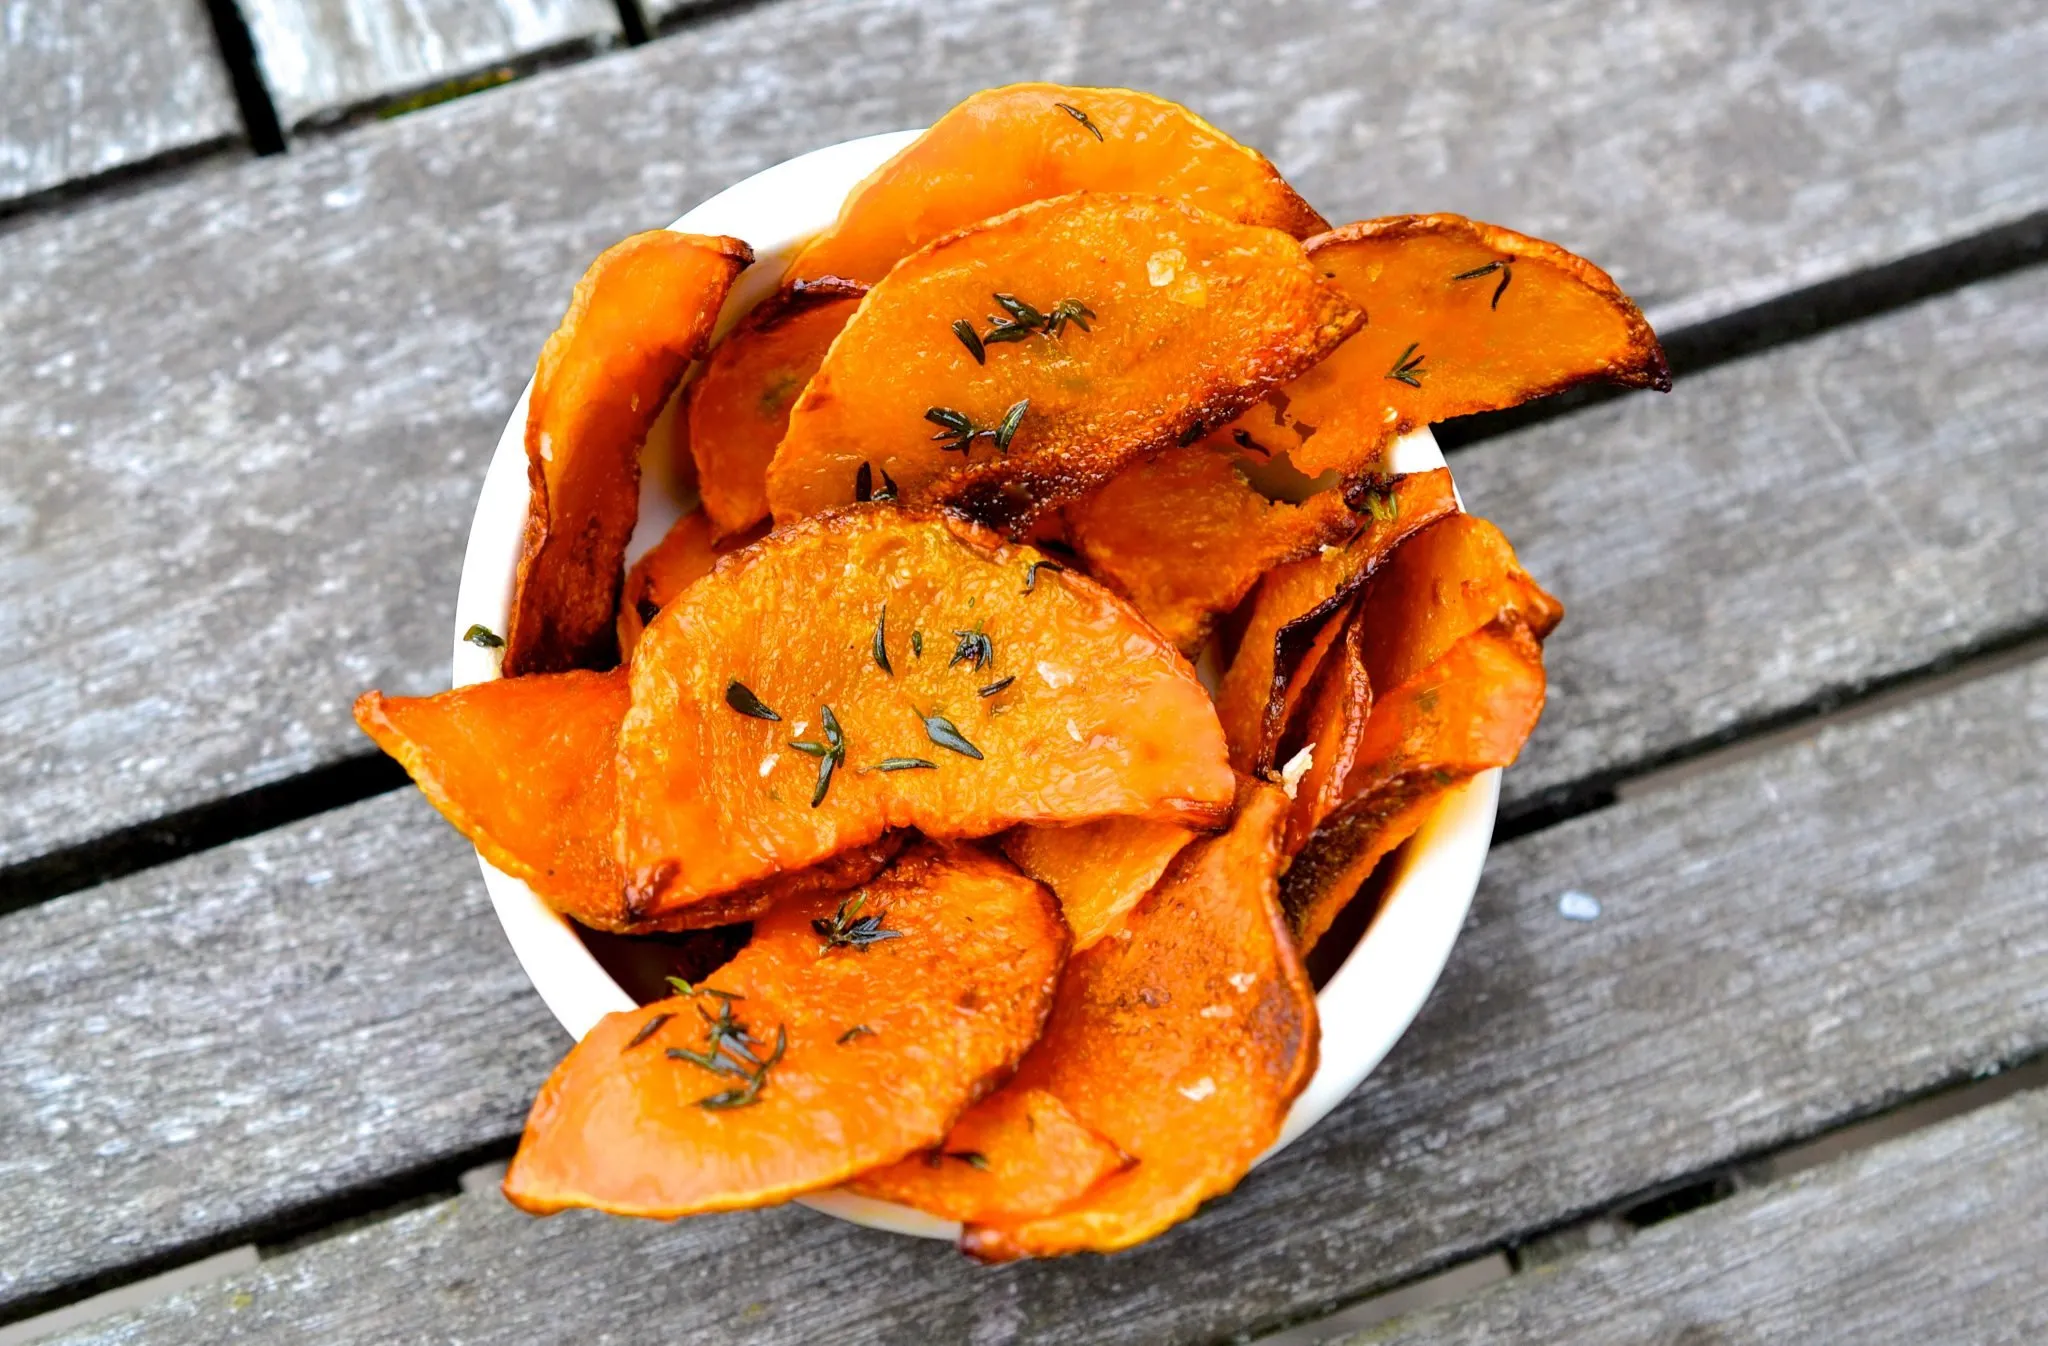
- 1 medium butternut squash, peeled and thinly sliced
- 2 tablespoons olive oil
- 1 teaspoon paprika
- Salt to taste
Instructions
- Preheat your oven to 425°F (220°C). This high temperature will help achieve the crispy texture you desire for your butternut squash chips.
- Prepare your butternut squash by peeling it with a vegetable peeler. Cut off both ends of the squash, then slice it in half lengthwise. Scoop out the seeds using a spoon.
- Using a sharp knife or a mandoline slicer, thinly slice the butternut squash into even rounds, about 1/8 inch thick. Aim for uniform thickness to ensure even cooking.
- In a large mixing bowl, combine the thinly sliced butternut squash with the olive oil, paprika, and salt. Toss well to ensure all the slices are evenly coated with the oil and seasoning.
- Line a baking sheet with parchment paper to prevent sticking and make cleanup easier. Spread the seasoned butternut squash slices in a single layer on the baking sheet, ensuring they do not overlap.
- Place the baking sheet in the preheated oven and bake for about 25 minutes, flipping the chips halfway through the cooking time. Keep an eye on them towards the end to prevent burning, as cooking times may vary based on your oven and the thickness of the slices.
- Once the chips are golden brown and crispy, remove them from the oven. Allow them to cool on the baking sheet for a few minutes, as they will continue to crisp up as they cool.
- Serve the crispy baked butternut squash chips immediately as a delicious snack or side dish. Enjoy them on their own or with your favorite dip!
Tips
- Slice Consistency is Key: Use a mandoline slicer for uniformly thin slices, ensuring even cooking and maximum crispiness.
- Pat Dry Before Seasoning: Remove excess moisture from the squash slices to help them crisp up better.
- Don't Overcrowd the Baking Sheet: Leave space between chips to allow hot air to circulate and create that perfect crunch.
- Watch Carefully in the Last 5 Minutes: Chips can quickly go from perfectly crisp to burnt, so keep a close eye on them.
- Let Them Cool Completely: The chips will continue to crisp up as they cool, so resist the temptation to eat them immediately.
- Experiment with Seasonings: Try different spice blends like garlic powder, cumin, or chili powder to keep things interesting.
- Store Properly: If you have leftovers, keep them in an airtight container to maintain their crispness.
Nutrition Facts
Calories: 80kcal
Carbohydrates: 15g
Protein: 1g
Fat: 4g
Saturated Fat: g
Cholesterol: 0mg