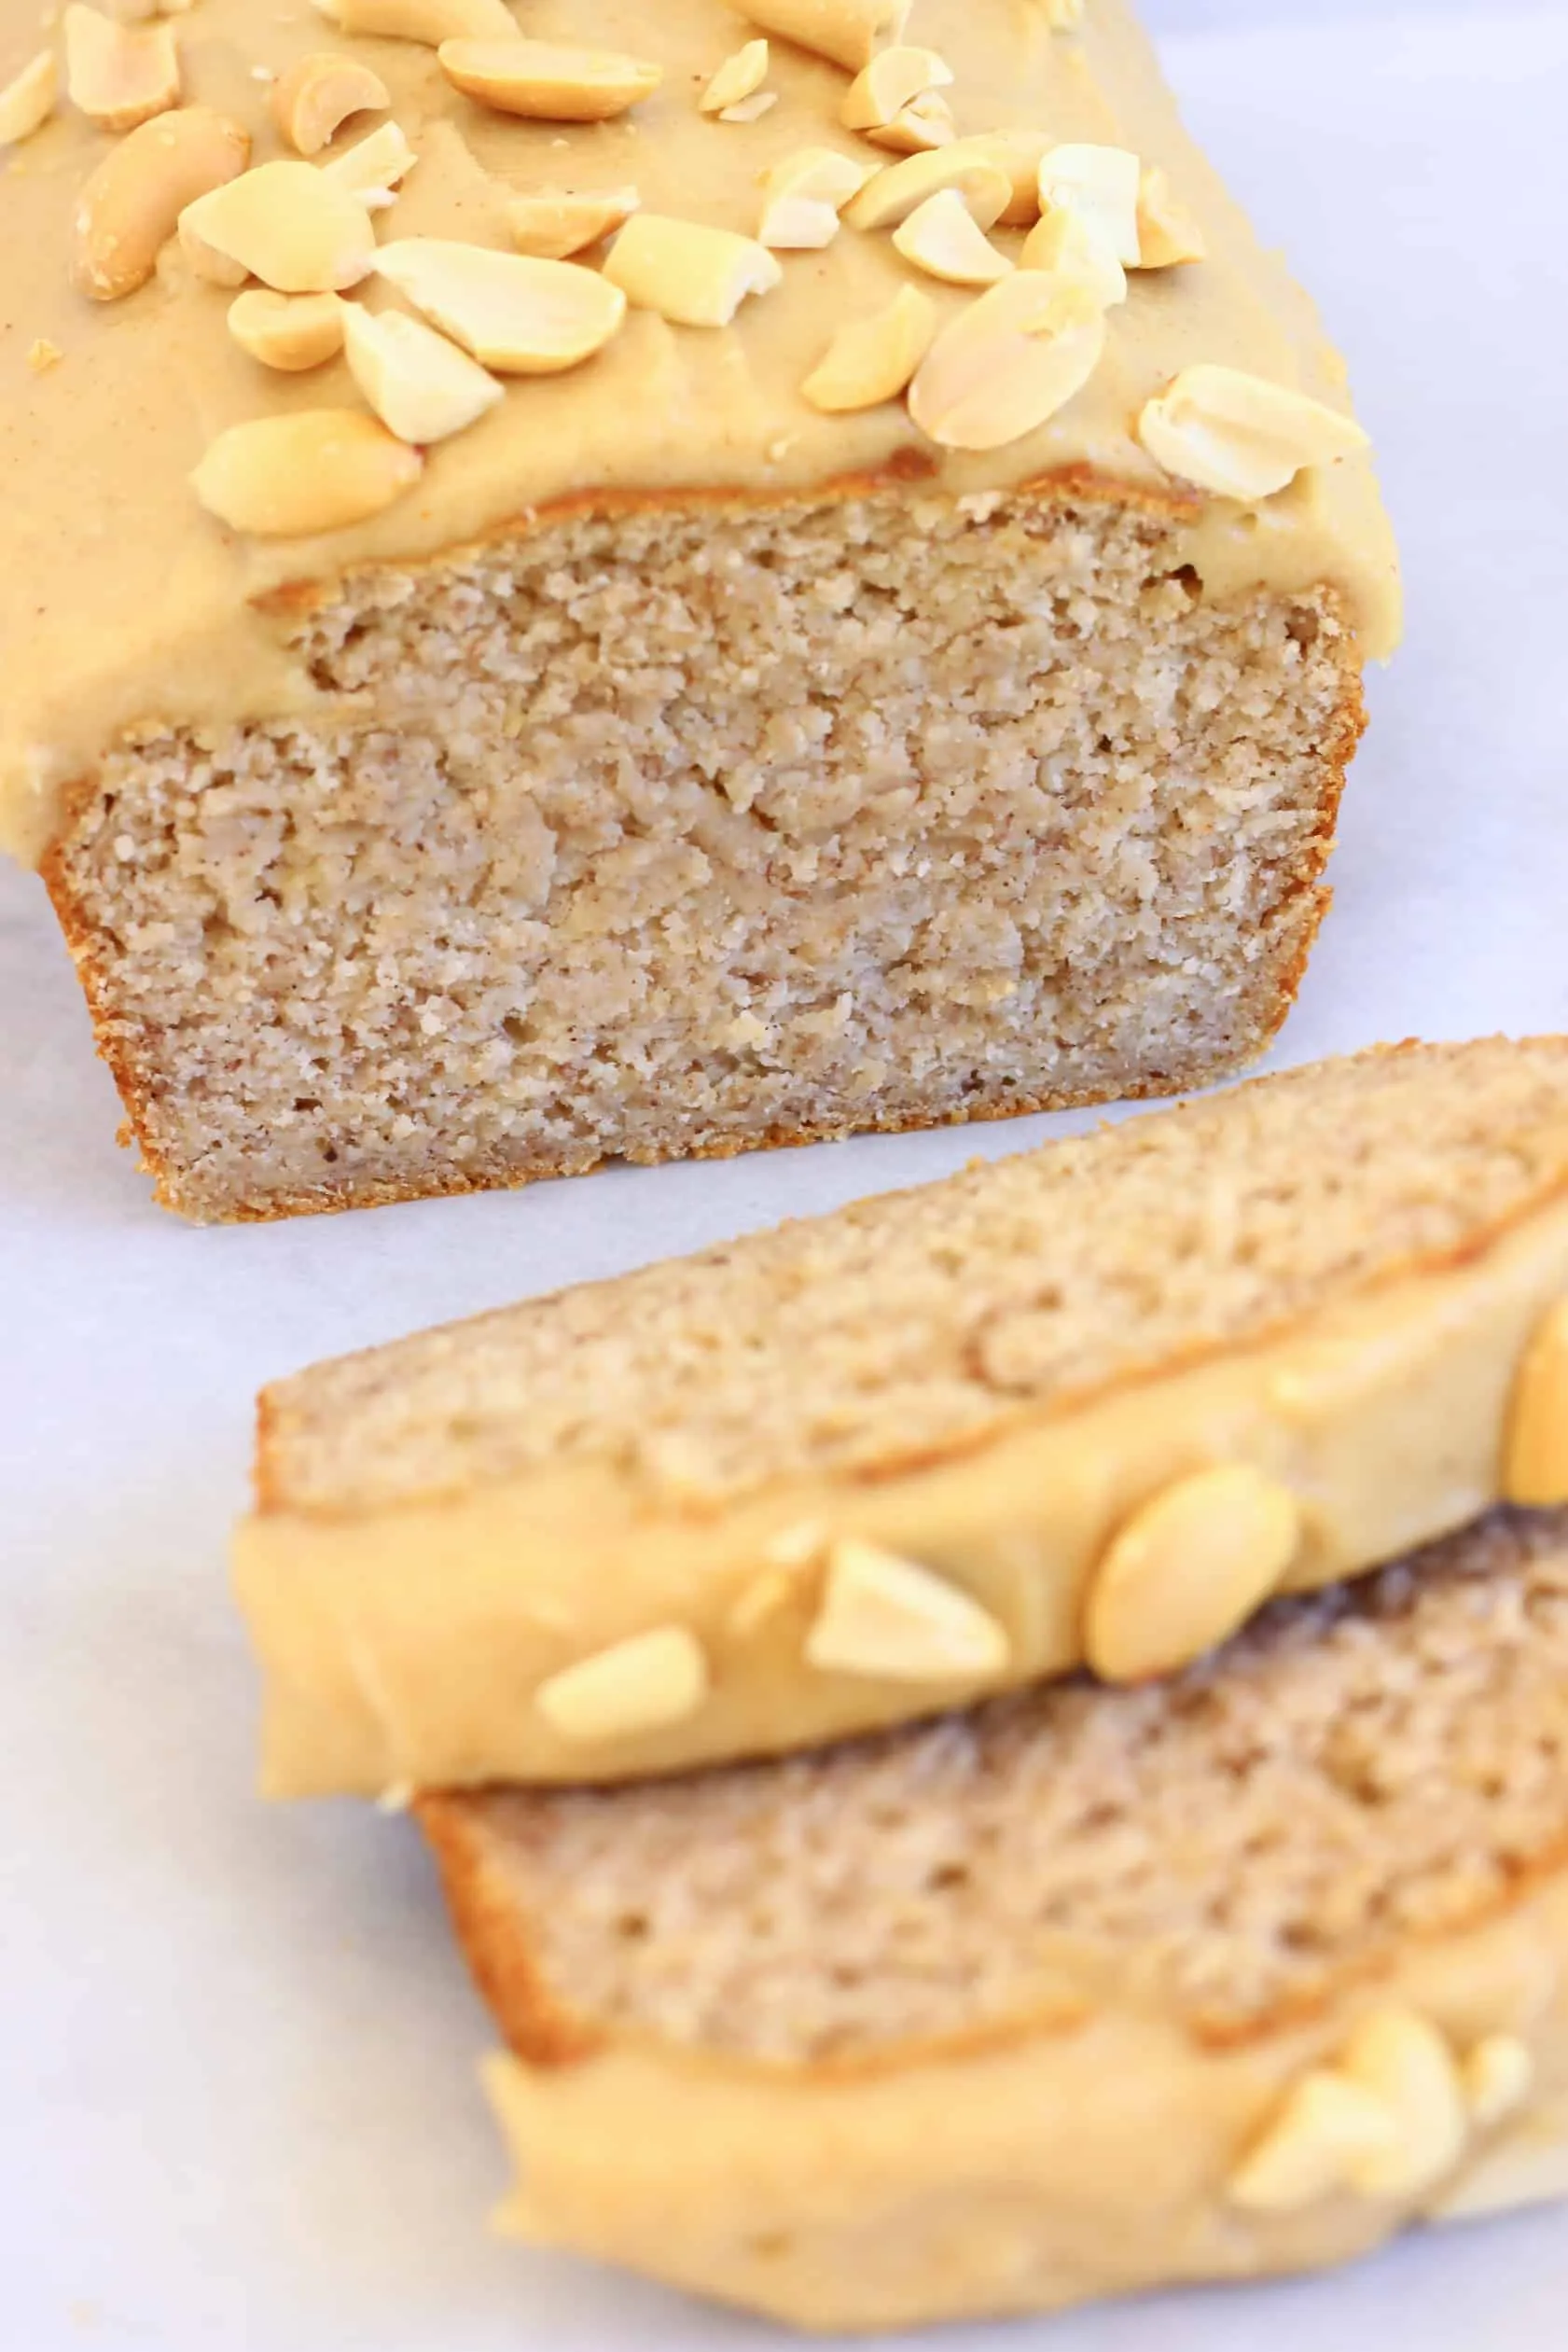
Are you ready to indulge in a deliciously moist and naturally sweetened treat that’s not only gluten-free but also packed with the delightful flavors of peanut butter and banana? This Gluten Free Peanut Butter Banana Bread is the perfect solution for breakfast, a snack, or even a guilt-free dessert! With just a handful of simple ingredients, you can create a loaf that’s bursting with flavor and goodness. Trust us, once you take a bite, you’ll be hooked! So, let’s dive into this easy-to-follow recipe that will have your kitchen smelling heavenly and your taste buds dancing!
Prep Time: 15 mins
Cook Time: 50 mins
Total Time: 1 hrs 5 mins
Cuisine: American
Serves: 1 loaf
Ingredients
- 3 ripe bananas
- 1/2 cup peanut butter
- 1/3 cup honey or maple syrup
- 2 eggs
- 1 teaspoon vanilla extract
- 1 teaspoon baking soda
- 1/2 teaspoon salt
- 1 1/2 cups gluten-free all-purpose flour
Instructions
- Preheat the oven to 350°F (175°C). Line a 9x5 inch loaf pan with parchment paper, allowing excess paper to hang over the sides for easy removal.
- In a large mixing bowl, thoroughly mash the ripe bananas using a fork until they are smooth and no large chunks remain.
- Add the peanut butter, honey (or maple syrup), eggs, and vanilla extract to the mashed bananas. Whisk the ingredients together until well combined and smooth.
- In a separate bowl, sift together the gluten-free all-purpose flour, baking soda, and salt. This helps remove any lumps and ensures even distribution of the leavening agent.
- Gradually fold the dry ingredients into the wet mixture, stirring gently until just combined. Be careful not to overmix, as this can make the bread tough.
- Pour the batter into the prepared loaf pan, using a spatula to spread it evenly and smooth the top.
- Bake in the preheated oven for 50-55 minutes. To check for doneness, insert a toothpick into the center of the bread - it should come out clean or with just a few moist crumbs.
- Remove the bread from the oven and let it cool in the pan for 10 minutes. Then, use the parchment paper to lift the bread out and transfer to a wire rack to cool completely.
- Once cooled, slice and serve. The bread can be stored in an airtight container at room temperature for up to 3 days, or refrigerated for up to a week.
Tips
- Choose Ripe Bananas: The riper the bananas, the sweeter your bread will be! Look for bananas with plenty of brown spots for maximum flavor.
- Don’t Overmix: When combining the wet and dry ingredients, mix just until combined. Overmixing can lead to a dense loaf rather than a light and fluffy one.
- Customize Your Sweetness: Feel free to adjust the amount of honey or maple syrup according to your taste preference. You can even swap out the sweetener for a sugar substitute if desired.
- Add Mix-Ins: For an extra flavor boost, consider adding chocolate chips, chopped nuts, or dried fruit into the batter before baking.
- Check for Doneness: Ovens can vary, so start checking your bread a few minutes before the suggested baking time. A toothpick inserted in the center should come out clean or with a few moist crumbs.
- Cool Properly: Allow the bread to cool in the pan for a bit before transferring it to a wire rack. This helps maintain its shape and texture.
- Storage Tips: To keep your bread fresh, store it in an airtight container at room temperature for up to 3 days or refrigerate it for up to a week. You can also freeze slices for a quick snack later!
Nutrition Facts
Calories: 220kcal
Carbohydrates: 25g
Protein: 7g
Fat: 12g
Saturated Fat: g
Cholesterol: 35mg


