Get ready to elevate your baking game with a delightful twist on a classic treat! Our Chocolate Royal Icing and Football recipe is not just a feast for the eyes but also a deliciously sweet way to celebrate your favorite sports events. Imagine perfectly crafted football-shaped cookies, adorned with glossy royal icing that will impress your guests and leave them craving more. In just 30 minutes, you can create a stunning dessert that’s perfect for game day or any festive occasion. So, roll up your sleeves and dive into this fun and creative baking adventure that’s sure to score big with everyone!
Prep Time: 30 mins
Cook Time: -
Total Time: 30 mins
Cuisine: American
Serves: 12 servings
Ingredients
- 2 egg whites
- 3 cups powdered sugar
- 1 tsp vanilla extract
- Food coloring (optional)
- Football-shaped cookies
Instructions
- In a large, clean mixing bowl, separate the egg whites, ensuring no yolk is present. Room temperature egg whites work best for achieving the right consistency.
- Using an electric mixer, begin beating the egg whites on medium speed until they become frothy and start to form soft peaks. This typically takes about 2-3 minutes.
- Gradually add powdered sugar to the egg whites, about 1/2 cup at a time, continuing to mix on low to medium speed. This helps prevent sugar from flying out of the bowl.
- Add vanilla extract and continue mixing until the icing becomes smooth, glossy, and forms stiff peaks. The consistency should be thick enough to hold its shape but still be spreadable.
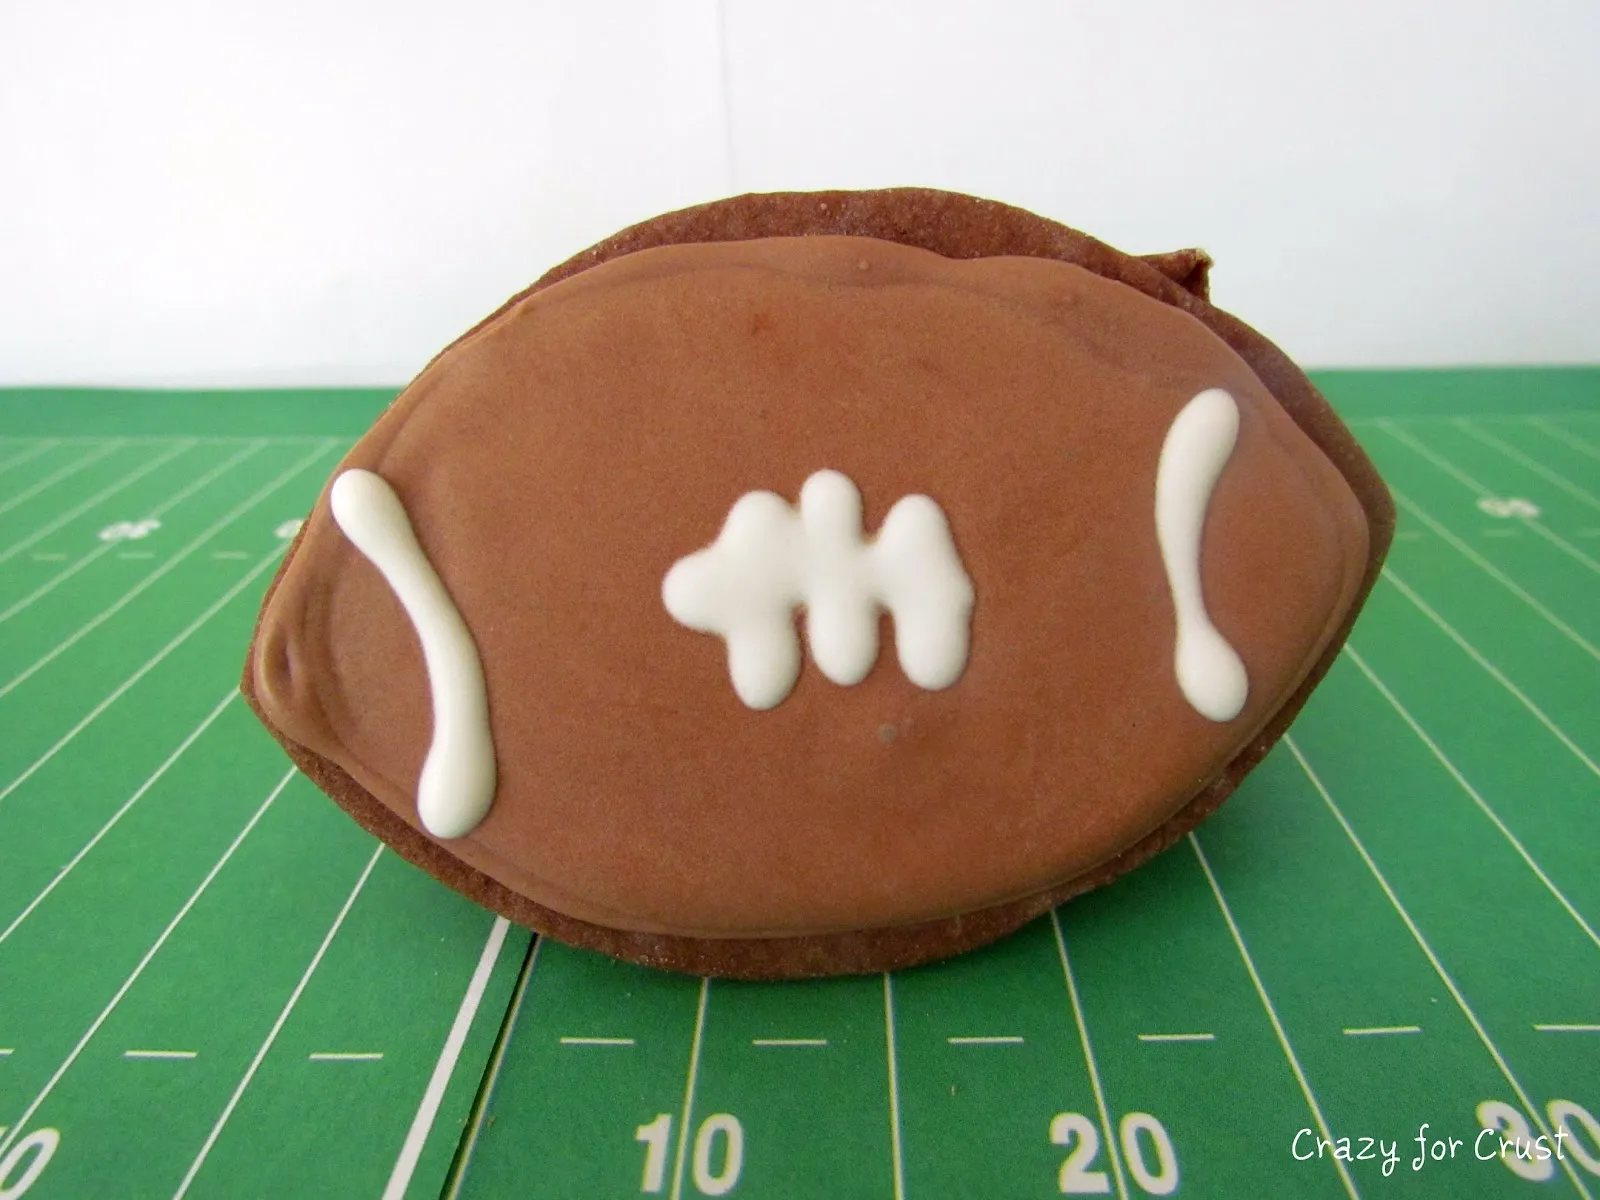
- If desired, divide the royal icing into separate bowls and add food coloring to create football-themed colors like brown, white, or team colors.
- Transfer the icing to piping bags fitted with different tips for decorating. Use a small round tip for detailed football lace designs and outlines.
- Prepare clean, fully cooled football-shaped cookies as your decorating surface. Ensure cookies are completely dry before icing.
- Begin decorating by outlining the cookie edges with royal icing, then flood or fill in the base color. Allow the base layer to dry completely before adding detailed designs.
- Create football lace details by piping thin white lines across the brown-colored base. Use a steady hand and consistent pressure for clean lines.
- Let decorated cookies dry at room temperature for at least 4-6 hours or overnight to ensure the royal icing sets completely.
- Store decorated cookies in a single layer in an airtight container, with parchment paper between layers to prevent sticking.
Tips
- Use Room Temperature Egg Whites: For the best results, ensure your egg whites are at room temperature before whipping. This helps them achieve maximum volume and stability.
- Mix Gradually: When adding powdered sugar, do so gradually to avoid a messy kitchen. Start with half a cup at a time, mixing thoroughly before adding more.
- Check Consistency: The royal icing should be thick enough to hold its shape but still spreadable. If it’s too runny, add a little more powdered sugar; if it’s too thick, add a drop of water.
- Coloring with Care: If you’re using food coloring, start with a small amount and gradually add more until you achieve your desired shade. Remember, colors can deepen as they dry!
- Pipe with Precision: Use piping bags fitted with different tips for various designs. A small round tip is perfect for intricate details like football laces.
- Drying Time Matters: Allow your decorated cookies to dry completely at room temperature. It’s best to leave them for at least 4-6 hours or overnight to ensure the icing sets properly.
- Storage Tips: To keep your decorated cookies fresh, store them in a single layer in an airtight container. Use parchment paper between layers to prevent sticking.
Nutrition Facts
Calories: 120kcal
Carbohydrates: 30g
Protein: 1g
Fat: 0g
Saturated Fat: 0g
Cholesterol: 0mg