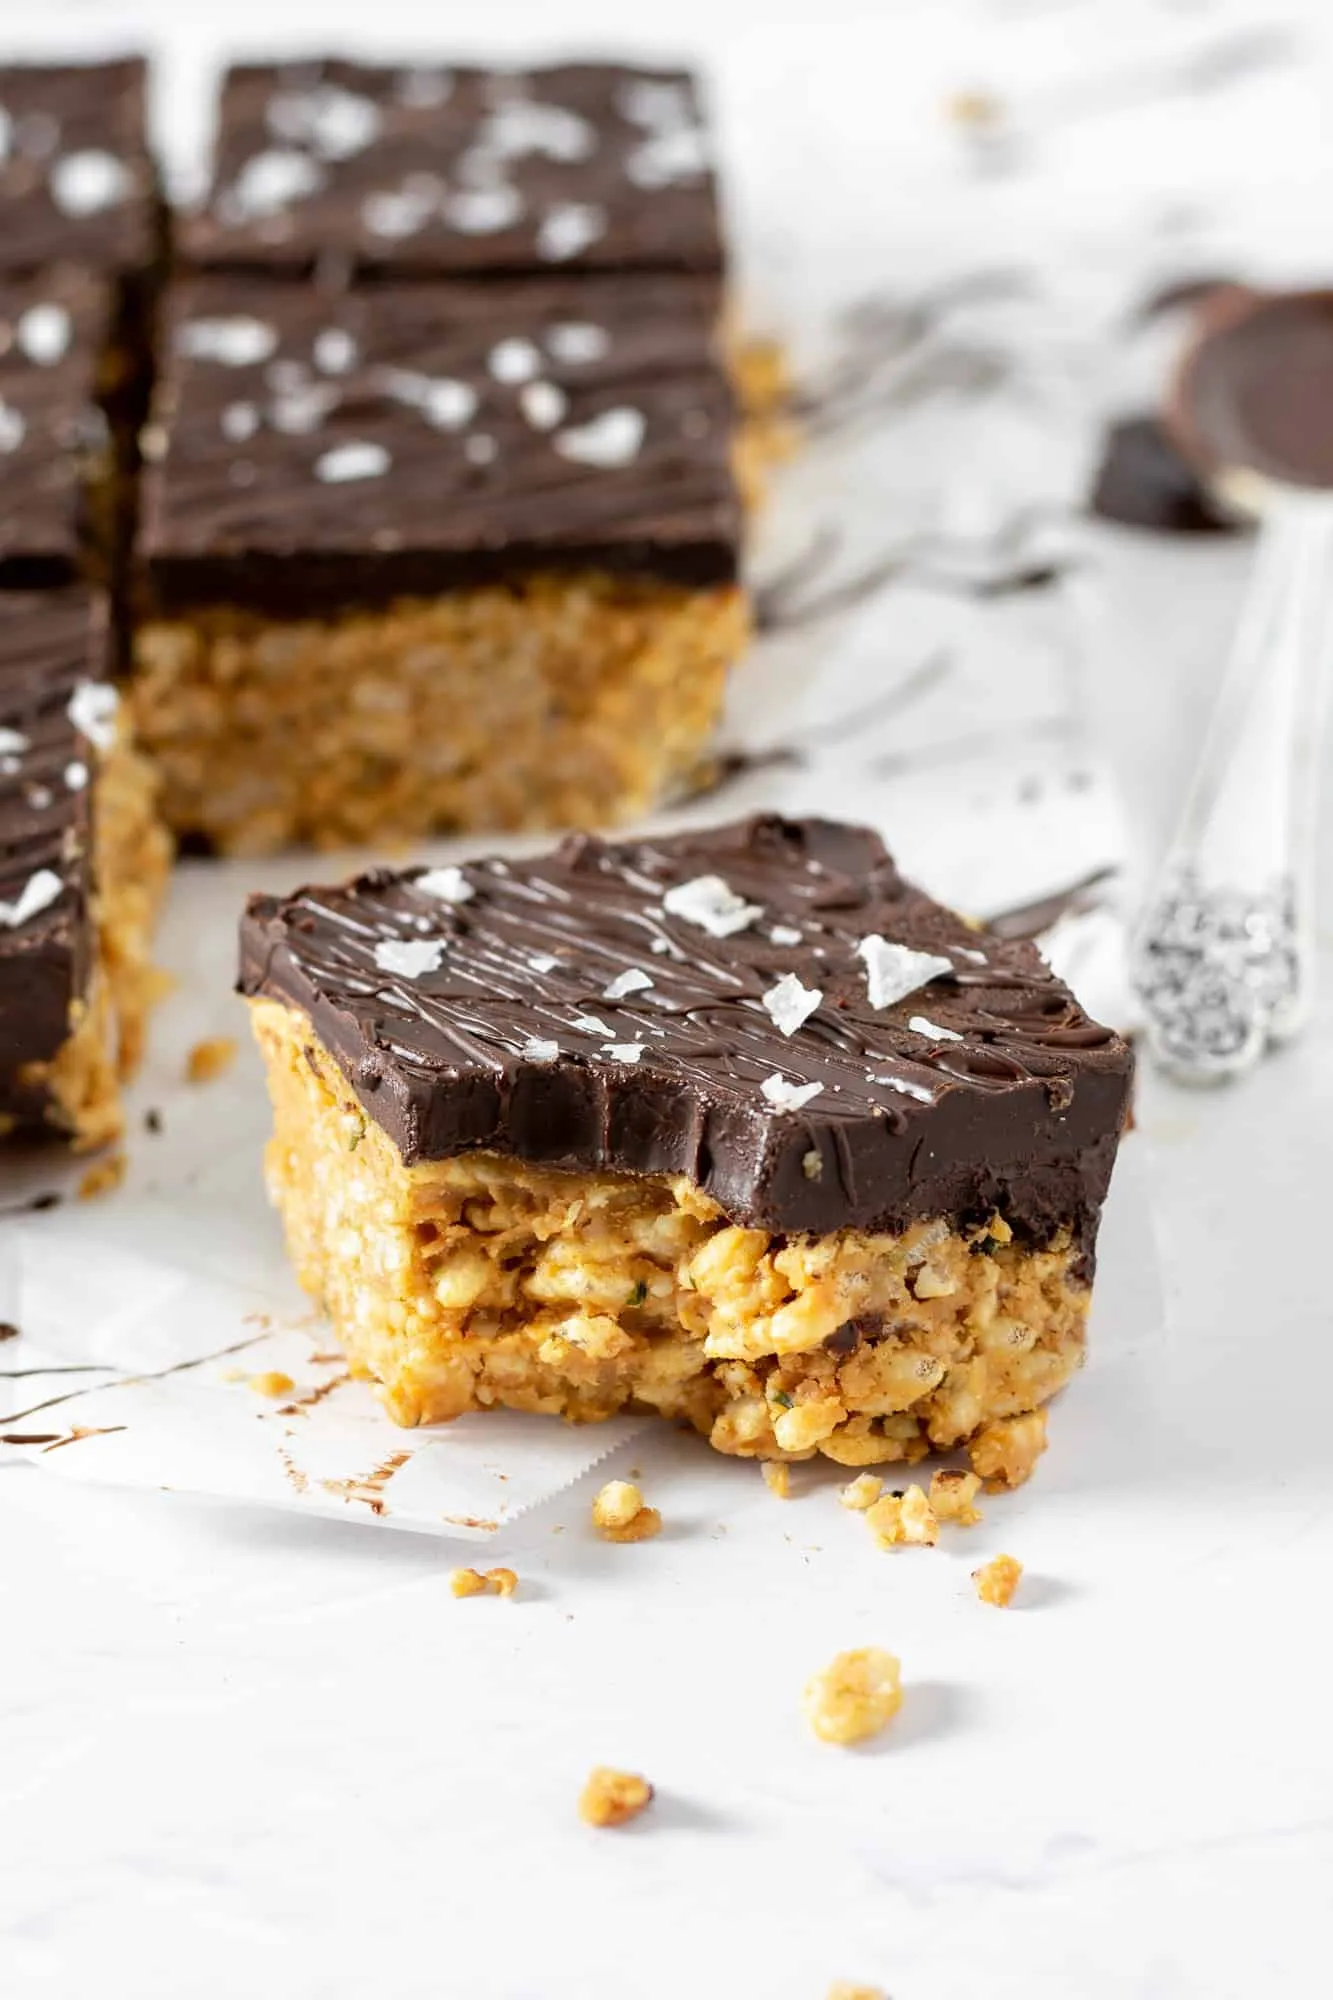
Imagine sinking your teeth into a decadent treat that's not only incredibly delicious but also completely guilt-free. These Peanut Butter Cup Protein Rice Krispie Treats are about to revolutionize your snack game, offering a perfect blend of rich chocolate, creamy peanut butter, and satisfying crunch—all while being vegan, gluten-free, and sugar-free! Whether you're a health-conscious foodie, a fitness enthusiast, or simply someone who loves mind-blowing flavors, this recipe is your ultimate game-changer.
Prep Time: 20 mins
Cook Time: -
Total Time: 20 mins
Cuisine: Vegan
Serves: 12 squares
Ingredients
- 3 cups brown rice cereal
- 1 cup natural peanut butter
- 1/2 cup maple syrup
- 1/4 cup cocoa powder
- 1/4 cup vegan chocolate chips
- 1 teaspoon vanilla extract
Instructions
- Gather all your ingredients: 3 cups of brown rice cereal, 1 cup of natural peanut butter, 1/2 cup of maple syrup, 1/4 cup of cocoa powder, 1/4 cup of vegan chocolate chips, and 1 teaspoon of vanilla extract.
- In a large mixing bowl, combine the natural peanut butter and maple syrup. Stir them together until they are well blended and smooth.
- Add the cocoa powder to the peanut butter and maple syrup mixture. Mix thoroughly until the cocoa powder is fully incorporated and there are no lumps.
- Stir in the vanilla extract to enhance the flavor of your mixture. Ensure it is evenly distributed throughout the mixture.
- Gradually fold in the brown rice cereal. Use a spatula or wooden spoon to gently mix until all the cereal is coated with the chocolate-peanut butter mixture.
- Once the cereal is well coated, add the vegan chocolate chips. Fold them into the mixture carefully to avoid breaking them.
- Prepare an 8x8 inch (or similar size) baking dish by lining it with parchment paper. This will make it easier to remove the treats once they are set.
- Transfer the mixture into the prepared baking dish. Use the back of a spatula or your hands to press the mixture down firmly and evenly into the dish. Ensure it is compact to help the treats hold together.
- Once pressed down, place the baking dish in the refrigerator for about 10-15 minutes to allow the mixture to set and firm up.
- After chilling, remove the baking dish from the refrigerator. Lift the treats out using the edges of the parchment paper.
- Cut the set mixture into 12 squares using a sharp knife. Store any leftovers in an airtight container in the refrigerator.
- Enjoy your Peanut Butter Cup Protein Rice Krispie Treats as a delicious, healthy snack!
Tips
- Use room temperature peanut butter for easier mixing and smoother consistency.
- For extra protein, consider adding a scoop of vegan protein powder to the mixture.
- Make sure to press the mixture firmly into the pan to ensure the treats hold together well.
- Chill the treats completely before cutting for clean, precise squares.
- For a more intense chocolate flavor, use dark cocoa powder.
- If the mixture seems too dry, add a little more maple syrup to help bind the ingredients.
- Store in an airtight container in the refrigerator for up to a week.
- For a fun variation, sprinkle some sea salt on top before chilling for a gourmet touch.
Nutrition Facts
Calories: 180kcal
Carbohydrates: 18g
Protein: 6g
Fat: 11g
Saturated Fat: 3g
Cholesterol: 0mg


