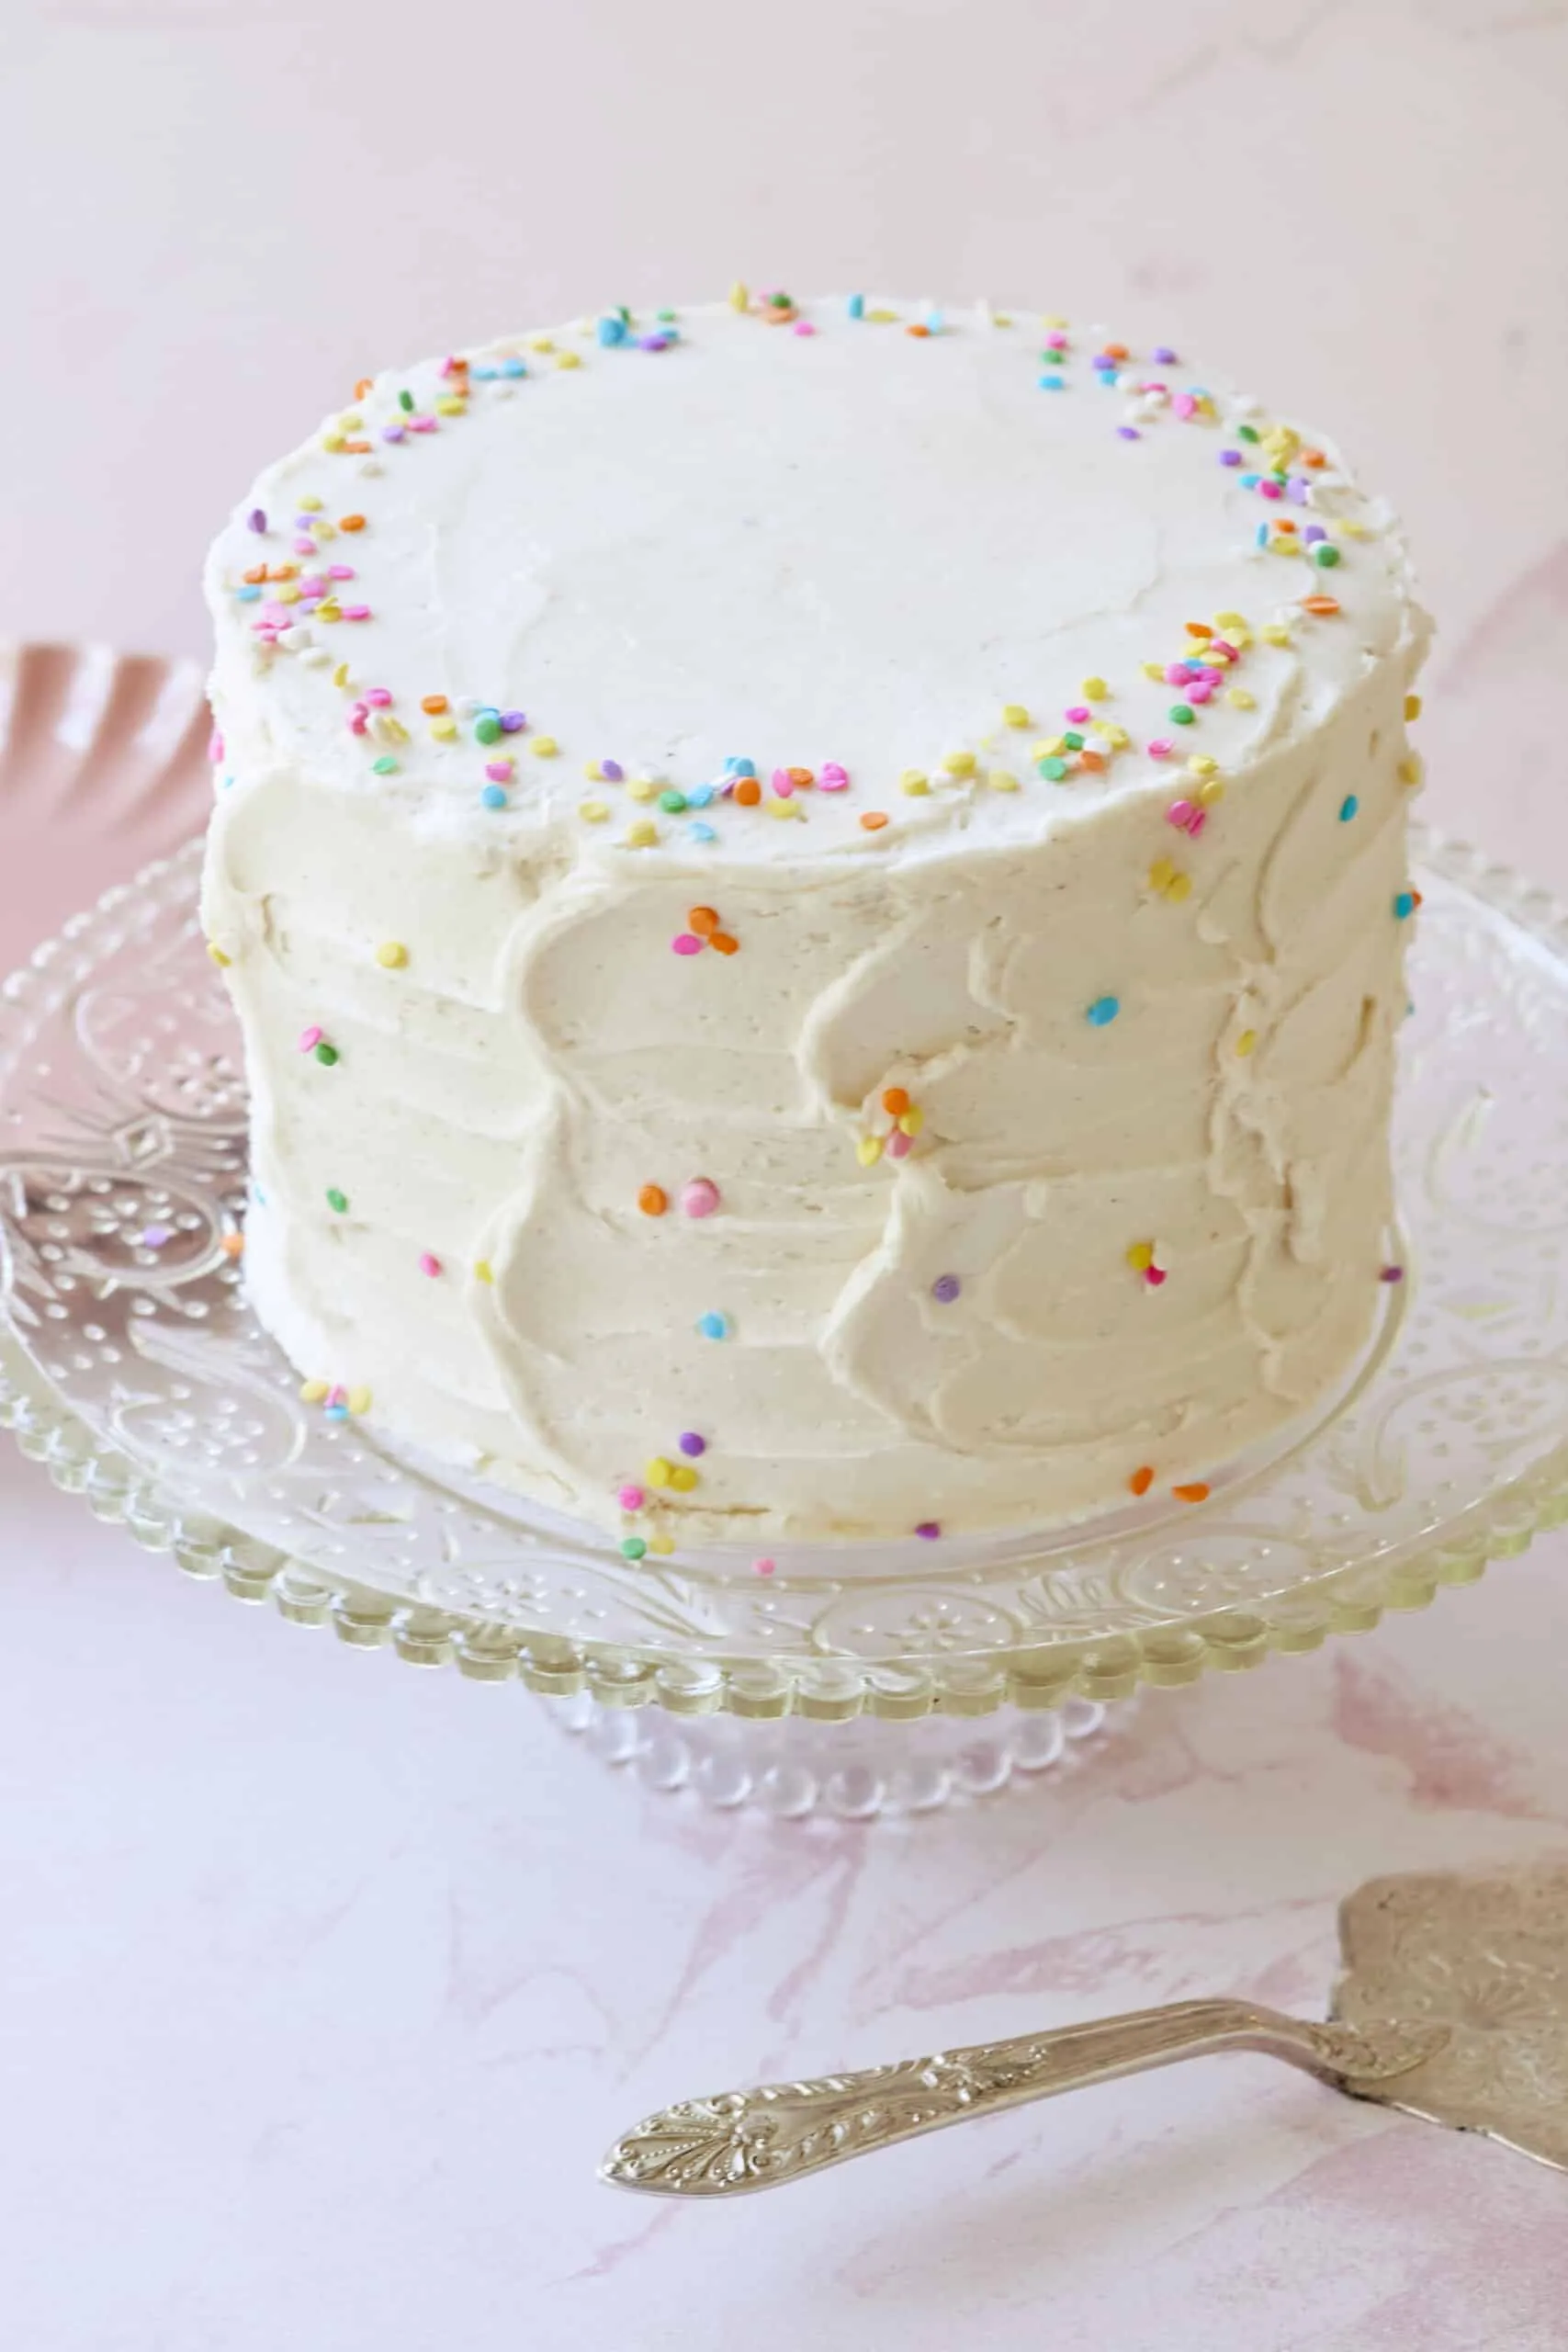
Prepare to embark on a culinary journey that transforms ordinary baking into an extraordinary experience! This Vanilla Almond Flour Yellow Cake is not just a dessert—it's a game-changing recipe that proves gluten-free can be incredibly delicious. With its tender crumb, rich vanilla flavor, and nutty almond undertones, this cake will have your taste buds dancing and your guests begging for the recipe. Whether you're following a gluten-free lifestyle or simply looking for a show-stopping dessert, this cake is about to become your new obsession.
Prep Time: 20 mins
Cook Time: 30 mins
Total Time: 50 mins
Cuisine: American
Serves: 8 servings
Ingredients
- 2 cups almond flour
- 1/2 cup sugar
- 1/2 cup unsalted butter, softened
- 4 large eggs
- 1 tablespoon baking powder
- 1 tablespoon vanilla extract
- 1/4 teaspoon salt
Instructions
- Preheat the oven to 350°F (175°C). Grease a 9-inch round cake pan thoroughly with butter or line with parchment paper to prevent sticking.
- In a large mixing bowl, cream together the softened butter and sugar using an electric mixer until the mixture becomes light and fluffy, approximately 3-4 minutes.
- Add eggs one at a time to the butter-sugar mixture, beating well after each addition. Ensure each egg is fully incorporated before adding the next.
- Stir in the vanilla extract, mixing until evenly distributed throughout the batter.
- In a separate bowl, whisk together the almond flour, baking powder, and salt to ensure even distribution of dry ingredients.
- Gradually fold the dry ingredient mixture into the wet ingredients, stirring gently until just combined. Be careful not to overmix, which can result in a dense cake.
- Pour the batter into the prepared cake pan, spreading it evenly with a spatula to ensure uniform baking.
- Place the pan in the preheated oven and bake for 25-30 minutes, or until a toothpick inserted into the center comes out clean.
- Remove the cake from the oven and let it cool in the pan for 10 minutes before transferring to a wire rack to cool completely.
- Once cooled, the cake can be served as is or decorated with frosting, powdered sugar, or fresh berries as desired.
Tips
- Room Temperature Matters: Ensure all ingredients, especially eggs and butter, are at room temperature for the smoothest, most well-incorporated batter.
- Don't Overmix: Gently fold dry ingredients into wet ingredients to maintain the cake's light, tender texture. Overmixing can lead to a dense, tough cake.
- Check for Doneness: Use the toothpick test—insert a toothpick into the center of the cake. If it comes out clean or with just a few moist crumbs, your cake is perfectly baked.
- Cooling is Crucial: Allow the cake to cool in the pan for 10 minutes before transferring to a wire rack. This helps prevent the cake from breaking apart.
- Storage Tip: Store the cake in an airtight container at room temperature for up to 3 days, or refrigerate for up to a week.
- Customize Your Cake: Experiment with toppings like whipped cream, fresh berries, or a light glaze to make this recipe uniquely yours.
Nutrition Facts
Calories: 430kcal
Carbohydrates: 21g
Protein: 12g
Fat: g
Saturated Fat: 9g
Cholesterol: 100mg