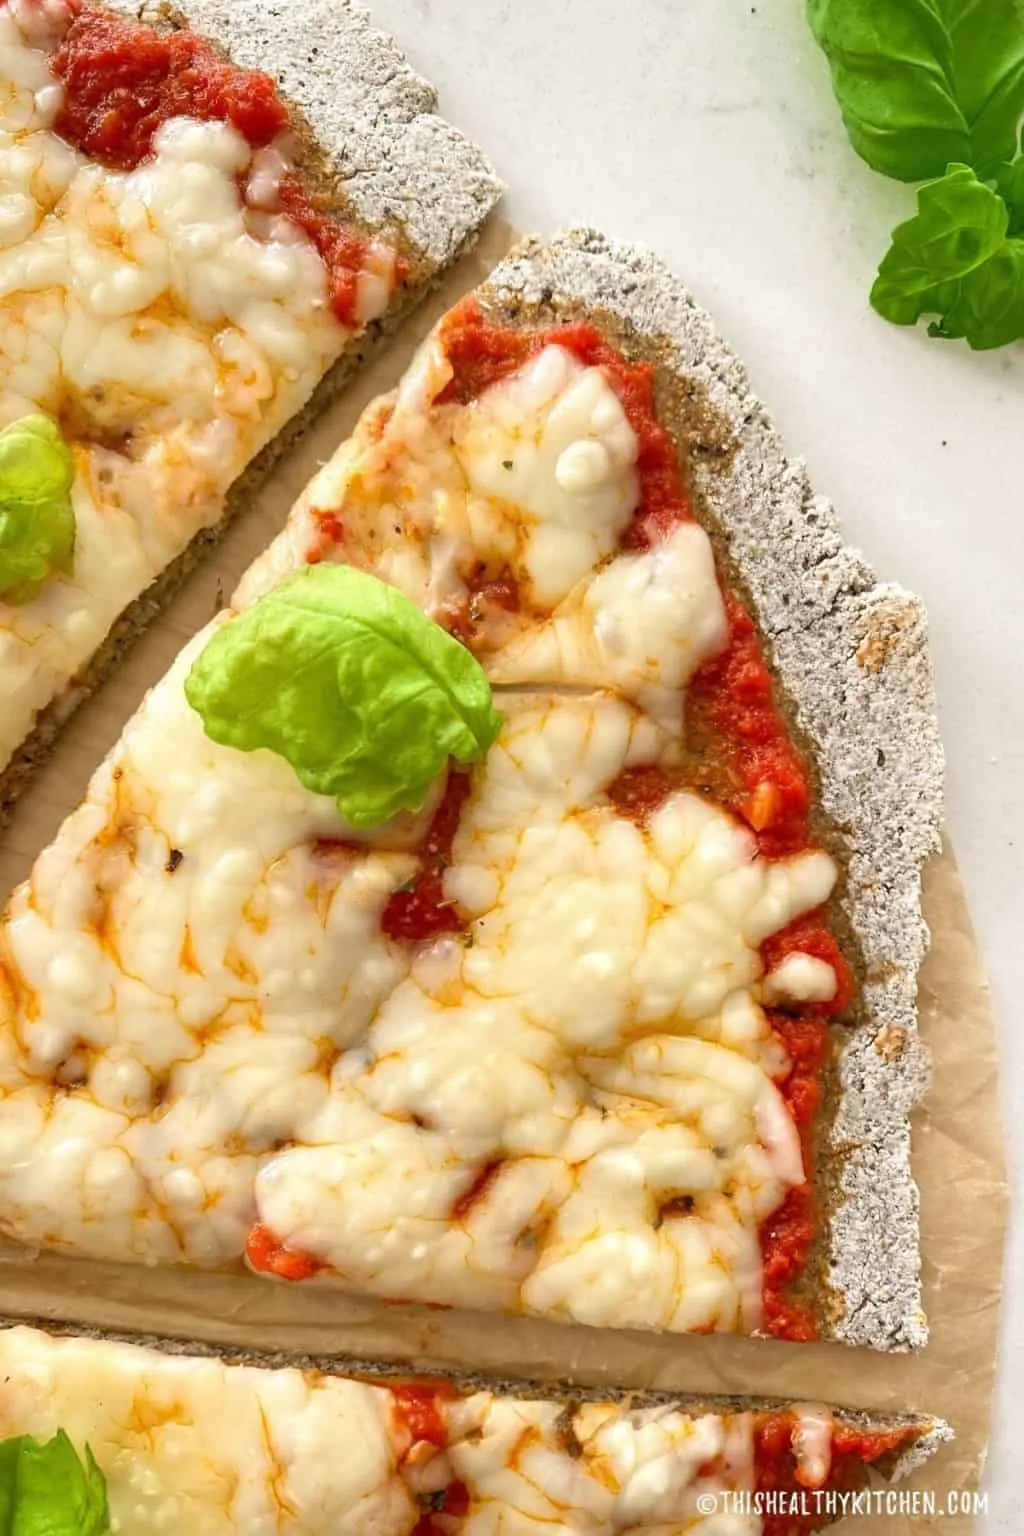
Craving a delicious pizza but need to stick to a gluten-free, vegan diet? Look no further! This Buckwheat Pizza Crust is not only simple to make but also bursting with flavor, and the best part? No yeast required! In just 30 minutes, you can whip up a crispy, satisfying crust that will serve as the perfect base for all your favorite toppings. Say goodbye to store-bought crusts and hello to a healthier, homemade alternative that will impress even the pickiest eaters. Ready to elevate your pizza game? Let’s dive into this easy recipe that will have you saying “pizza night” more often!
Prep Time: 10 mins
Cook Time: 20 mins
Total Time: 30 mins
Cuisine: Italian
Serves: 1 pizza crust
Ingredients
- 1 cup buckwheat flour
- 1/2 teaspoon salt
- 1 tablespoon olive oil
- 1/2 cup water
Instructions
- Preheat your oven to 425°F (220°C). This ensures that your pizza crust will cook evenly and become crispy.
- In a mixing bowl, combine 1 cup of buckwheat flour and 1/2 teaspoon of salt. Use a whisk or fork to mix them together thoroughly, ensuring that the salt is evenly distributed throughout the flour.
- Make a well in the center of the dry ingredients and add 1 tablespoon of olive oil. This will help to enrich the dough and add flavor.
- Gradually pour in 1/2 cup of water while stirring the mixture with a spoon or spatula. Start mixing from the center and work your way outwards to incorporate the flour. The mixture should come together into a dough that is slightly sticky but manageable.
- If the dough is too dry, add a little more water, one tablespoon at a time, until the desired consistency is reached. If it’s too wet, sprinkle in a bit more buckwheat flour.
- Once the dough is formed, lightly flour a clean surface with buckwheat flour. Transfer the dough onto the surface and knead it gently for about 1-2 minutes until it becomes smooth and pliable.
- Shape the dough into a ball and then flatten it with your hands. Using a rolling pin, roll it out into a round shape about 1/4 inch thick. Make sure to dust the rolling pin and surface with a little more buckwheat flour to prevent sticking.
- Transfer the rolled-out dough onto a baking sheet lined with parchment paper. If you prefer, you can also place it on a pizza stone for a crispier crust.
- Use your fingers to create a small lip around the edges of the crust to hold in your toppings. This will also help to create a thicker edge that can become crispy while baking.
- Place the crust in the preheated oven and bake for about 10 minutes until it starts to firm up and turn slightly golden.
- Remove the crust from the oven and add your favorite vegan pizza toppings, such as tomato sauce, vegetables, and vegan cheese.
- Return the topped pizza to the oven and bake for an additional 10 minutes, or until the toppings are cooked and the edges of the crust are crispy.
- Once done, take the pizza out of the oven and let it cool for a few minutes before slicing. Enjoy your gluten-free vegan buckwheat pizza!
Tips
- Preheat Properly: Always preheat your oven to 425°F (220°C) before baking your crust. This step is crucial for achieving that perfect crispy texture!
- Mix Well: When combining the buckwheat flour and salt, make sure they are thoroughly mixed to avoid any salty bites in your crust.
- Adjust Consistency: If your dough feels too dry, don’t hesitate to add more water, a tablespoon at a time. Conversely, if it’s too sticky, sprinkle in a bit more buckwheat flour until it reaches the right consistency.
- Knead Gently: Just a minute or two of gentle kneading is all you need to make the dough smooth and pliable. Over-kneading can make it tough.
- Rolling Tips: Dust your rolling pin and surface with buckwheat flour to prevent sticking. Aim for a thickness of about 1/4 inch for a perfect crust!
- Create a Lip: When shaping your crust on the baking sheet, create a small lip around the edges. This will help contain your toppings and give your pizza a nice, thick edge.
- Customize Your Toppings: Feel free to get creative with your toppings! Use a variety of colorful vegetables, your favorite vegan cheese, and even herbs to make it uniquely yours.
- Cooling Time: After baking, let your pizza cool for a few minutes before slicing. This helps the crust set and makes it easier to cut.With these tips, you’ll be well on your way to mastering the art of gluten-free vegan pizza making. Enjoy your delicious creation!
Nutrition Facts
Calories: 200kcal
Carbohydrates: 38g
Protein: 6g
Fat: 6g
Saturated Fat: 1g
Cholesterol: 0mg