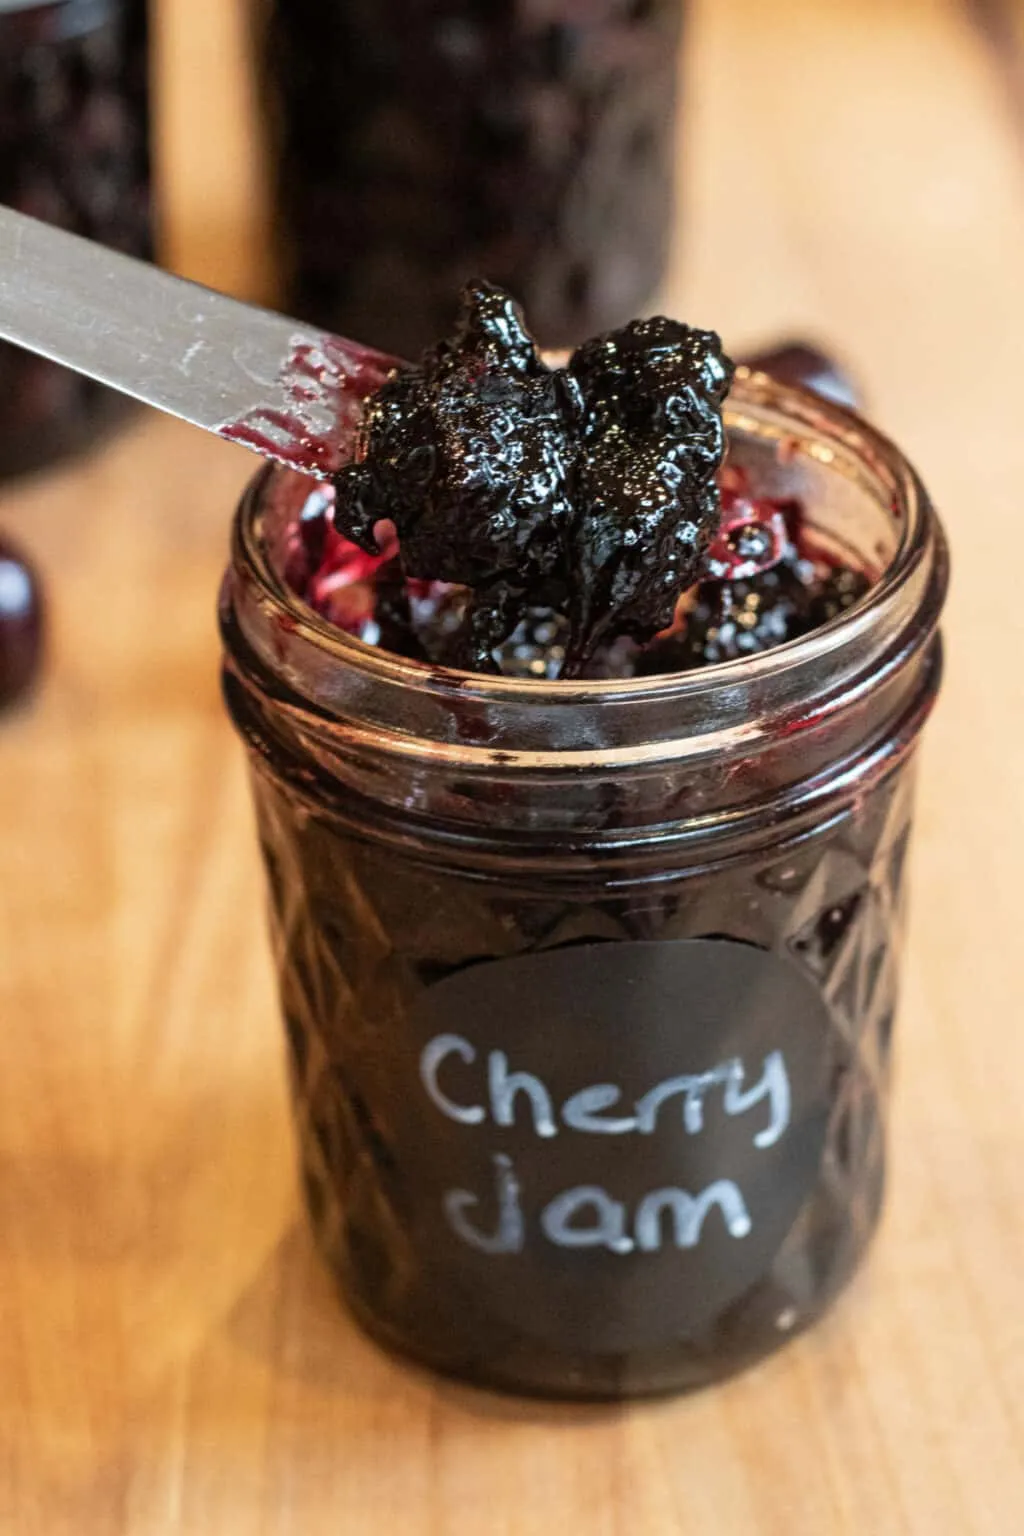
Imagine spreading a spoonful of pure summer sunshine on your morning toast - that's exactly what this incredible cherry jam promises! Whether you're a seasoned canner or a kitchen newbie, this recipe will transform ordinary cherries into a luxurious, mouth-watering preserve that will have your friends and family begging for more. With options to make jam with or without pectin, you'll discover the magical art of preserving nature's sweetest fruit in just under an hour!
Prep Time: 15 mins
Cook Time: 30 mins
Total Time: 45 mins
Cuisine: American
Serves: 6 jars
Ingredients
- 4 cups pitted cherries
- 1 cup sugar
- 1/4 cup lemon juice
- 1 box pectin (optional)
- Jar lids and canning jars
Instructions
- Prepare your canning equipment by sterilizing jars, lids, and bands in boiling water for 10 minutes to ensure proper sanitation.
- Thoroughly wash and pit fresh cherries, removing any stems or damaged fruit. Chop cherries into small pieces or pulse briefly in a food processor to break down the fruit.
- If using pectin: • Combine cherries, sugar, and pectin in a large heavy-bottomed pot • Stir constantly to prevent burning • Bring mixture to a rolling boil that cannot be stirred down • Boil hard for exactly 1 minute • Remove from heat and skim any foam from the surface
- If making jam without pectin: • Combine cherries, sugar, and lemon juice in a large pot • Cook over medium-high heat, stirring frequently • Mash cherries while cooking to release natural pectin • Continue cooking until mixture thickens and reaches 220°F (gel stage) • Perform a cold plate test by placing a small amount on a chilled plate to check consistency
- Carefully ladle hot jam into sterilized jars, leaving 1/4 inch headspace at the top.
- Wipe jar rims clean with a sterile cloth to ensure proper sealing.
- Place sterilized lids and bands on jars, tightening to fingertip-tight.
- Process jars in a boiling water bath for 10 minutes to create a proper seal.
- Remove jars and let cool completely, checking that lids have sealed by pressing the center - it should not flex.
- Label jars with date and contents, and store in a cool, dark place. Properly sealed jam will last 12-18 months.
Tips
- Choose ripe, fresh cherries for the most intense flavor - look for deep red, firm fruits without blemishes.
- Use a cherry pitter to make removing seeds quick and easy, saving time and keeping your hands stain-free.
- For a smoother jam, use a potato masher or immersion blender to break down cherries more thoroughly.
- Always sterilize your jars and equipment to prevent bacterial growth and ensure long-lasting preservation.
- If you don't have a candy thermometer for checking the gel stage, the cold plate test is your best friend - it's foolproof!
- For a more complex flavor, try adding a splash of vanilla extract or a pinch of cinnamon to your jam.
- Store your homemade jam in a cool, dark pantry and enjoy the taste of summer all year round.
Nutrition Facts
Calories: 45kcal
Carbohydrates: g
Protein: g
Fat: g
Saturated Fat: 0g
Cholesterol: 0mg