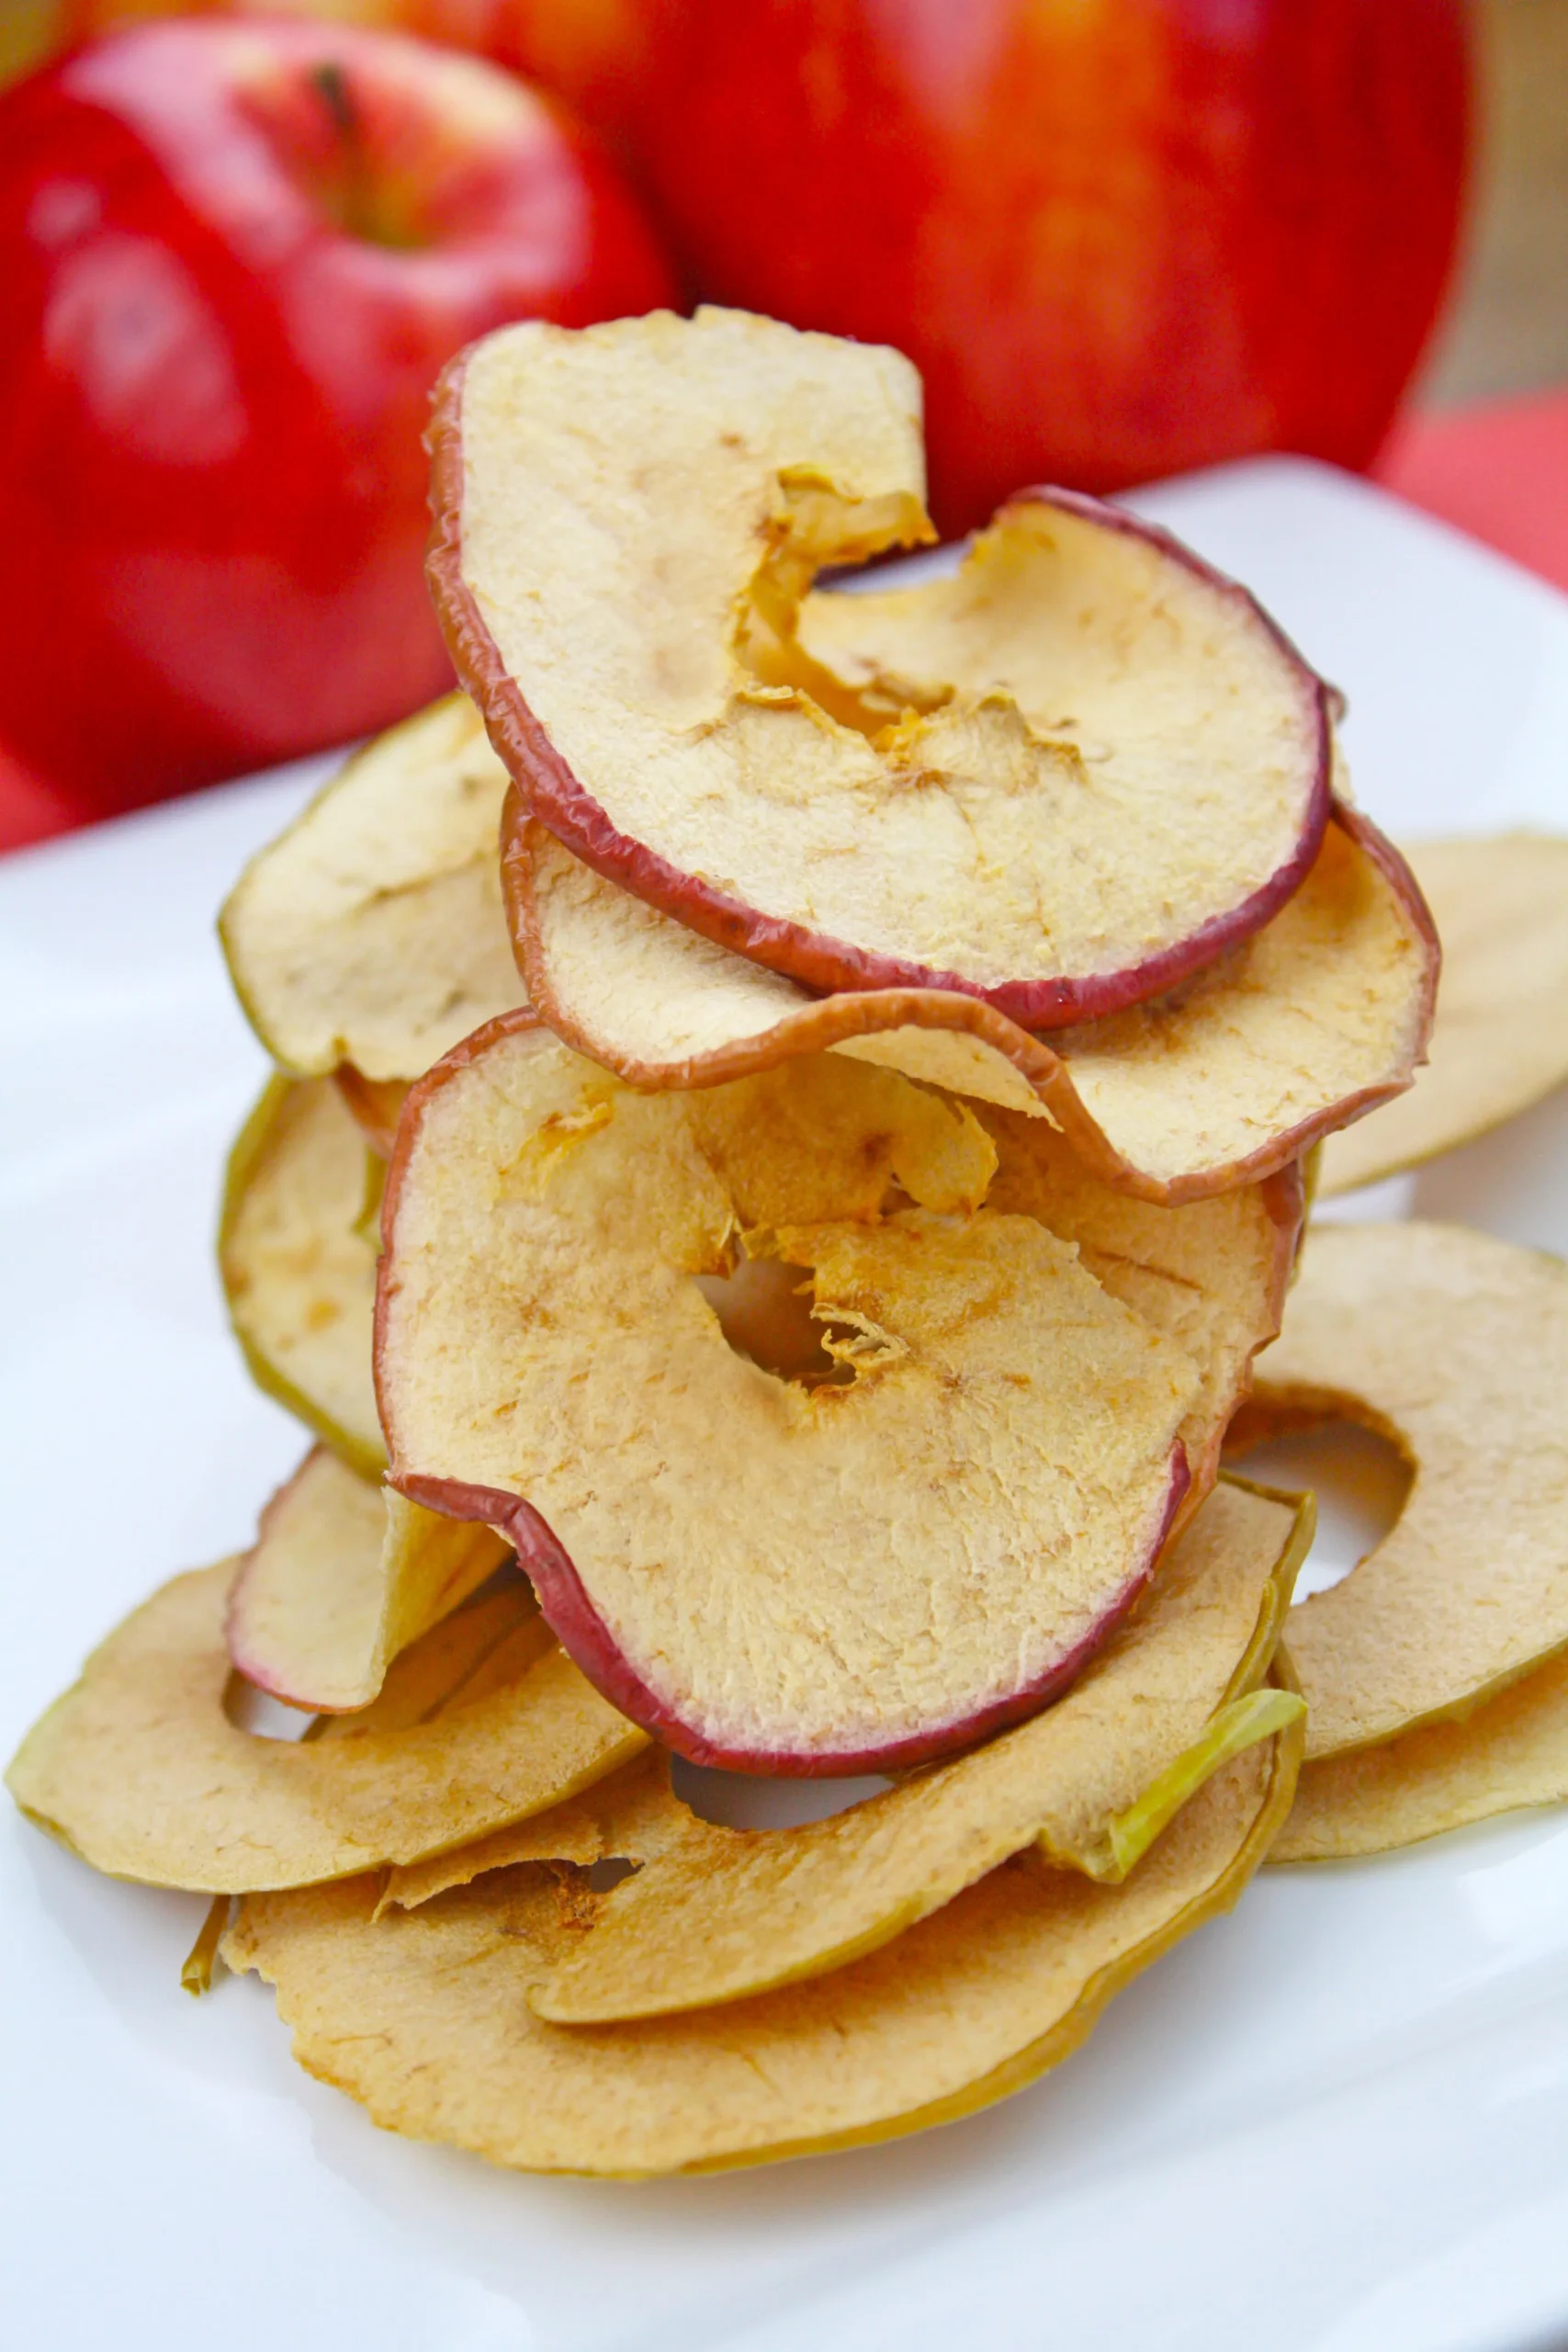
Are you ready to indulge in a deliciously crunchy snack that’s both healthy and satisfying? Look no further than these Easy Baked Apple Chips! Perfect for satisfying those midday cravings or as a guilt-free treat, this simple recipe transforms fresh apples into crispy delights that will have your taste buds dancing. With just a handful of ingredients and a little patience, you can create a snack that not only tastes amazing but is also a fantastic way to enjoy the natural sweetness of apples. So, roll up your sleeves and let’s dive into the world of homemade apple chips!
Prep Time: 10 mins
Cook Time: 2 hrs
Total Time: 2 hrs 10 mins
Cuisine: American
Serves: 4 servings
Ingredients
- 2 large apples, cored and thinly sliced
- 1 tablespoon lemon juice
- 1 teaspoon cinnamon
- 1 tablespoon sugar (optional)
Instructions
- Preheat the oven to 200°F (95°C). Line two large baking sheets with parchment paper or silicone baking mats to prevent sticking.
- Wash the apples thoroughly under cool running water. Pat them dry completely with a clean kitchen towel or paper towels.
- Using a sharp mandoline slicer or a very sharp knife, carefully slice the apples into extremely thin, uniform rounds (about 1/8 inch thick). Remove any seeds you encounter during slicing.
- Place the apple slices in a large mixing bowl and drizzle with fresh lemon juice. Gently toss to coat each slice evenly, which will prevent browning and add a subtle tangy flavor.
- In a small bowl, mix together the cinnamon and sugar (if using). Sprinkle this mixture over the apple slices and gently toss to ensure even coating.
- Arrange the apple slices in a single layer on the prepared baking sheets, ensuring no slices are overlapping. This allows for even drying and crisp texture.
- Place the baking sheets in the preheated oven and bake for approximately 2 hours, rotating the sheets halfway through cooking time to ensure uniform drying.
- Check the apple chips periodically. They are done when they are crisp and slightly curled at the edges. Cooking time may vary slightly depending on slice thickness and apple variety.
- Remove from the oven and let the apple chips cool completely on the baking sheets. They will continue to crisp up as they cool.
- Once cooled, carefully transfer the apple chips to an airtight container. They can be stored at room temperature for up to 1 week.
Tips
- Choose the Right Apples: For the best flavor and texture, opt for firm apples like Granny Smith, Honeycrisp, or Fuji. Their natural sweetness and crunchiness make them ideal for baking.
- Slice Evenly: Use a mandoline slicer for uniform thickness, about 1/8 inch. This ensures that all slices cook evenly and become perfectly crispy.
- Prevent Browning: Toss the apple slices in lemon juice right after slicing. This not only prevents browning but adds a delightful tanginess to the chips.
- Experiment with Flavors: Feel free to customize your apple chips! Try adding a pinch of nutmeg, a sprinkle of ginger, or even a drizzle of honey before baking for a unique twist.
- Monitor the Baking Time: Keep an eye on your apple chips as they bake. Cooking times can vary based on your oven and the thickness of the slices, so check for crispness frequently.
- Store Properly: Once cooled, store your apple chips in an airtight container to keep them fresh. They can last up to a week, but they’re so delicious, they probably won’t last that long!
Nutrition Facts
Calories: 29kcal
Carbohydrates: 8g
Protein: g
Fat: g
Saturated Fat: 0g
Cholesterol: 0mg