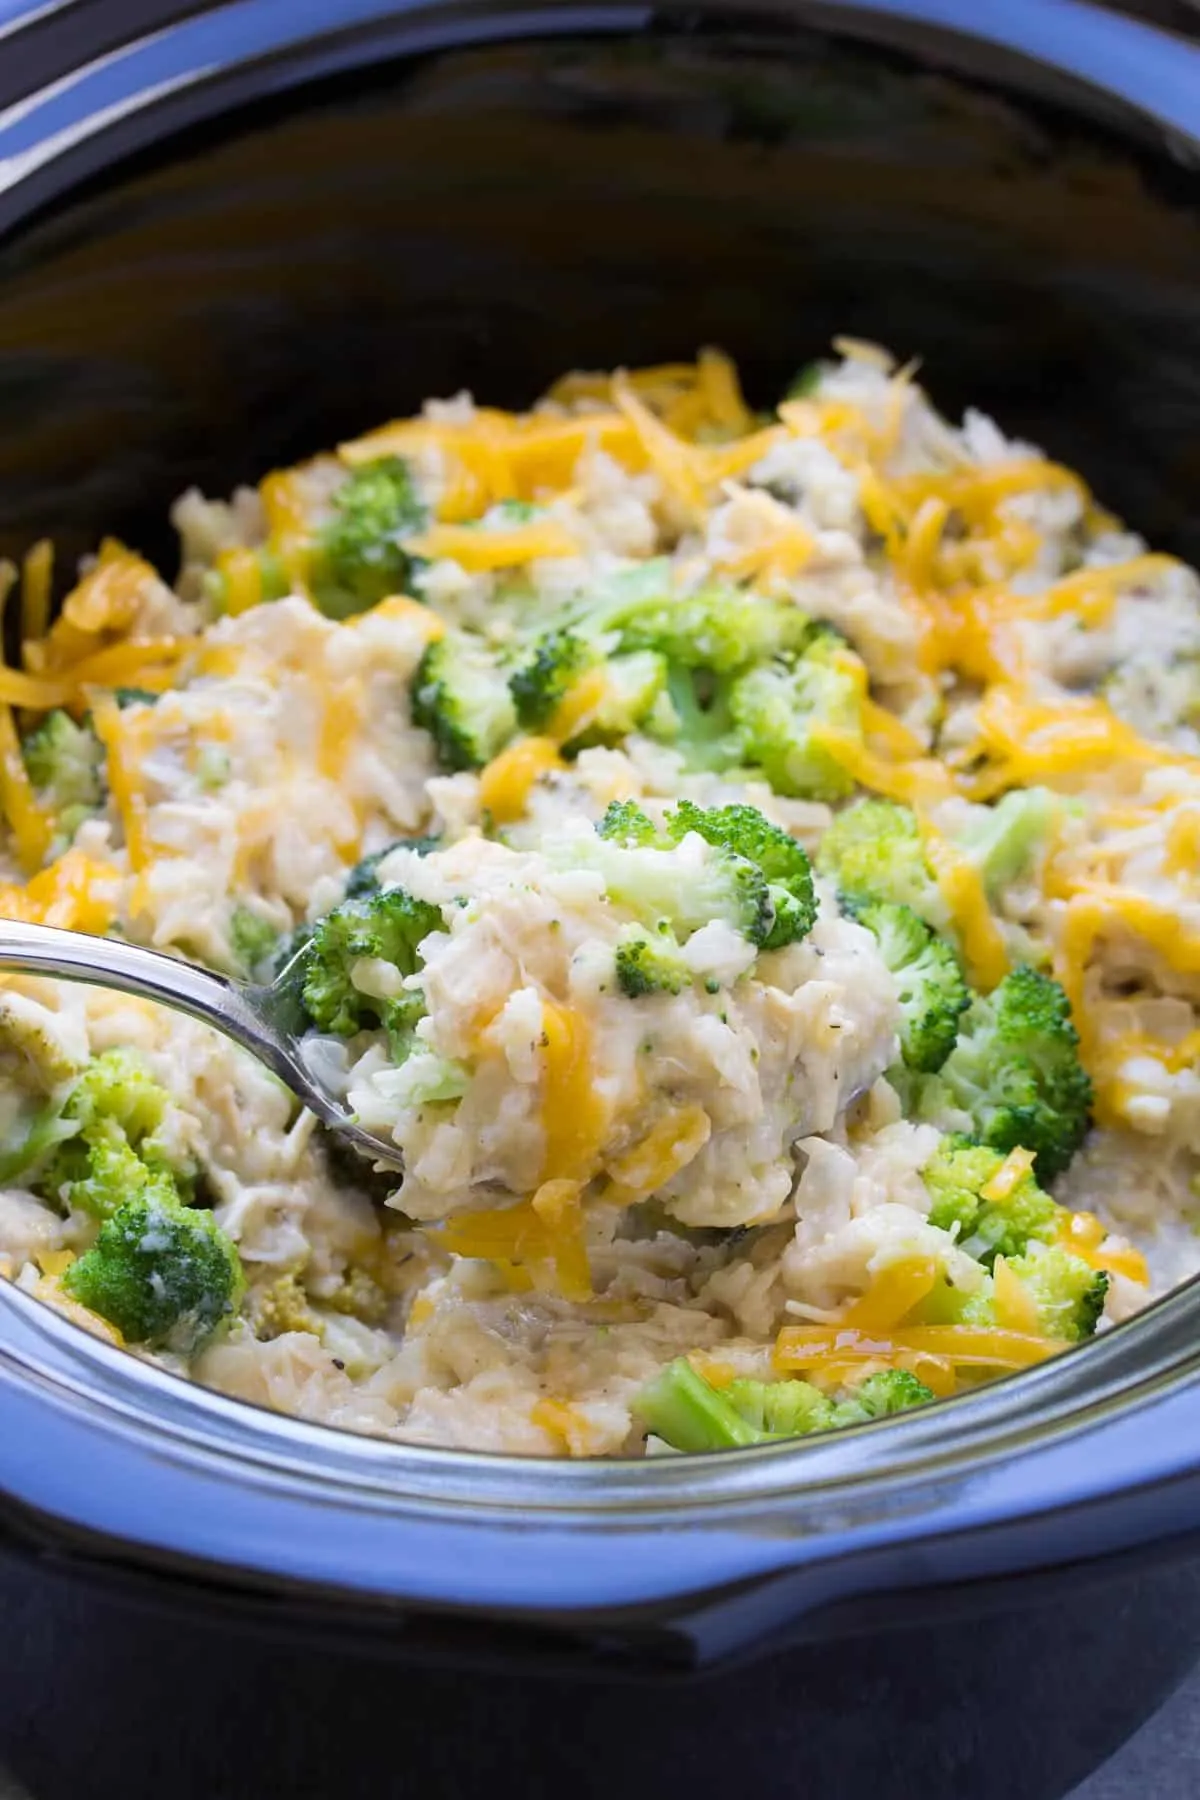
Looking for a hassle-free dinner that will have your family begging for seconds? Look no further! This Easy Chicken Breast Casserole is the ultimate comfort food, perfect for busy weeknights or cozy weekends. With just a handful of ingredients and minimal prep time, you can whip up a delicious meal in your crockpot or oven that’s bursting with flavor. Imagine tender chicken, fluffy rice, and vibrant vegetables all simmered together in a creamy sauce—sounds tempting, right? Dive into this simple yet satisfying recipe and discover how easy it is to create a dish that will warm hearts and fill bellies!
Prep Time: 15 mins
Cook Time: 4 hrs
Total Time: 4 hrs 15 mins
Cuisine: American
Serves: 4 servings
Ingredients
- 4 chicken breasts
- 1 cup rice
- 2 cups chicken broth
- 1 can cream of chicken soup
- 1 cup frozen mixed vegetables
- 1 teaspoon garlic powder
- Salt and pepper to taste
Instructions
- Begin by gathering all your ingredients: 4 chicken breasts, 1 cup of rice, 2 cups of chicken broth, 1 can of cream of chicken soup, 1 cup of frozen mixed vegetables, 1 teaspoon of garlic powder, salt, and pepper.
- If using a slow cooker, lightly grease the inside of the crockpot with cooking spray or a small amount of oil to prevent sticking.
- Place the 4 chicken breasts at the bottom of the crockpot or a greased baking dish if using the oven.
- In a mixing bowl, combine 1 cup of rice, 2 cups of chicken broth, 1 can of cream of chicken soup, 1 cup of frozen mixed vegetables, and 1 teaspoon of garlic powder. Stir well until all ingredients are evenly mixed.
- Pour the mixture over the chicken breasts in the crockpot or baking dish, ensuring the chicken is well covered.
- Season the top of the mixture with salt and pepper to taste. You can adjust the seasoning according to your preference.
- If using a crockpot, cover with the lid and cook on low for 4 hours. If using an oven, preheat it to 350°F (175°C) and cover the dish with aluminum foil, then bake for about 1 hour, or until the chicken is cooked through and the rice is tender.
- Once the cooking time is complete, check that the chicken has reached an internal temperature of 165°F (75°C) and that the rice is fully cooked.
- Remove the casserole from the crockpot or oven and let it sit for a few minutes before serving. This will allow the flavors to meld together.
- Serve the chicken breast casserole warm, spooning some of the rice and vegetable mixture onto each plate. Enjoy your meal!
Tips
- Prep Ahead: To save time, you can prep your ingredients the night before. Chop your vegetables and mix the rice and broth in advance, so all you have to do is assemble everything in the morning.
- Flavor Boost: For an extra kick of flavor, consider adding herbs like thyme or rosemary to the mixture. You can also use seasoned chicken broth instead of regular for added depth.
- Vegetable Variations: Feel free to customize the frozen mixed vegetables based on your family's preferences. Broccoli, peas, or corn work wonderfully in this casserole.
- Check for Doneness: Always ensure the chicken reaches an internal temperature of 165°F (75°C) before serving. If you’re using a different cut of chicken, adjust the cooking time accordingly.
- Leftover Magic: This casserole makes great leftovers! Store any extras in an airtight container in the fridge for up to three days, and simply reheat in the microwave or oven.
- Make It Creamier: If you prefer a creamier texture, add an extra half can of cream of chicken soup or a splash of heavy cream before cooking.
- Serve with Sides: Pair your casserole with a simple side salad or some crusty bread to round out the meal and soak up all that delicious sauce!
Nutrition Facts
Calories: 293kcal
Carbohydrates: g
Protein: g
Fat: g
Saturated Fat: g
Cholesterol: mg