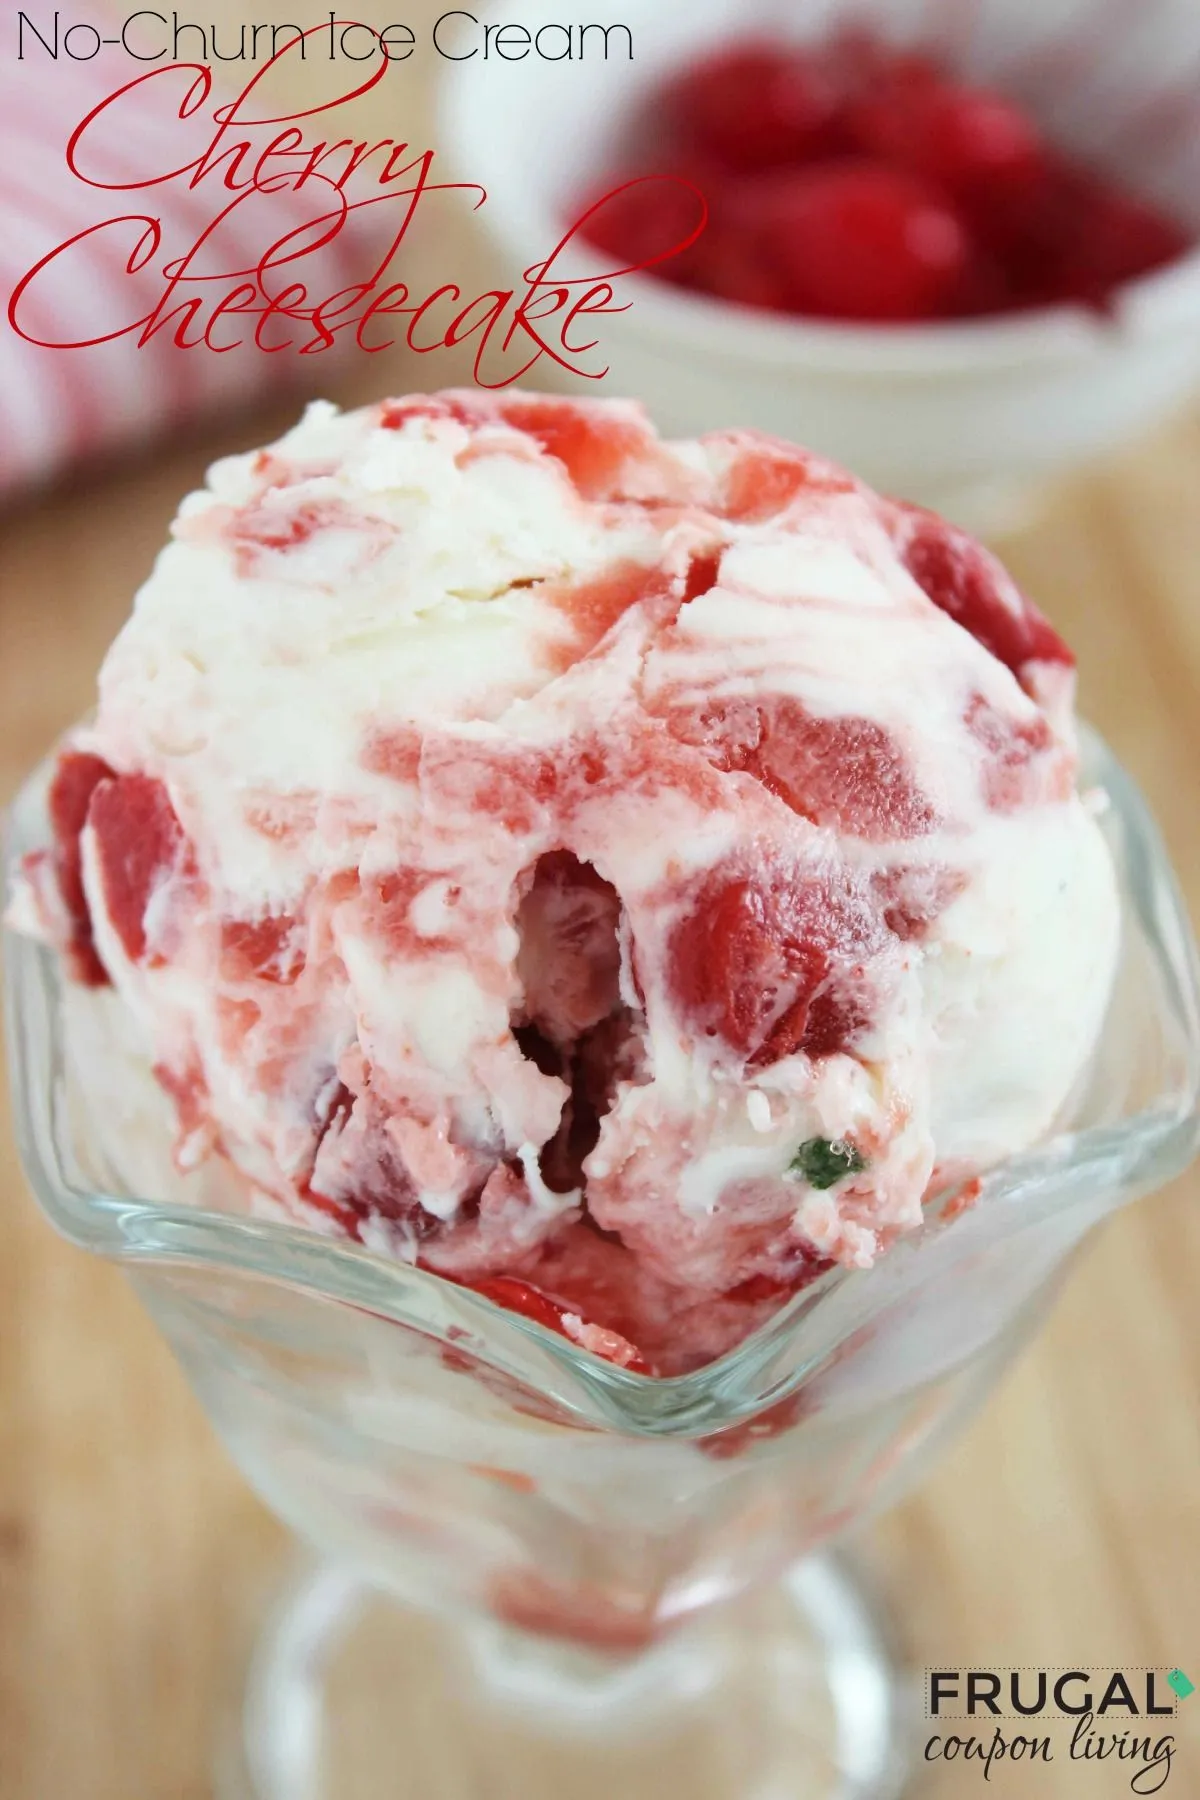
Imagine a dessert that combines the creamy decadence of cheesecake with the cool, refreshing delight of ice cream - all without the hassle of an ice cream machine! This Easy No Churn Cherry Cheesecake Ice Cream is about to become your new summer obsession. With just a few simple ingredients and minimal effort, you'll create a show-stopping treat that looks like it came straight from a gourmet bakery. Get ready to wow your family and friends with this incredibly simple yet absolutely irresistible dessert that's sure to become an instant favorite!
Prep Time: 15 mins
Cook Time: -
Total Time: 15 mins
Cuisine: American
Serves: 6 servings
Ingredients
- 2 cups heavy cream
- 1 cup cream cheese, softened
- 1 cup powdered sugar
- 1 teaspoon vanilla extract
- 1 cup cherry pie filling
Instructions
- Ensure all ingredients are at room temperature before beginning preparation to help achieve a smooth, creamy texture.
- In a large mixing bowl, use an electric mixer to beat the softened cream cheese until it becomes smooth and free of lumps, approximately 2-3 minutes.
- Gradually add powdered sugar to the cream cheese, mixing on low speed until fully incorporated and creating a uniform mixture.
- Pour in the vanilla extract and mix briefly to distribute the flavor evenly throughout the cream cheese base.
- In a separate clean mixing bowl, whip the heavy cream using an electric mixer until stiff peaks form, which typically takes 3-4 minutes.
- Gently fold the whipped cream into the cream cheese mixture using a spatula, being careful to maintain the air and volume of the whipped cream.
- Carefully fold in half of the cherry pie filling, creating a marbled effect throughout the ice cream base.
- Transfer the mixture to a freezer-safe container, such as a 9x5 inch loaf pan, and drizzle the remaining cherry pie filling on top.
- Use a knife or skewer to create additional swirls of cherry filling throughout the surface.
- Cover the container tightly with plastic wrap or a lid and freeze for at least 6 hours, preferably overnight, until the ice cream is firm.
- Before serving, let the ice cream sit at room temperature for 5-10 minutes to soften slightly for easier scooping.
Tips
- Temperature Matters: Ensure all ingredients are at room temperature to achieve a smooth, lump-free mixture. This is crucial for creating a silky-smooth ice cream texture.
- Whip with Care: When beating the heavy cream, watch carefully to create stiff peaks without over-beating. Over-whipped cream can become grainy and affect the final texture.
- Folding Technique: Use a gentle folding motion when combining whipped cream and cream cheese mixture to preserve the air bubbles that give your ice cream its light, creamy texture.
- Swirl Artistry: When adding cherry pie filling, create beautiful marbled effects by using a knife or skewer to create intentional swirls throughout the mixture.
- Freezing Hack: For the best texture, cover the ice cream with plastic wrap directly touching the surface to prevent ice crystals from forming.
- Serving Tip: Always let the ice cream sit at room temperature for 5-10 minutes before serving to make scooping easier and improve the overall texture.
- Storage: This homemade ice cream is best consumed within 1 week for optimal flavor and texture. Store in an airtight container in the freezer.
Nutrition Facts
Calories: 450kcal
Carbohydrates: 30g
Protein: 5g
Fat: 35g
Saturated Fat: 22g
Cholesterol: 120mg