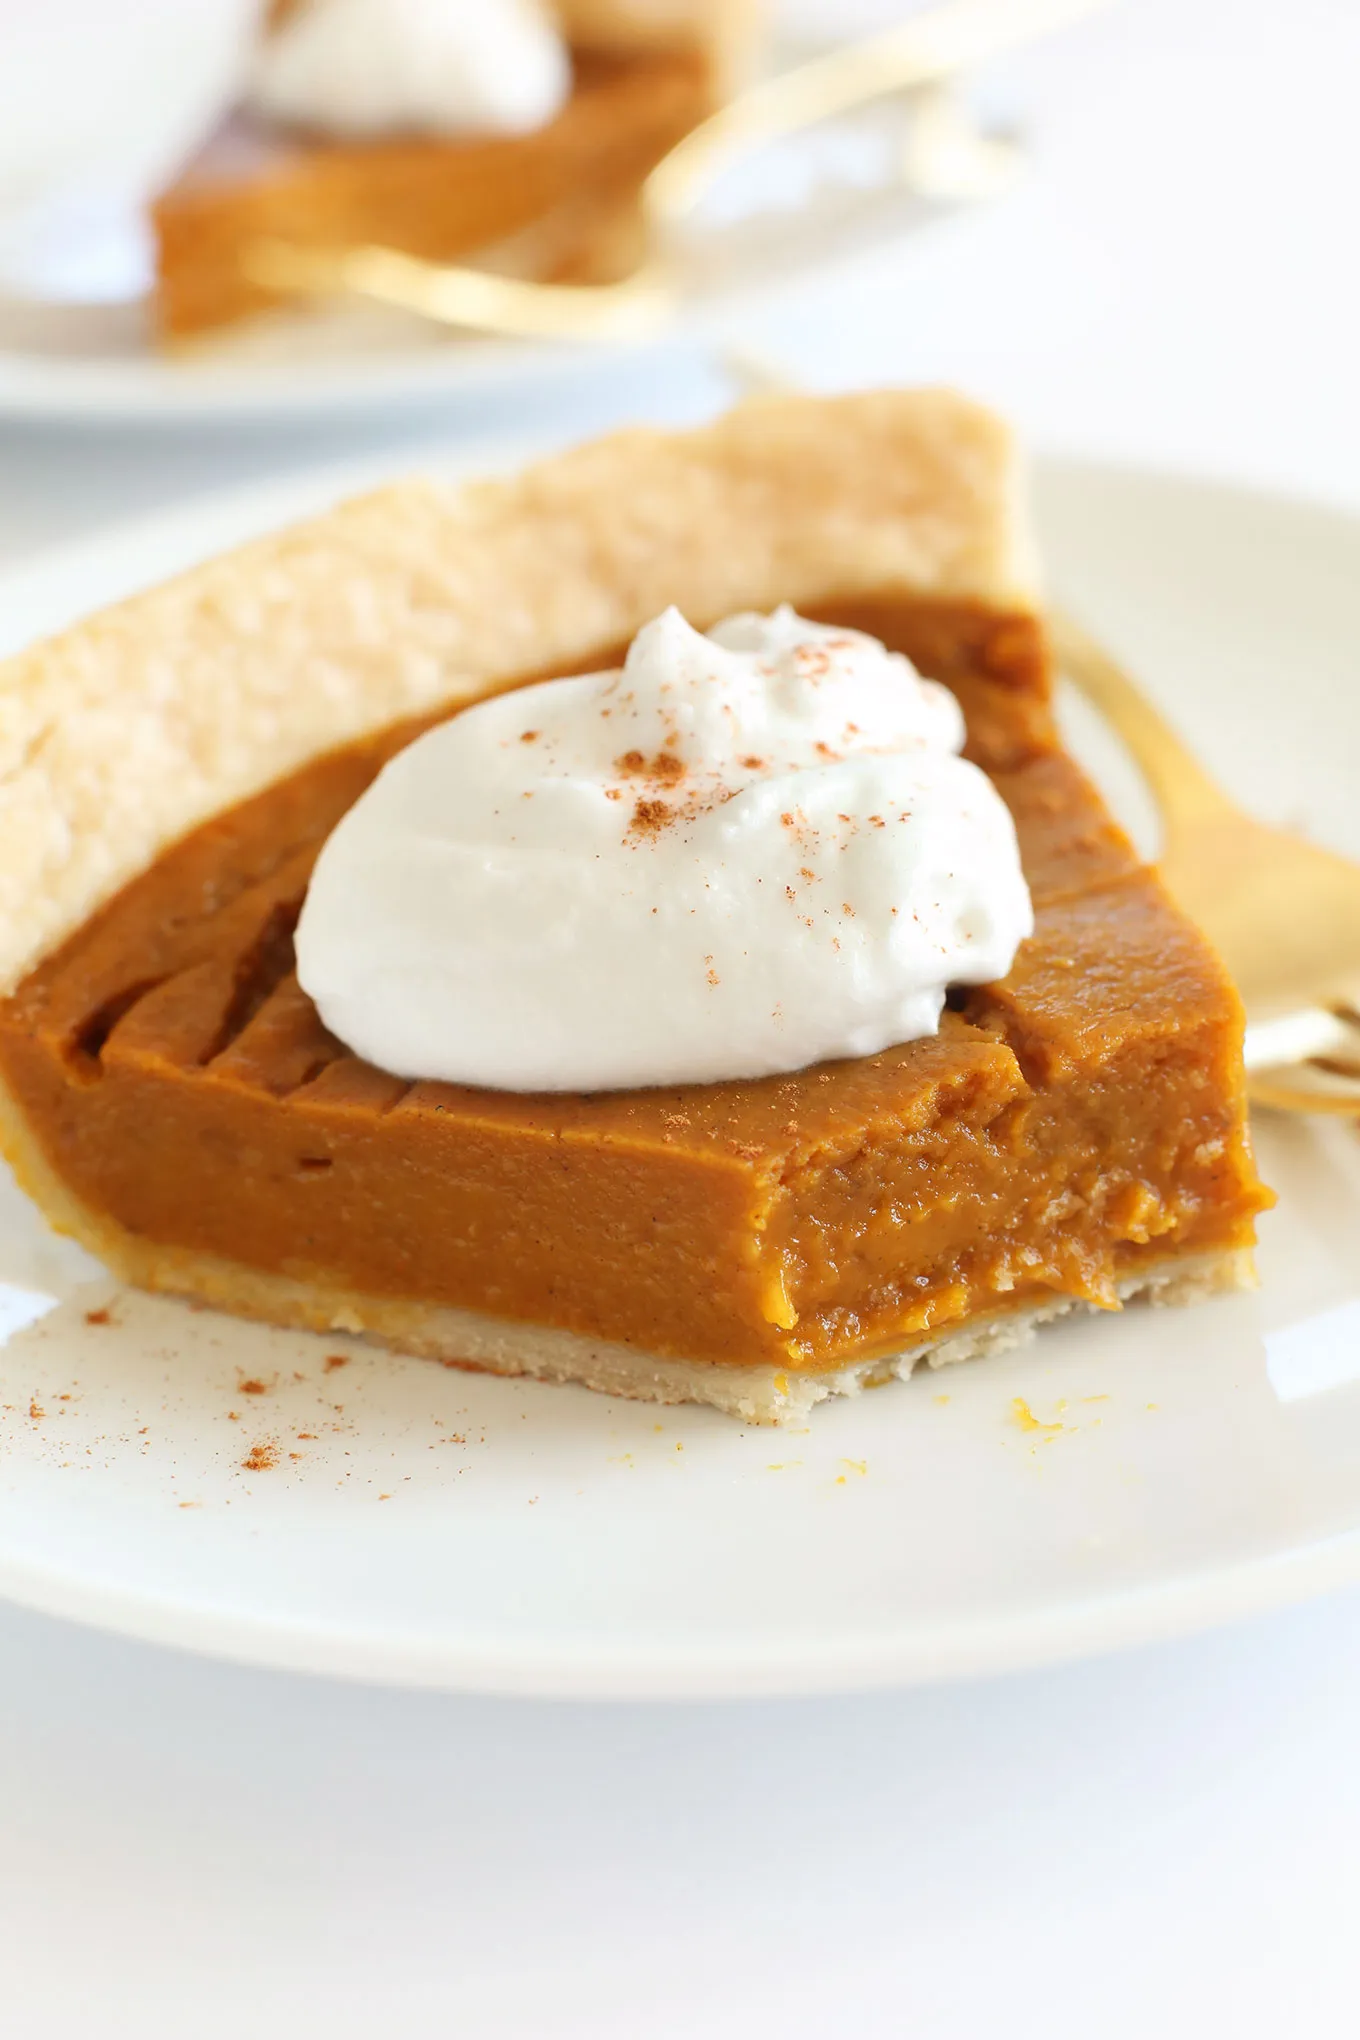
Get ready to indulge in a slice of fall with our Healthy Gluten Free Pumpkin Pie! This delightful dessert is not only a crowd-pleaser but also a guilt-free treat that you can savor without compromising your dietary choices. With its creamy pumpkin filling infused with warm spices and a perfectly flaky gluten-free crust, this pie is sure to be the star of your holiday gatherings. Whether you're hosting a festive dinner or simply craving a cozy dessert, this recipe will have your guests begging for seconds. Read on to discover how to create this scrumptious pumpkin pie that’s as healthy as it is delicious!
Prep Time: 20 mins
Cook Time: 60 mins
Total Time: 80 mins
Cuisine: American
Serves: 8 servings
Ingredients
- 1 can (15 oz) pumpkin puree
- 3/4 cup coconut milk
- 3/4 cup honey or maple syrup
- 2 large eggs
- 1 teaspoon cinnamon
- 1/2 teaspoon nutmeg
- 1/4 teaspoon ginger
- 1 gluten-free pie crust
Instructions
- Preheat the oven to 350°F (175°C). Ensure the rack is positioned in the center of the oven for even baking.
- Remove the gluten-free pie crust from refrigeration and let it sit at room temperature for 10 minutes to prevent cracking.
- In a large mixing bowl, combine the pumpkin puree, coconut milk, honey (or maple syrup), and eggs. Whisk thoroughly until the mixture is smooth and well-integrated.
- Add the ground cinnamon, nutmeg, and ginger to the pumpkin mixture. Stir until the spices are evenly distributed throughout the filling.
- Gently pour the pumpkin filling into the prepared gluten-free pie crust, ensuring an even distribution and leaving a small margin around the edges to prevent overflow.
- Place the pie on a baking sheet to catch any potential drips and provide stability when moving in and out of the oven.
- Bake in the preheated oven for 50-60 minutes. The pie is done when the center is almost set but still has a slight jiggle when gently shaken.
- Remove from the oven and place on a wire cooling rack. Allow the pie to cool completely at room temperature for approximately 2 hours.
- Once cooled, the pie can be served at room temperature or chilled. Optional: garnish with a light dusting of cinnamon or a dollop of whipped coconut cream.
- Store any leftover pie in the refrigerator, covered, for up to 4 days.
Tips
- Prep Ahead: To save time, prepare the gluten-free pie crust a day in advance and keep it refrigerated. This will ensure a flaky texture and make your baking process smoother.
- Room Temperature Ingredients: Allow your eggs and coconut milk to come to room temperature before mixing. This helps create a smoother filling and ensures even cooking.
- Spice it Up: Feel free to adjust the spices to your liking! Add more cinnamon for a warmer flavor or a pinch of cloves for an extra kick.
- Check for Doneness: Since ovens can vary, keep an eye on your pie as it bakes. The center should be set but still slightly jiggly. If the edges start to brown too quickly, cover them with foil.
- Cooling Time: Patience is key! Allow the pie to cool completely before slicing. This will help the filling firm up, making it easier to serve.
- Serving Suggestions: For an extra touch, serve your pie with a dollop of whipped coconut cream or a sprinkle of cinnamon on top for a beautiful presentation.
- Storage Tips: If you have leftovers, store them in an airtight container in the refrigerator. This pie can be enjoyed for up to 4 days, making it a perfect make-ahead dessert!
Nutrition Facts
Calories: 250kcal
Carbohydrates: 30g
Protein: 5g
Fat: 12g
Saturated Fat: 8g
Cholesterol: 55mg