Imagine pulling a golden, perfectly crisp pie crust out of the oven that makes your kitchen smell like a professional bakery. With this revolutionary Ninja blender method, you'll create a pie crust so delicate and flaky, your family and friends will be begging you to reveal your culinary secret. Forget store-bought crusts that taste like cardboard - this homemade recipe will transform your baking game forever and have everyone asking, "How did you make THIS?"
Prep Time: 10 mins
Cook Time: 20 mins
Total Time: 30 mins
Cuisine: American
Serves: 1 pie crust
Ingredients
- 1 1/4 cups all-purpose flour
- 1/2 cup unsalted butter, chilled
- 1/4 teaspoon salt
- 1/4 cup ice water
Instructions
- Begin by gathering all your ingredients: 1 1/4 cups of all-purpose flour, 1/2 cup of unsalted butter (chilled), 1/4 teaspoon of salt, and 1/4 cup of ice water. Make sure the butter is cold, as this will help create a flaky crust.
- In your Ninja blender or food processor, add the 1 1/4 cups of all-purpose flour and 1/4 teaspoon of salt. Pulse the mixture a few times to combine the flour and salt evenly.
- Cut the chilled unsalted butter into small cubes (about 1/2 inch) and add them to the flour mixture in the Ninja. Pulse the mixture for about 10-15 seconds, or until the mixture resembles coarse crumbs with some pea-sized pieces of butter still visible.
- With the Ninja running on low speed, slowly pour in the 1/4 cup of ice water through the feed tube. Pulse just until the dough begins to come together. Be careful not to overmix; the dough should be slightly crumbly but hold together when pressed.
- Once the dough has come together, turn it out onto a lightly floured surface. Gently knead the dough a couple of times to bring it into a cohesive ball. Avoid overworking the dough to maintain its flakiness.
- Flatten the dough into a disk, wrap it in plastic wrap, and refrigerate for at least 15 minutes. This chilling step helps relax the gluten and makes it easier to roll out.
- After chilling, remove the dough from the refrigerator. On a lightly floured surface, roll out the dough into a circle about 1/8 inch thick, ensuring it’s large enough to fit your pie dish.
- Carefully transfer the rolled-out dough to your pie dish, pressing it gently into the bottom and sides. Trim any excess dough hanging over the edges, leaving about 1 inch to allow for crimping.
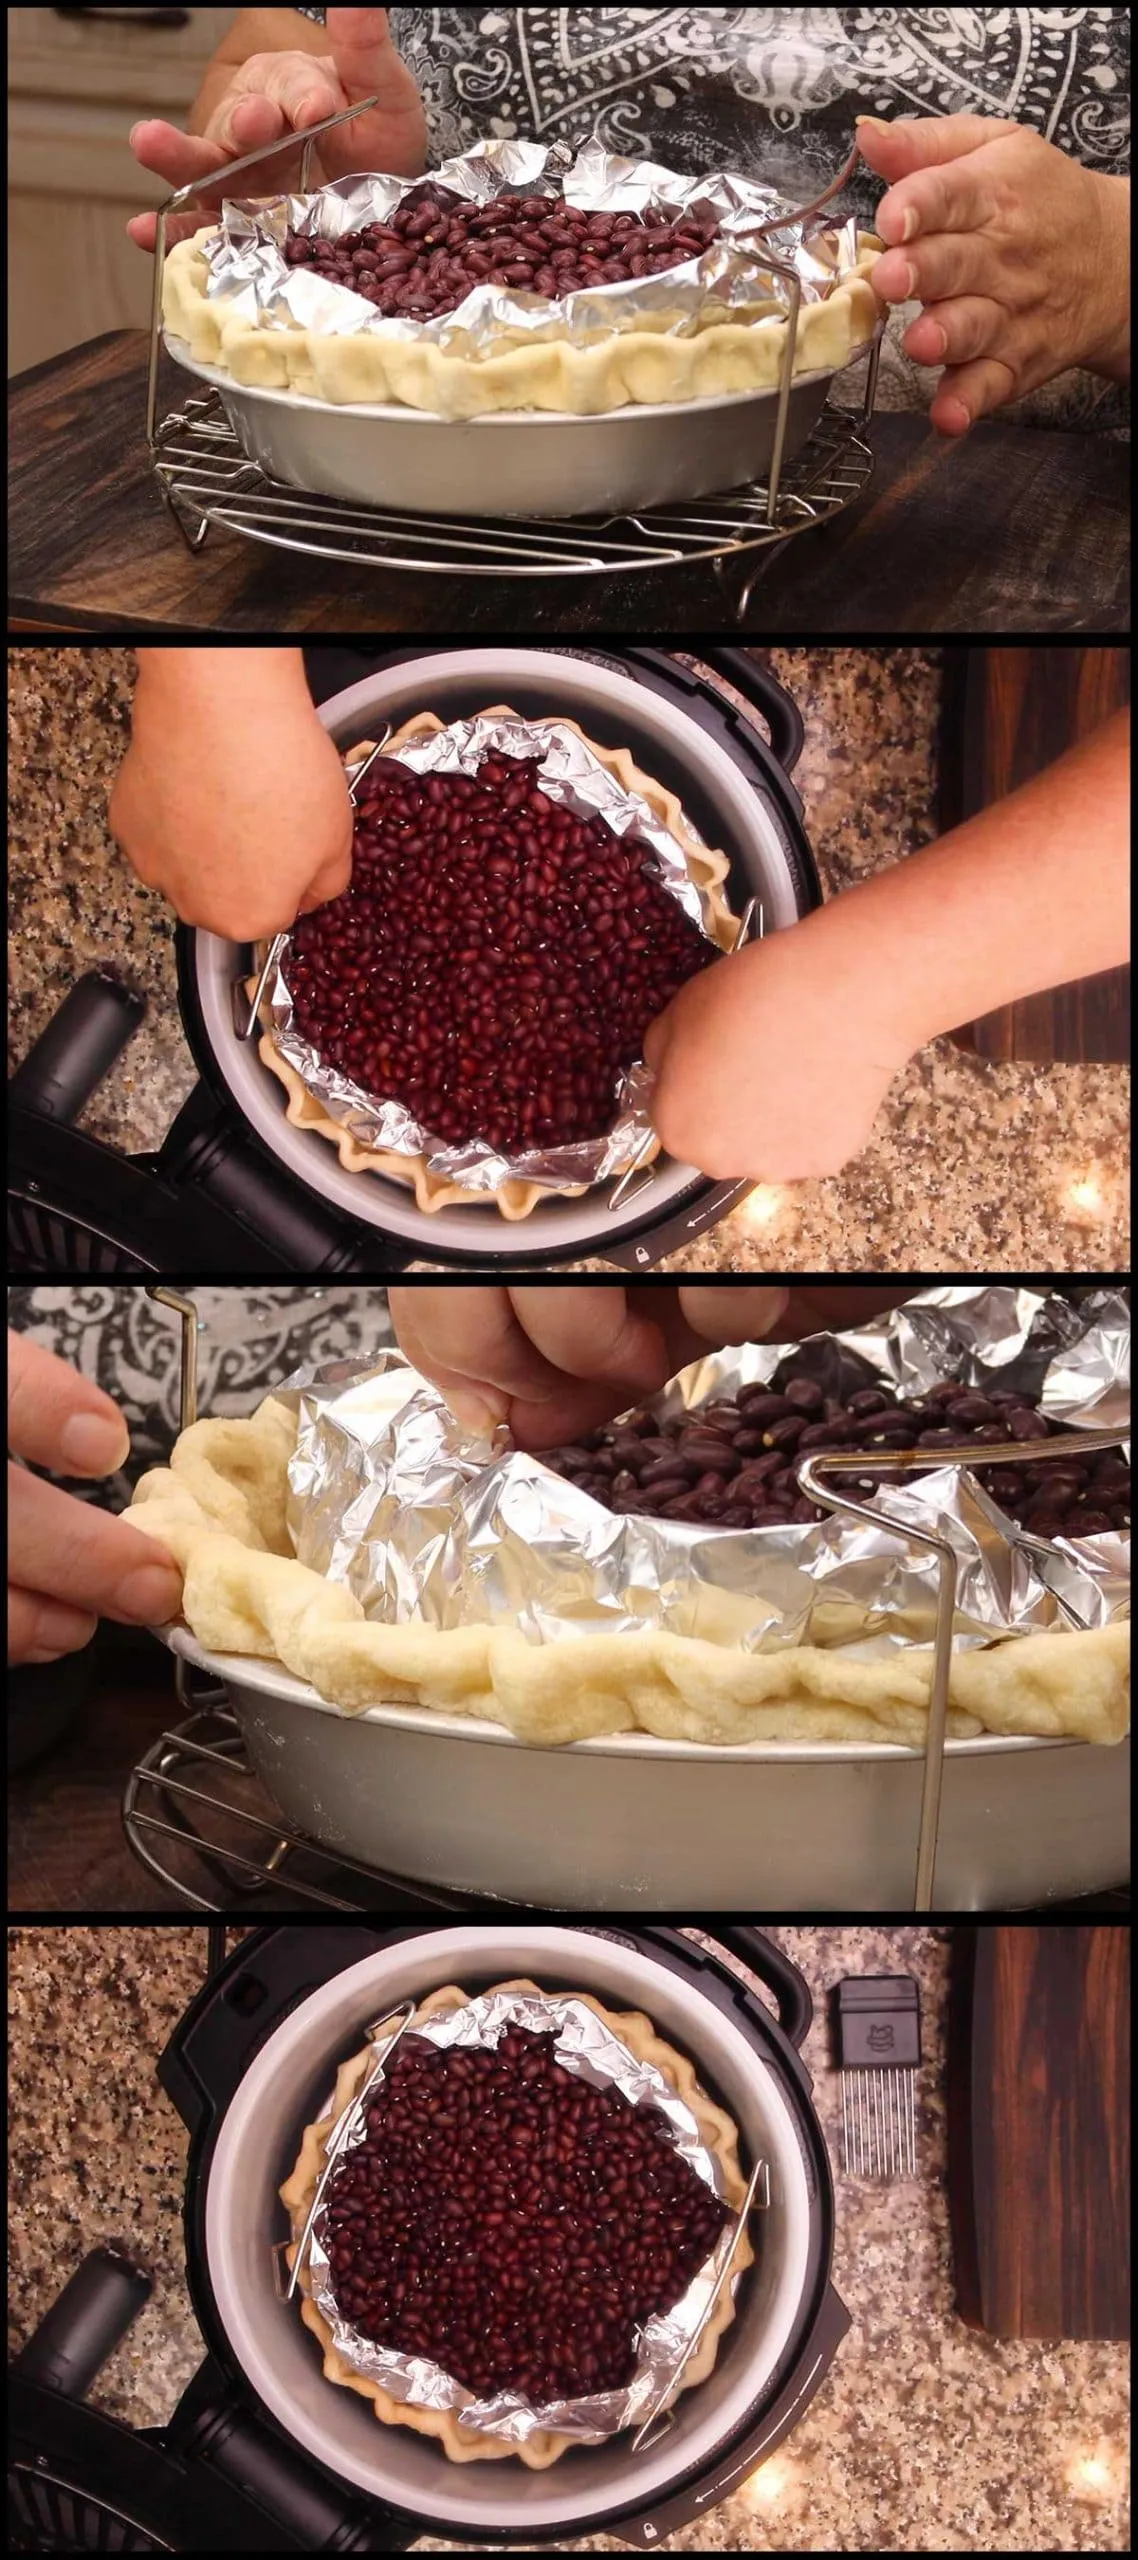
- If you are pre-baking the crust, prick the bottom of the crust with a fork to prevent bubbling. Place a piece of parchment paper over the crust and fill it with pie weights or dried beans.
- Preheat your oven to 375°F (190°C). Bake the crust for about 20 minutes, or until it is lightly golden. Remove the weights and parchment paper, and bake for an additional 5 minutes if you want a crispier crust.
- Once baked, remove the pie crust from the oven and let it cool before adding your desired filling. Enjoy your homemade pie crust!
Tips
- • Keep ALL ingredients ice-cold: Cold butter and ice water are the magic keys to a flaky crust • Don't overwork the dough - mix just until it comes together to prevent tough pastry • Chill the dough for at least 15 minutes before rolling to relax the gluten • Use a light touch when handling the dough to maintain its delicate texture • Invest in pie weights or use dried beans for perfect pre-baking • If the edges start browning too quickly, cover them with aluminum foil • Let the crust cool completely before adding your filling to prevent sogginess
Nutrition Facts
Calories: 860kcal
Carbohydrates: 72g
Protein: 9g
Fat: 58g
Saturated Fat: 36g
Cholesterol: 155mg