Imagine indulging in creamy, homemade vanilla bean yogurt that’s not only delicious but also packed with probiotics! With just a few simple ingredients and your trusty Instant Pot, you can create a luscious yogurt that rivals any store-bought version. This recipe is perfect for those who crave a healthier snack or breakfast option, and the best part? It requires minimal effort and yields a generous eight servings! Dive into the world of homemade yogurt and discover how easy it is to elevate your culinary skills while impressing your family and friends. Let’s get started on this delightful journey to creamy perfection!
Prep Time: 5 mins
Cook Time: 8 hrs
Total Time: 8 hrs 5 mins
Cuisine: International
Serves: 8 servings
Ingredients
- 1/2 gallon whole milk
- 1/2 cup plain yogurt with live cultures
- 1 vanilla bean, split and scraped
Instructions
- Begin by gathering all your ingredients: 1/2 gallon of whole milk, 1/2 cup of plain yogurt with live cultures, and 1 vanilla bean. Ensure that your yogurt contains live active cultures, as this is essential for the fermentation process.
- In a large saucepan, pour in the 1/2 gallon of whole milk. Place the saucepan over medium heat and gradually heat the milk until it reaches about 180°F (82°C). This process helps to denature the proteins in the milk, which will result in a creamier yogurt.
- Once the milk has reached the desired temperature, remove it from the heat. Allow the milk to cool down to around 110°F (43°C). You can use a food thermometer to check the temperature accurately.
- While the milk is cooling, prepare the vanilla bean. Using a sharp knife, split the vanilla bean lengthwise and scrape out the tiny seeds using the back of the knife. Set the seeds aside.
- Once the milk has cooled to 110°F, add the 1/2 cup of plain yogurt with live cultures to the milk. Stir gently to combine, ensuring that the yogurt is fully dissolved into the milk.
- Add the scraped vanilla bean seeds and the split vanilla bean pod to the milk mixture. Stir again to evenly distribute the vanilla flavor throughout the mixture.
- Transfer the milk mixture into the Instant Pot. Secure the lid and ensure the steam release handle is set to the 'Sealing' position.
- Select the 'Yogurt' function on your Instant Pot. Set the cooking time for 8 hours. The Instant Pot will maintain the ideal temperature for fermentation during this time.
- After the 8 hours are up, carefully release the pressure by turning the steam release handle to the 'Venting' position. Once the pressure has fully released, remove the lid and check the yogurt. It should be thickened and have a slightly tangy flavor.
- Remove the vanilla bean pod from the yogurt and discard it. Stir the yogurt gently to combine. If you prefer a sweeter yogurt, you can add honey or sugar to taste at this point.
- Transfer the yogurt to clean jars or containers. Allow the yogurt to cool to room temperature before sealing the containers with lids. Refrigerate the yogurt for at least 4 hours to chill before serving.
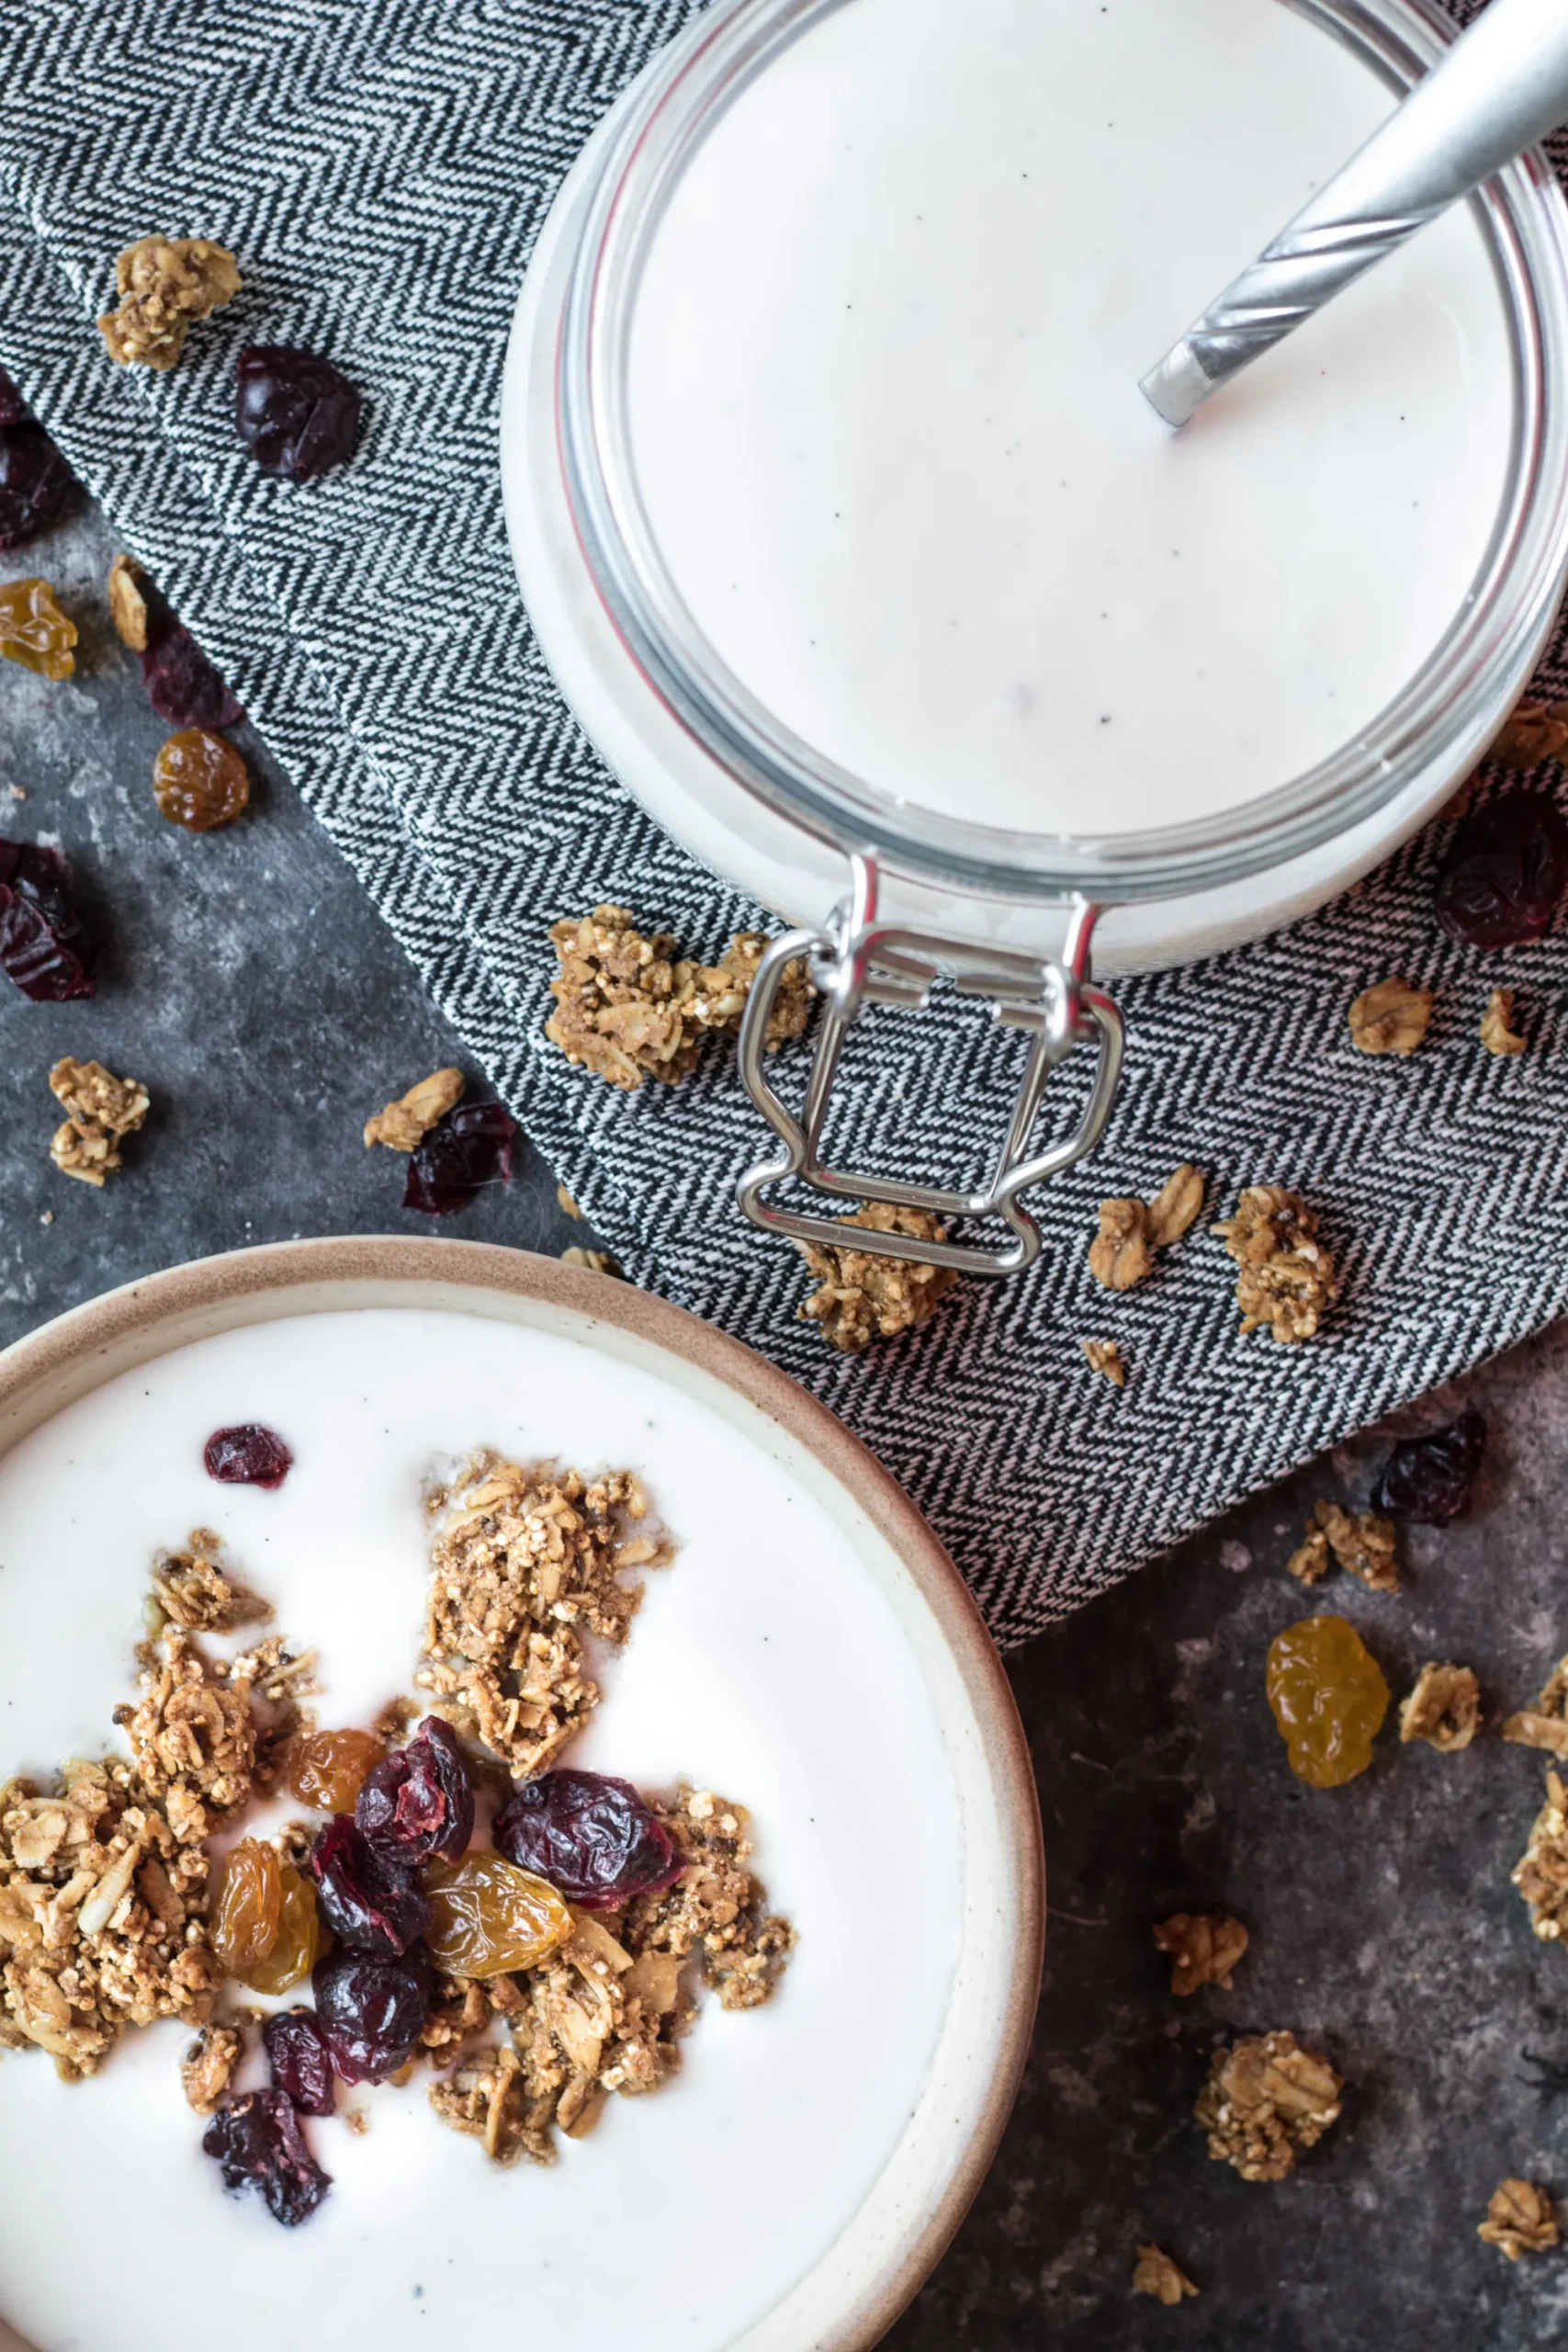
- Serve the vanilla bean yogurt plain, or with your favorite toppings such as fresh fruit, granola, or a drizzle of honey. Enjoy your homemade Instant Pot Vanilla Bean Yogurt!
Tips
- Choose Quality Ingredients: For the best flavor and texture, use high-quality whole milk and plain yogurt with live cultures. The live cultures are crucial for fermentation, so check the label!
- Temperature Matters: Use a food thermometer to ensure your milk reaches 180°F (82°C) for denaturing proteins, and cool it down to 110°F (43°C) before adding the yogurt. This step is vital for achieving that creamy consistency.
- Don’t Rush the Fermentation: Allow the yogurt to ferment for a full 8 hours in the Instant Pot. This time allows the cultures to work their magic, resulting in a thicker and tangier yogurt.
- Customize Your Flavor: After fermentation, feel free to add sweeteners like honey or sugar to taste. You can also experiment with other flavorings such as fruit purees or spices for a unique twist!
- Storage Tips: Once your yogurt is made, store it in clean jars or containers and refrigerate for at least 4 hours before serving. This cooling time helps improve the texture and flavor.
- Toppings Galore: Serve your homemade yogurt with a variety of toppings like fresh fruit, granola, or a drizzle of honey for a delightful breakfast or snack option that everyone will love!
Nutrition Facts
Calories: 150kcal
Carbohydrates: 12g
Protein: 8g
Fat: 8g
Saturated Fat: 5g
Cholesterol: 25mg