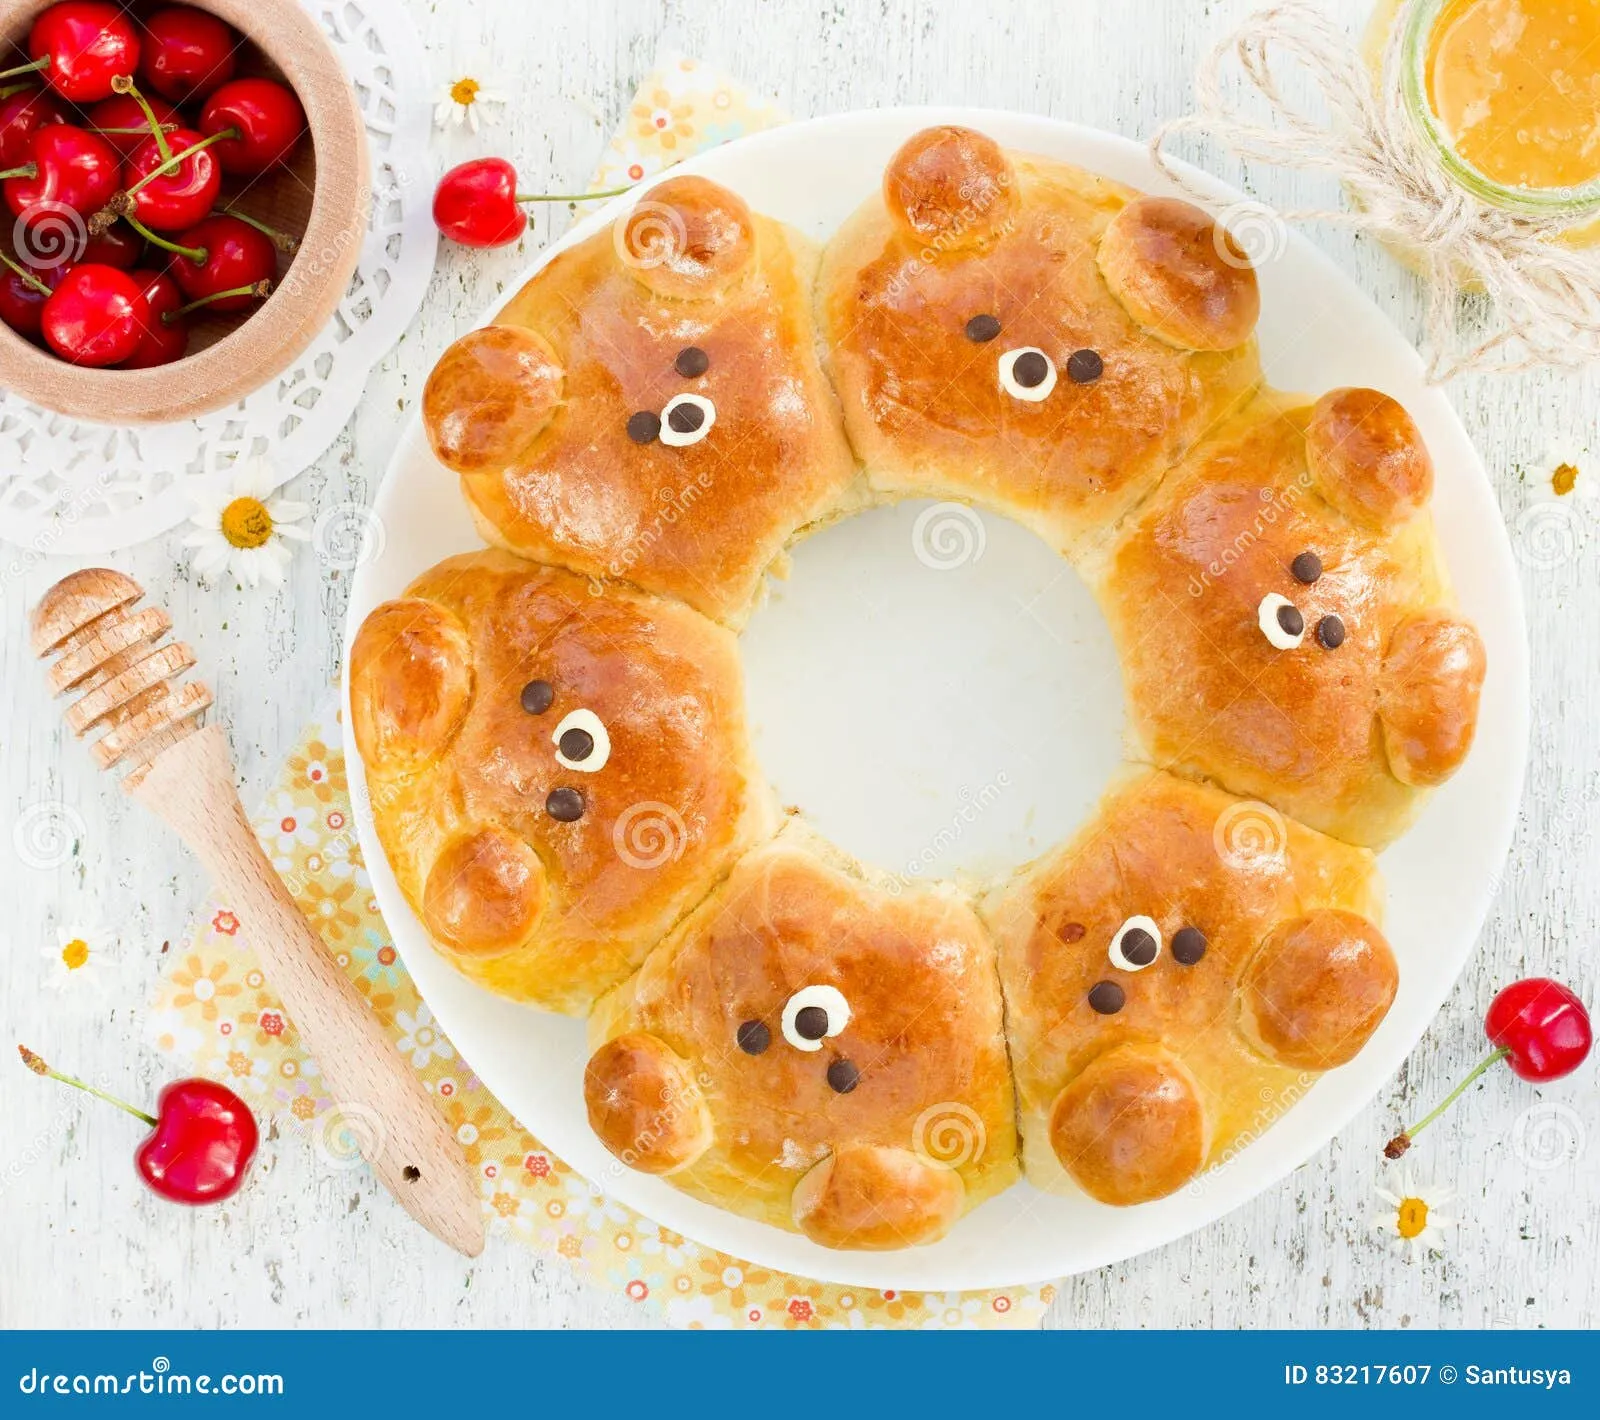
Get ready to transform your kitchen into a magical Japanese bakery with these irresistibly adorable Kawaii Bear Milk Buns! Imagine soft, fluffy bread shaped like tiny bear faces that are so cute, you'll almost feel guilty eating them. These charming buns aren't just a treat for your taste buds, but a delightful feast for your eyes that will make both kids and adults squeal with joy. Whether you're a baking novice or a seasoned pro, this recipe promises to bring a touch of whimsy and sweetness to your culinary repertoire.
Prep Time: 40 mins
Cook Time: 15 mins
Total Time: 55 mins
Cuisine: Japanese
Serves: 6 buns
Ingredients
- 2 cups bread flour
- 1/2 cup warm milk
- 1/4 cup sugar
- 1 tablespoon active dry yeast
- 1/2 teaspoon salt
- 2 tablespoons unsalted butter
- 1/4 cup chocolate chips (for eyes)
Instructions
- In a small bowl, combine the warm milk (make sure it's around 110°F or 43°C) and the active dry yeast. Stir gently and let it sit for about 5-10 minutes until it becomes frothy. This indicates that the yeast is activated.
- In a large mixing bowl, combine the bread flour, sugar, and salt. Mix well to ensure the ingredients are evenly distributed.
- Once the yeast mixture is frothy, add it to the dry ingredients along with the softened unsalted butter. Mix until a dough begins to form.
- Transfer the dough onto a lightly floured surface and knead it for about 8-10 minutes until it is smooth and elastic. If the dough is too sticky, sprinkle a little more flour as needed.
- Shape the kneaded dough into a ball and place it in a lightly greased bowl, covering it with a clean kitchen towel. Allow it to rise in a warm place for about 30 minutes, or until it has doubled in size.
- Once the dough has risen, punch it down to release the air. Divide the dough into 6 equal pieces.
- Take each piece of dough and shape it into a round ball. Place the balls on a baking sheet lined with parchment paper, leaving space between each one.
- To create the bear's ears, take small pieces of dough from the remaining pieces and shape them into smaller balls. Place two small balls on top of each larger ball to form the ears.
- Cover the shaped buns with a kitchen towel and let them rise again for about 15 minutes while you preheat your oven to 350°F (175°C).
- Once the buns have puffed up slightly, bake them in the preheated oven for 15 minutes or until they are golden brown.
- After baking, remove the buns from the oven and let them cool on a wire rack.
- Once cooled, use chocolate chips to create the eyes of the bear on each bun. You can also use icing or melted chocolate for more detail if desired.
- Serve your Kawaii Bear Milk Buns warm or at room temperature, and enjoy the adorable presentation!
Tips
- Yeast Temperature Matters: Ensure your milk is precisely warm (110°F/43°C) to activate the yeast correctly. Too hot, and you'll kill the yeast; too cold, and it won't activate.
- Kneading Technique: When kneading the dough, use the heel of your hand and push, then fold and turn. This helps develop the gluten and creates a smoother texture.
- Rising Environment: Place your dough in a warm, draft-free area like near a preheated oven or inside a turned-off oven with the light on to help it rise perfectly.
- Ear Shaping Trick: For perfectly cute bear ears, use a small amount of water to help the smaller dough pieces stick to the main bun.
- Decorating Hack: If you want more detailed faces, use melted chocolate in a piping bag for more precise bear expressions.
- Storage Tip: These buns are best enjoyed fresh but can be stored in an airtight container for 2-3 days. Warm slightly before serving to restore their soft texture.
Nutrition Facts
Calories: 250kcal
Carbohydrates: 38g
Protein: 6g
Fat: 8g
Saturated Fat: g
Cholesterol: 15mg


