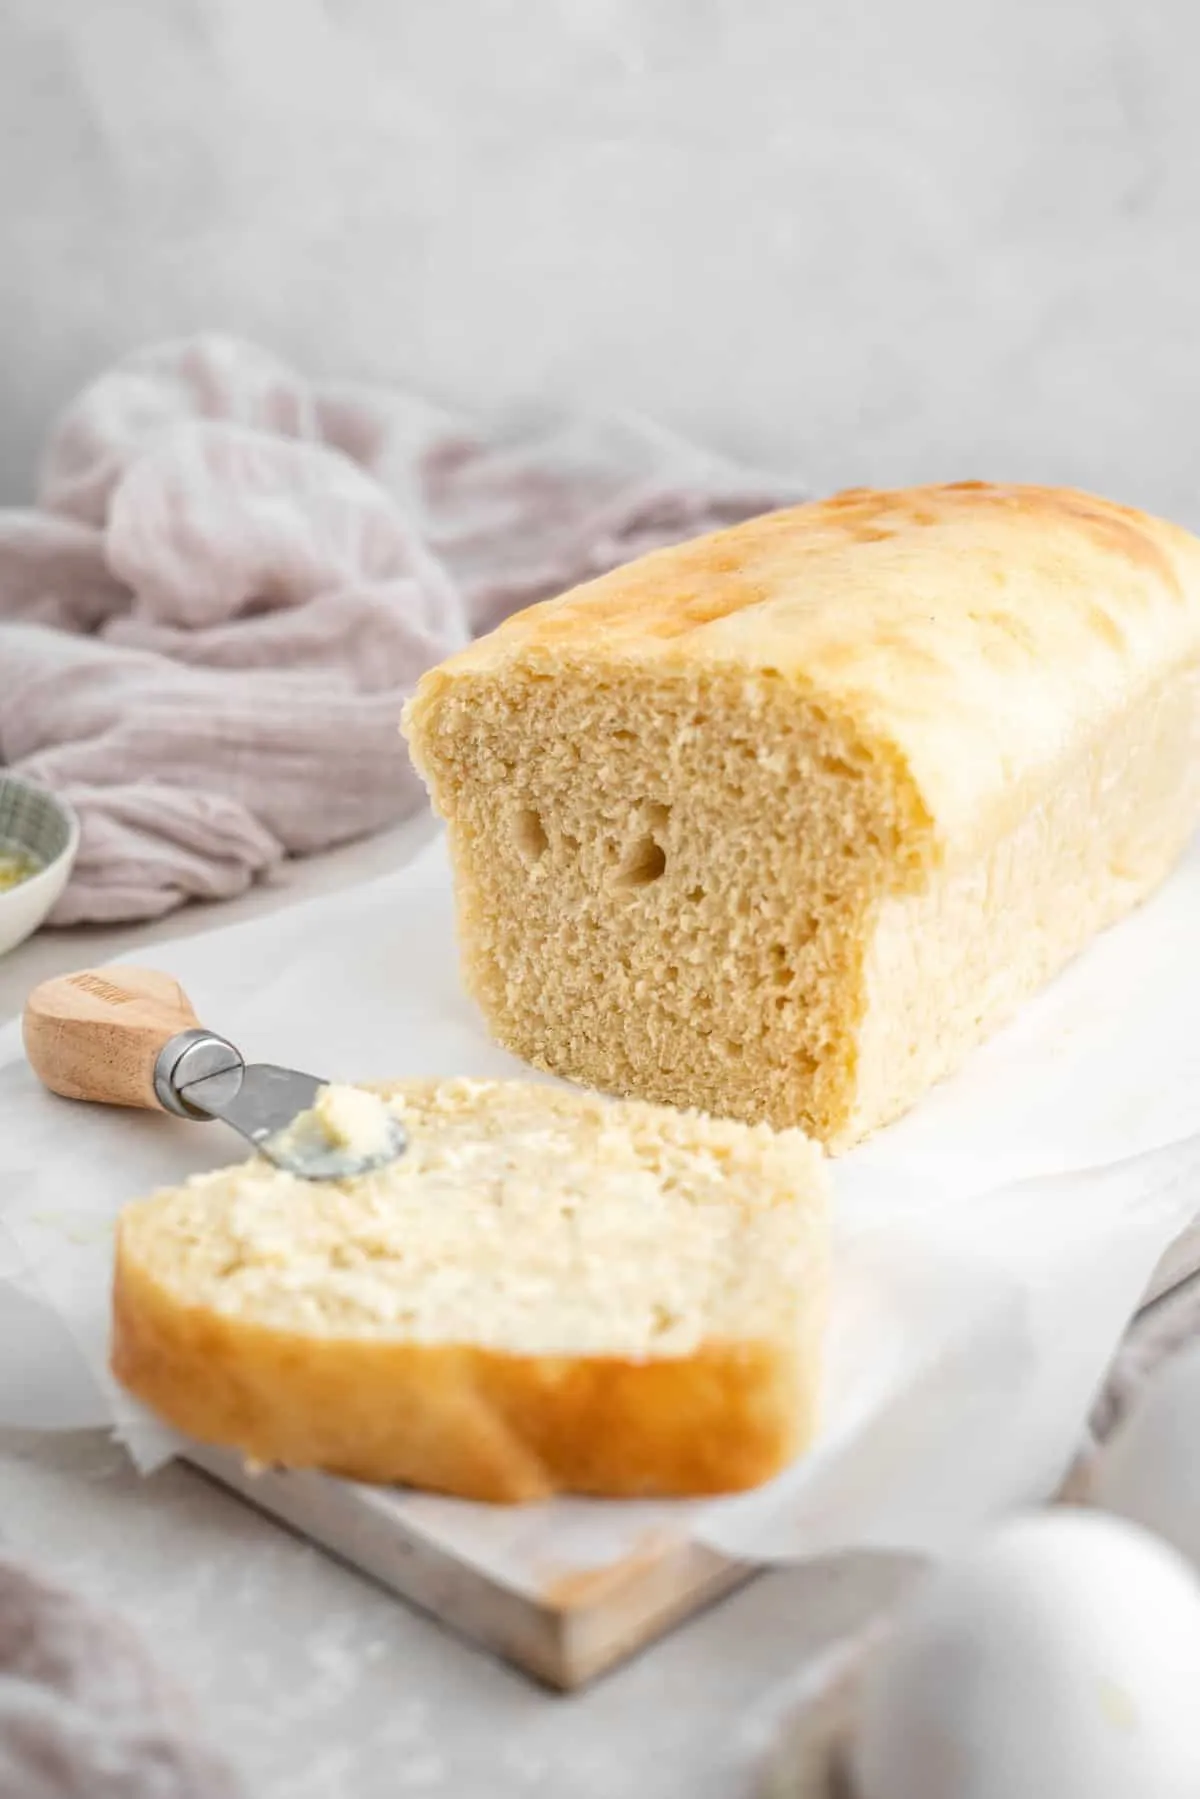
Are you ready to indulge in a deliciously fluffy and guilt-free bread that fits perfectly into your Keto lifestyle? This Keto Bread Loaf is not just another recipe; it's a game-changer for anyone craving the comforting taste of bread without the carbs! With just a handful of simple ingredients, you can whip up a loaf that’s perfect for sandwiches, toast, or simply enjoying on its own. Say goodbye to store-bought options filled with hidden sugars and preservatives—your homemade Keto Bread is just an hour away! Dive into this recipe and discover how easy it is to create a nutritious and satisfying loaf that will leave you wanting more!
Prep Time: 10 mins
Cook Time: 50 mins
Total Time: 1 hrs
Cuisine: Keto
Serves: 1 loaf
Ingredients
- 2 cups almond flour
- 1/4 cup coconut flour
- 1/4 cup psyllium husk powder
- 1 tablespoon baking powder
- 1 teaspoon salt
- 4 large eggs
- 1/2 cup water
- 1 tablespoon apple cider vinegar
Instructions
- Preheat your oven to 350°F (175°C). Line a standard loaf pan with parchment paper or grease it lightly with cooking spray to prevent sticking.
- In a large mixing bowl, combine the almond flour, coconut flour, psyllium husk powder, baking powder, and salt. Whisk the dry ingredients together until they are well blended and there are no lumps.
- In a separate bowl, crack the 4 large eggs and whisk them until they are frothy. This will help incorporate air into the batter, giving the bread a lighter texture.
- Add the water and apple cider vinegar to the whisked eggs. Mix well until all the wet ingredients are fully combined.
- Pour the wet ingredients into the bowl with the dry ingredients. Stir the mixture with a spatula or wooden spoon until a thick batter forms. The psyllium husk will absorb the moisture and thicken the batter, so don’t worry if it seems dry at first.
- Let the batter sit for about 5 minutes. This resting time allows the psyllium husk to fully hydrate and will improve the texture of the bread.
- After resting, give the batter a final stir to ensure everything is well combined. It should be thick but spreadable.
- Transfer the batter to the prepared loaf pan. Use a spatula to smooth the top and shape it into a loaf form.
- Place the loaf pan in the preheated oven and bake for 50 minutes, or until the top is golden brown and a toothpick inserted into the center comes out clean.
- Once baked, remove the loaf from the oven and allow it to cool in the pan for about 10 minutes. Then, carefully transfer it to a wire rack to cool completely.
- Once cooled, slice the loaf with a serrated knife. Store any leftovers in an airtight container in the refrigerator for up to a week, or freeze for longer storage.
Tips
- Measure Accurately: When working with alternative flours like almond and coconut flour, precise measurements are crucial for the best texture. Use a kitchen scale for accuracy if possible.
- Whisk Eggs Well: Make sure to whisk the eggs until they are frothy. This incorporates air into the batter, giving your bread a lighter, fluffier texture.
- Let the Batter Rest: Don’t skip the resting time after mixing the batter. Allowing the psyllium husk to hydrate fully will improve the overall texture of your bread.
- Check for Doneness: Every oven is different, so keep an eye on your bread as it bakes. A golden-brown top and a toothpick coming out clean are good indicators that your loaf is ready.
- Cool Completely: Let the bread cool completely before slicing. This helps to set the structure and makes it easier to cut without crumbling.
- Storage Tips: Store any leftover bread in an airtight container in the refrigerator for up to a week. For longer storage, slice and freeze the bread for easy access to fresh slices whenever you need them!
Nutrition Facts
Calories: 160kcal
Carbohydrates: 5g
Protein: 7g
Fat: 14g
Saturated Fat: 2g
Cholesterol: 70mg