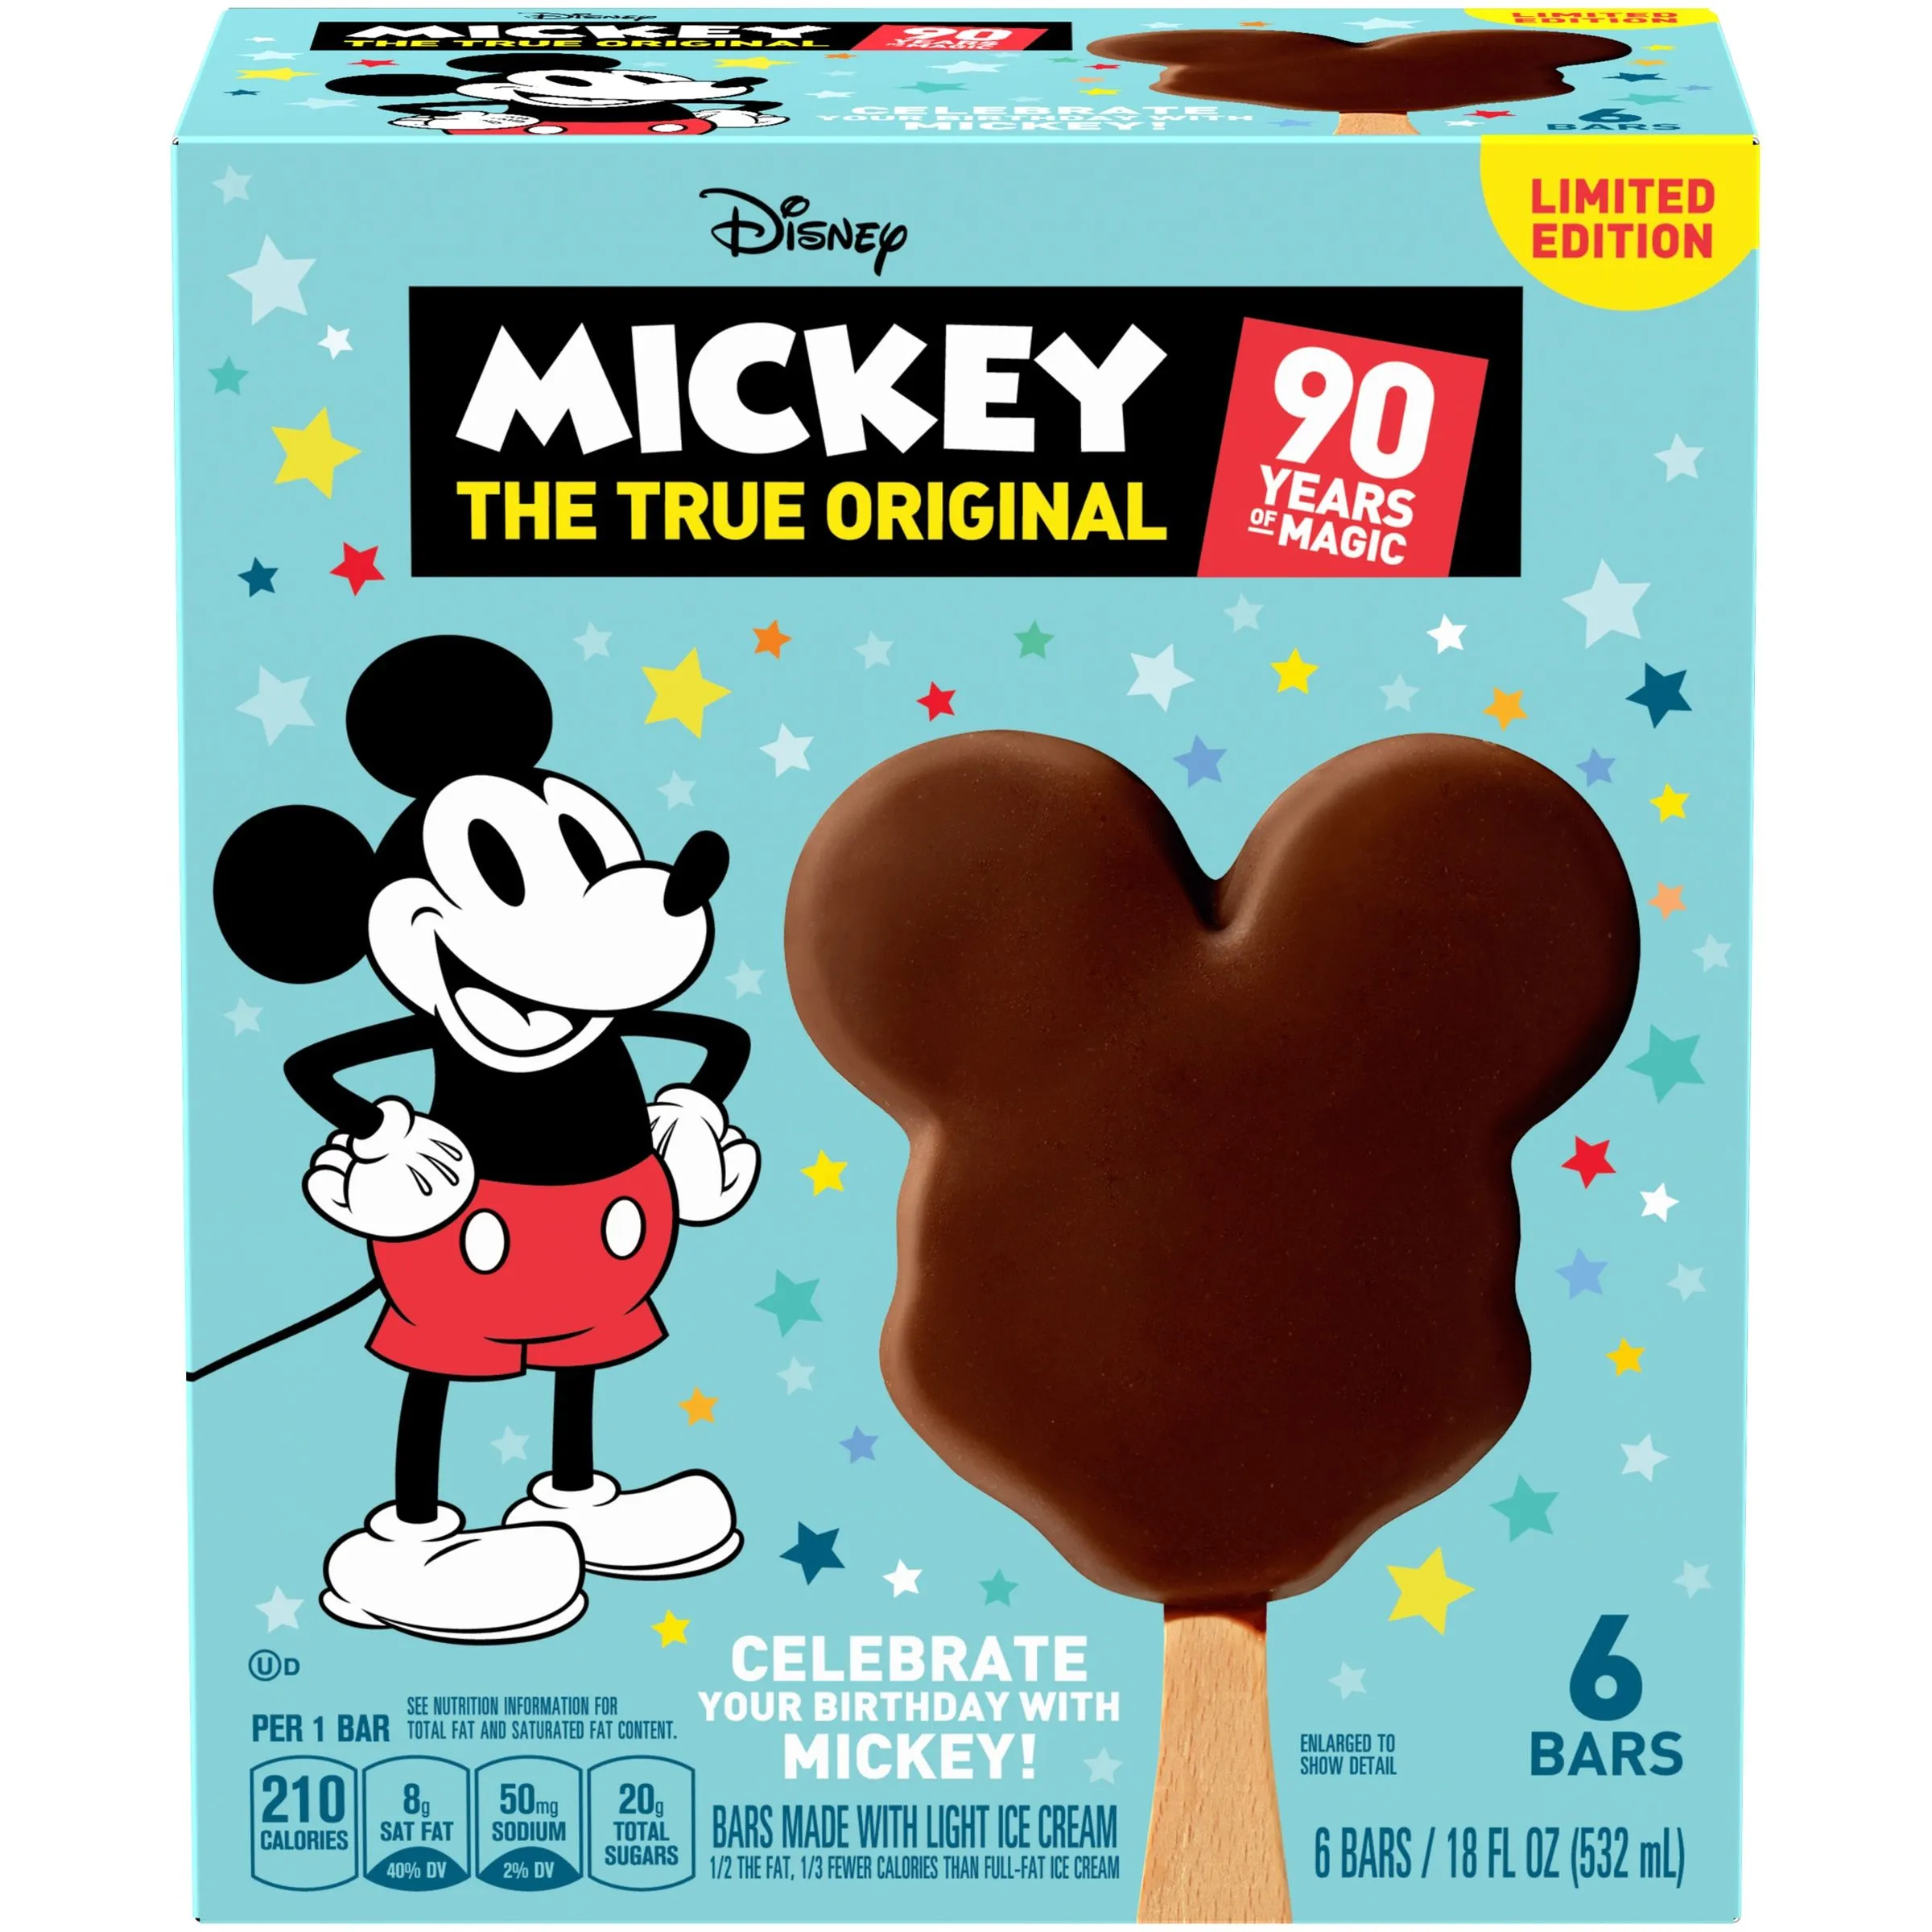
Imagine transforming a simple scoop of vanilla ice cream into a whimsical Disney-inspired treat that will make both kids and adults squeal with delight! Our Mickey Party Ice Cream isn't just a dessert—it's an edible work of art that brings the magic of Disney right to your kitchen. With just a few simple ingredients and some creative shaping, you can create adorable Mickey Mouse-shaped ice cream treats that are perfect for birthday parties, Disney movie nights, or any moment when you want to sprinkle a little pixie dust into your dessert experience.
Prep Time: 15 mins
Cook Time: -
Total Time: 15 mins
Cuisine: American
Serves: 8 servings
Ingredients
- 2 cups vanilla ice cream
- 1 cup chocolate syrup
- 1 cup whipped cream
- Chocolate chips for decoration
- Mickey Mouse-shaped sprinkles
Instructions
- Remove the vanilla ice cream from the freezer and let it soften at room temperature for about 5-10 minutes to make it easier to scoop and shape.
- Prepare a clean, flat surface or baking sheet lined with parchment paper to assemble the ice cream treats.
- Using an ice cream scoop, carefully create 8 round scoops of vanilla ice cream, trying to make them as smooth and uniform as possible.
- Shape each scoop to resemble Mickey Mouse's head by creating two smaller "ear" scoops on top of the main round scoop.
- Place the shaped ice cream scoops on the prepared parchment-lined surface and return to the freezer for 5 minutes to firm up.
- Drizzle chocolate syrup over each Mickey Mouse-shaped ice cream scoop, allowing it to cascade down the sides.
- Carefully pipe or spoon whipped cream around the edges of the ice cream to create a decorative border.
- Sprinkle chocolate chips and Mickey Mouse-shaped sprinkles over the top of each ice cream treat for added decoration.
- Serve immediately or return to the freezer until ready to serve, keeping the treats covered to prevent freezer burn.
- For best presentation, serve on chilled dessert plates and enjoy within 15 minutes of final decoration.
Tips
- Temperature is Key: Let your ice cream soften just enough to be moldable, but not so much that it becomes a puddle. The ideal consistency is soft but still holding its shape.
- Use Parchment Paper: Always line your work surface with parchment paper to prevent sticking and make cleanup a breeze.
- Work Quickly: Ice cream melts fast, so have all your decorating ingredients ready before you start shaping.
- Freeze Between Steps: Return your Mickey-shaped scoops to the freezer for a few minutes between shaping and decorating to maintain their structure.
- Decorating Hack: Use a piping bag for more precise whipped cream application and a more professional look.
- Make Ahead: You can prepare these treats up to 2 hours in advance and keep them in the freezer, covered with plastic wrap.
- For Extra Disney Magic: Consider using themed plates or adding edible Mickey Mouse chocolate decorations for an even more magical presentation.
Nutrition Facts
Calories: 350kcal
Carbohydrates: 45g
Protein: 4g
Fat: 18g
Saturated Fat: 12g
Cholesterol: 65mg


