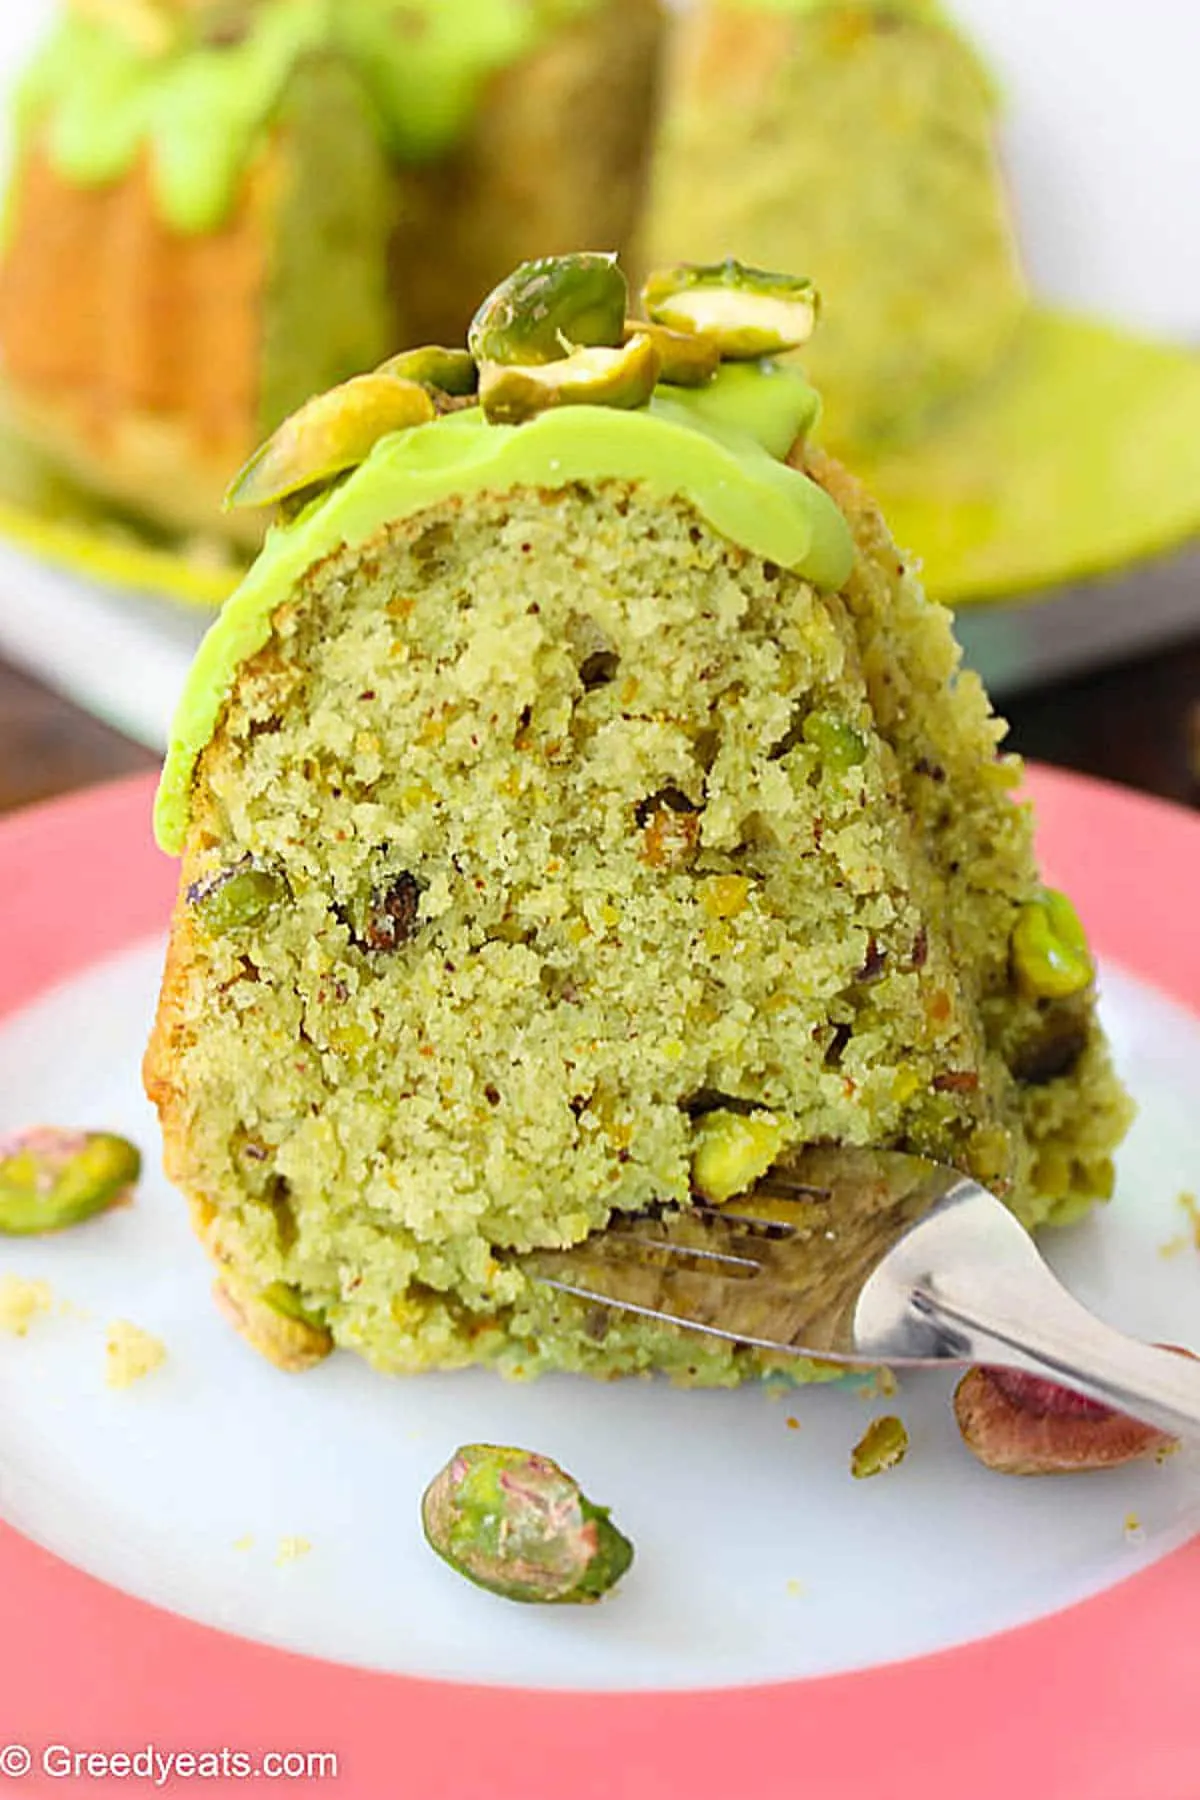
Imagine a cake so moist, so incredibly delicious, that it becomes the star of every gathering. Mrs D's Pistachio Bundt Cake is not just a dessert; it's a culinary experience that will transport your taste buds to a world of rich, nutty perfection. With its stunning golden-brown exterior and irresistible pistachio flavor, this cake is about to become your new obsession. Whether you're a seasoned baker or a kitchen novice, this recipe promises to deliver a show-stopping treat that will have everyone begging for seconds!
Prep Time: 20 mins
Cook Time: 50 mins
Total Time: 1 hrs 10 mins
Cuisine: American
Serves: 12 servings
Ingredients
- 1 box pistachio pudding mix
- 1 cup vegetable oil
- 4 eggs
- 1 cup water
- 2 cups all-purpose flour
- 1 1/2 cups granulated sugar
- 1 tsp baking powder
- 1/2 tsp salt
Instructions
- Preheat your oven to 350°F (175°C). Ensure that your oven rack is positioned in the center of the oven for even baking.
- Grease and flour a 10- or 12-cup Bundt pan thoroughly to prevent the cake from sticking. You can use a cooking spray designed for baking or apply a thin layer of vegetable oil followed by a dusting of flour, tapping out any excess flour.
- In a large mixing bowl, combine the box of pistachio pudding mix, granulated sugar, all-purpose flour, baking powder, and salt. Whisk these dry ingredients together until they are well combined and free of lumps.
- In a separate bowl, beat the eggs lightly. Then add the vegetable oil and water to the eggs, mixing until everything is well incorporated.
- Pour the wet ingredients into the bowl with the dry ingredients. Using a hand mixer or a whisk, mix the batter on medium speed until smooth and well combined, about 2-3 minutes. Make sure there are no dry flour pockets, but be careful not to overmix.
- Once the batter is smooth, pour it into the prepared Bundt pan. Use a spatula to spread the batter evenly and gently tap the pan on the counter to remove any air bubbles.
- Place the Bundt pan in the preheated oven and bake for 50 minutes, or until a toothpick inserted into the center of the cake comes out clean. The top should be golden brown and spring back when lightly pressed.
- After baking, remove the Bundt pan from the oven and allow the cake to cool in the pan for about 10-15 minutes. This will help the cake set and make it easier to remove from the pan.
- Carefully invert the Bundt pan onto a wire rack to release the cake. Gently tap the pan if necessary to help the cake come out. Allow the cake to cool completely on the wire rack.
- Once the cake has cooled, you can frost it with your favorite icing or glaze, or simply dust it with powdered sugar for a classic touch. Slice and serve the cake to enjoy!
Tips
- Room Temperature Matters: Ensure your eggs are at room temperature before mixing. This helps create a smoother, more consistent batter.
- Don't Overmix: When combining wet and dry ingredients, mix just until everything is incorporated. Overmixing can lead to a tough, dense cake.
- Pan Preparation is Key: Take extra time to grease and flour your Bundt pan thoroughly. This ensures an easy release and a beautiful cake shape.
- Check for Doneness: Use the toothpick test to ensure the cake is fully baked. If it comes out clean or with just a few moist crumbs, your cake is ready.
- Cooling is Crucial: Allow the cake to cool in the pan for 10-15 minutes before removing. This helps the cake set and prevents it from breaking apart.
- Decoration Options: While delicious on its own, you can elevate this cake with a simple powdered sugar dusting, cream cheese frosting, or a light glaze.
- Storage Tip: Store the cake in an airtight container at room temperature for up to 3-4 days to maintain its moisture and flavor.
Nutrition Facts
Calories: 420kcal
Carbohydrates: 52g
Protein: 5g
Fat: 22g
Saturated Fat: g
Cholesterol: 70mg


