Are you craving a delicious, wholesome bread that doesn't require hours of complicated preparation? Get ready to revolutionize your baking game with this incredibly simple No Knead Whole Wheat Vegan Sandwich Bread! Imagine creating a perfect, crusty loaf with just a few minutes of prep and minimal effort. This recipe is a game-changer for home bakers, busy professionals, and anyone who loves fresh, homemade bread but thinks they don't have the time or skill to make it from scratch.
Prep Time: 10 mins
Cook Time: 40 mins
Total Time: 50 mins
Cuisine: American
Serves: 1 loaf
Ingredients
- 3 cups whole wheat flour
- 1 1/2 teaspoons salt
- 1 teaspoon instant yeast
- 1 1/2 cups warm water
Instructions
- In a large mixing bowl, combine the whole wheat flour, salt, and instant yeast. Whisk the dry ingredients together thoroughly to ensure even distribution.
- Pour the warm water (around 110°F/43°C) into the dry ingredients. Mix with a wooden spoon or spatula until a shaggy, sticky dough forms. Ensure all flour is incorporated and no dry patches remain.
- Cover the bowl with a clean kitchen towel or plastic wrap. Let the dough rest at room temperature (around 70°F/21°C) for 12-18 hours. This long fermentation will develop flavor and help gluten develop without kneading.
- After fermentation, the dough will look bubbly and have increased in volume. Lightly flour a clean work surface and turn out the sticky dough onto it.
- Gently fold the dough over itself 2-3 times, using a light touch to shape it into a rough loaf shape. Do not overwork the dough.
- Prepare a 9x5 inch loaf pan by lightly greasing it with olive oil or lining with parchment paper.
- Transfer the shaped dough into the prepared loaf pan. Cover with a clean kitchen towel and let it rise for an additional 1-2 hours until it has noticeably expanded.
- Preheat the oven to 425°F (218°C) about 30 minutes before baking. Place a rack in the middle position.
- Optional: Make a shallow slash down the center of the loaf with a sharp knife to allow for expansion during baking.
- Bake the bread for 35-40 minutes, or until the top is deep golden brown and the internal temperature reaches 200°F (93°C) when checked with a digital thermometer.
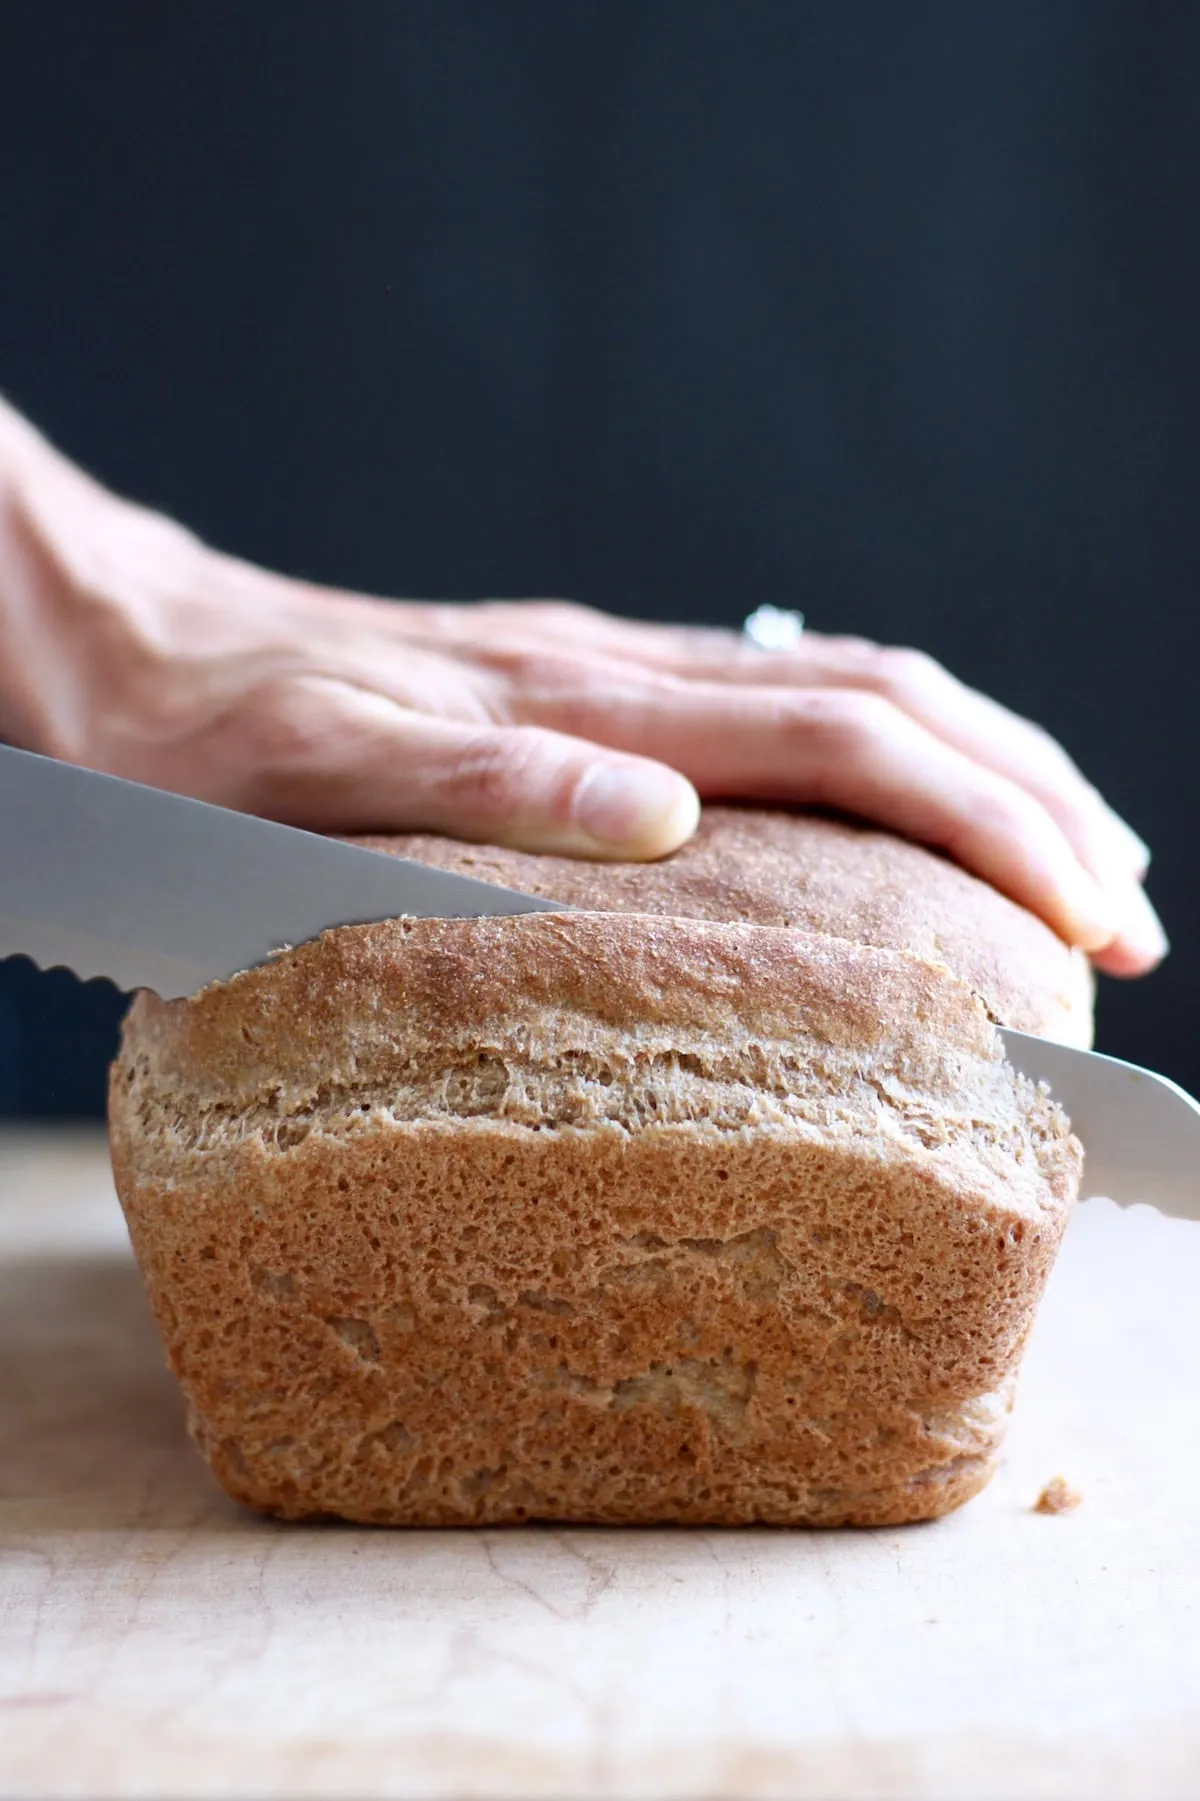
- Remove from the oven and immediately turn the bread out onto a wire cooling rack. Let cool completely for at least 1 hour before slicing to allow the crumb to set.
- Store the bread in an airtight container or bread bag at room temperature for 3-4 days, or slice and freeze for longer storage.
Tips
- Temperature is Key: Use warm water around 110°F (43°C) to activate the yeast perfectly without killing it.
- Patience Pays Off: Don't rush the fermentation process. The 12-18 hour rest develops incredible flavor and texture.
- Moisture Matters: The dough will look very sticky - this is normal! Resist the urge to add extra flour.
- Check for Doneness: Use a digital thermometer to ensure the bread's internal temperature reaches 200°F (93°C) for perfect baking.
- Cooling is Crucial: Always let the bread cool completely before slicing to allow the crumb to set properly.
- Storage Hack: Slice and freeze portions to keep your bread fresh for weeks, enjoying fresh bread whenever you want!
Nutrition Facts
Calories: 90kcal
Carbohydrates: 18g
Protein: 4g
Fat: 1g
Saturated Fat: 0g
Cholesterol: 0mg