Are you ready to indulge in a guilt-free snack that satisfies your cravings without the oil? Discover the secret to making irresistibly crispy, oil-free potato chips that are not only delicious but also incredibly easy to prepare! In just 30 minutes, you can transform simple ingredients into a crunchy delight that will leave your taste buds dancing. Whether you’re hosting a movie night or simply looking for a healthy treat, these homemade potato chips are sure to impress. Read on to uncover the step-by-step recipe that will elevate your snacking game!
Prep Time: 10 mins
Cook Time: 20 mins
Total Time: 30 mins
Cuisine: American
Serves: 4 servings
Ingredients
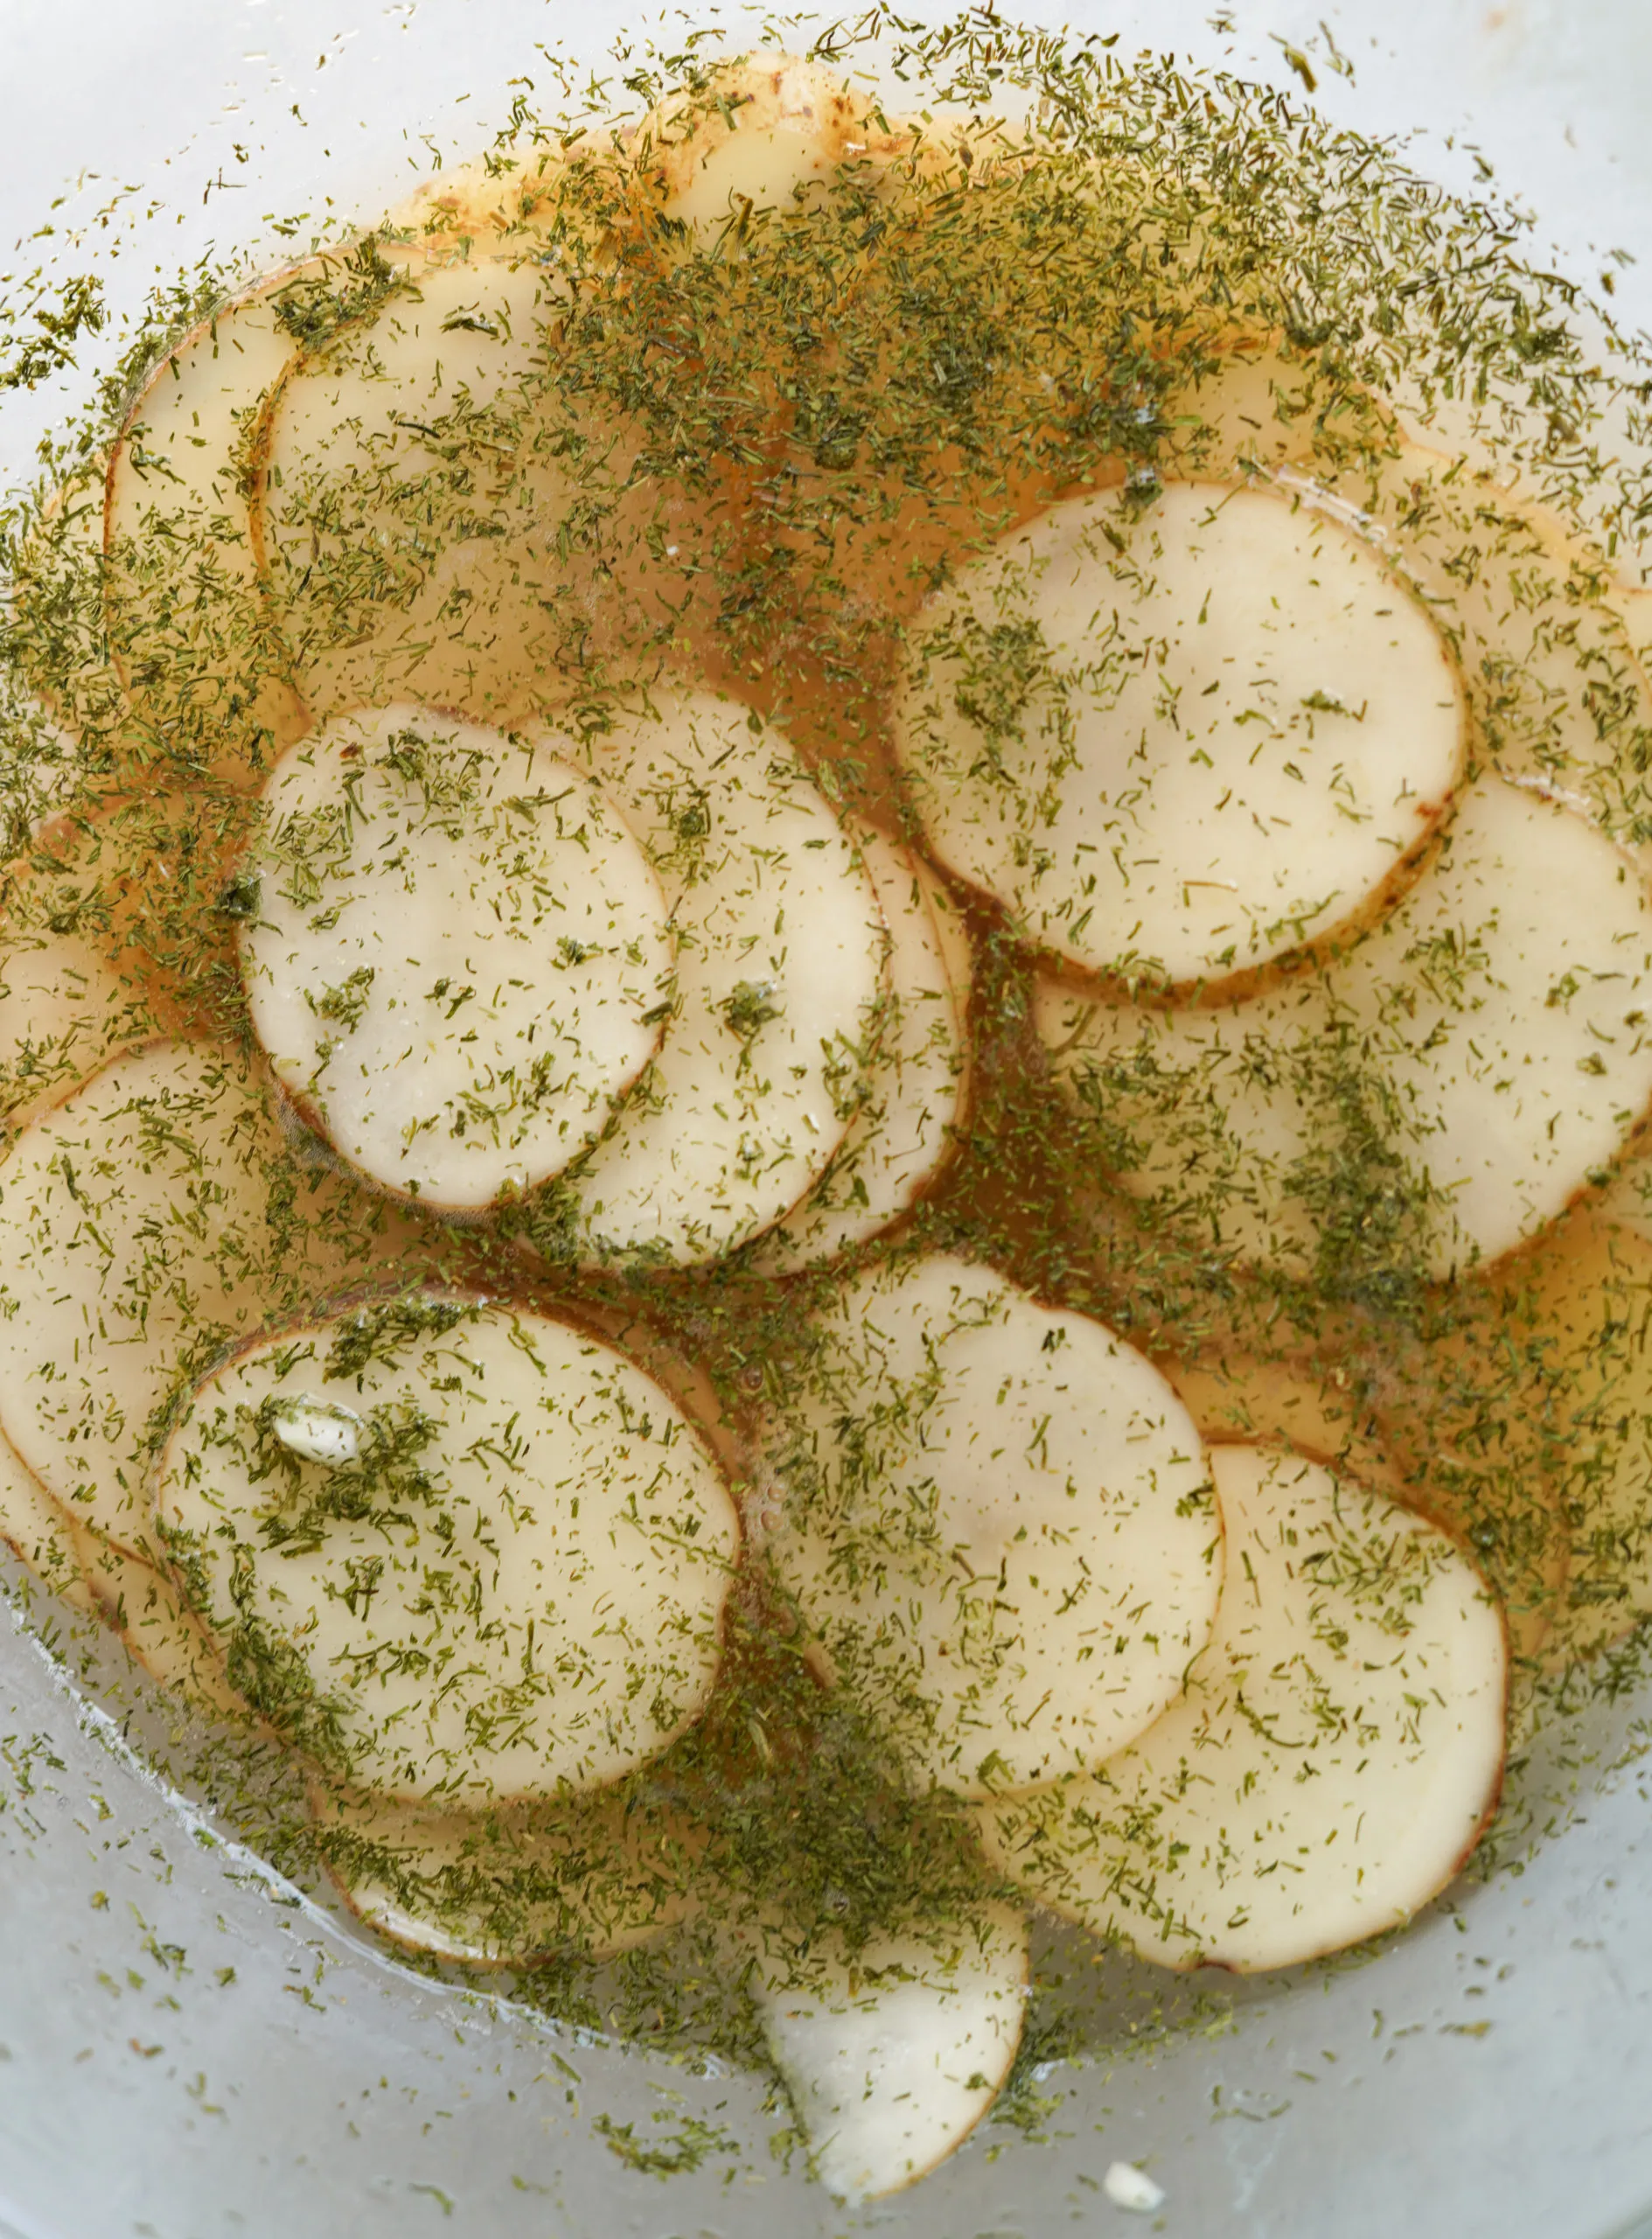
- 2 large potatoes, thinly sliced
- 1 tsp paprika
- 1 tsp garlic powder
- Salt to taste
- Water for soaking
Instructions
- Wash the potatoes thoroughly under cold running water to remove any dirt or debris.
- Using a sharp mandoline slicer or a very sharp knife, slice the potatoes extremely thin (approximately 1/16 inch thick). Consistency in thickness is crucial for even cooking.
- Immediately place the potato slices in a bowl of cold water to prevent browning and remove excess starch. Let them soak for 15-20 minutes.
- Drain the potato slices and pat them completely dry using clean kitchen towels or paper towels. Removing moisture is essential for crispy chips.
- Preheat the air fryer to 375°F (190°C) or arrange oven racks with a baking sheet lined with parchment paper.
- In a small bowl, mix paprika, garlic powder, and salt to create a seasoning blend.
- Arrange potato slices in a single layer without overlapping on the air fryer basket or baking sheet. Work in batches if necessary.
- Lightly sprinkle the prepared seasoning mix over the potato slices, ensuring even coverage.
- For air fryer: Cook for 10-12 minutes, shaking the basket every 4 minutes to ensure even cooking. For oven: Bake for 15-20 minutes, flipping slices halfway through cooking time.
- Watch carefully during the last few minutes to prevent burning. Chips are done when they turn golden brown and crisp.
- Remove chips and let them cool on a wire rack for 2-3 minutes. They will continue to crisp up as they cool.
- Store in an airtight container at room temperature for up to 2 days for maximum crispness.
Tips
- Choose the Right Potatoes: Opt for starchy potatoes like Russets or Yukon Golds for the best texture and crispiness.
- Slice Evenly: Use a mandoline slicer for uniform thickness; this ensures that all chips cook evenly and achieve that perfect crunch.
- Soak for Success: Soaking the potato slices in cold water not only prevents browning but also helps remove excess starch, contributing to a crispier chip.
- Pat Dry Thoroughly: After soaking, make sure to dry the slices completely. Any moisture left on the potatoes will steam them rather than crisp them up.
- Don’t Overcrowd: Whether using an air fryer or oven, arrange the potato slices in a single layer. Overlapping can lead to uneven cooking and soggy chips.
- Season to Taste: Feel free to experiment with different spices! Try adding cayenne pepper for a kick or nutritional yeast for a cheesy flavor.
- Keep an Eye on Them: Chips can go from perfect to burnt in a matter of seconds, especially in the last few minutes of cooking. Stay vigilant!
- Cool to Crisp: Allow the chips to cool on a wire rack after cooking; this helps them maintain their crispiness rather than getting soggy.
- Storage: For the best texture, store any leftovers in an airtight container at room temperature and consume within two days.
- Enjoy Fresh: These chips are best enjoyed fresh out of the fryer or oven, so make just enough for your snacking needs!
Nutrition Facts
Calories: 110kcal
Carbohydrates: 25g
Protein: 2g
Fat: 0g
Saturated Fat: 0g
Cholesterol: 0mg