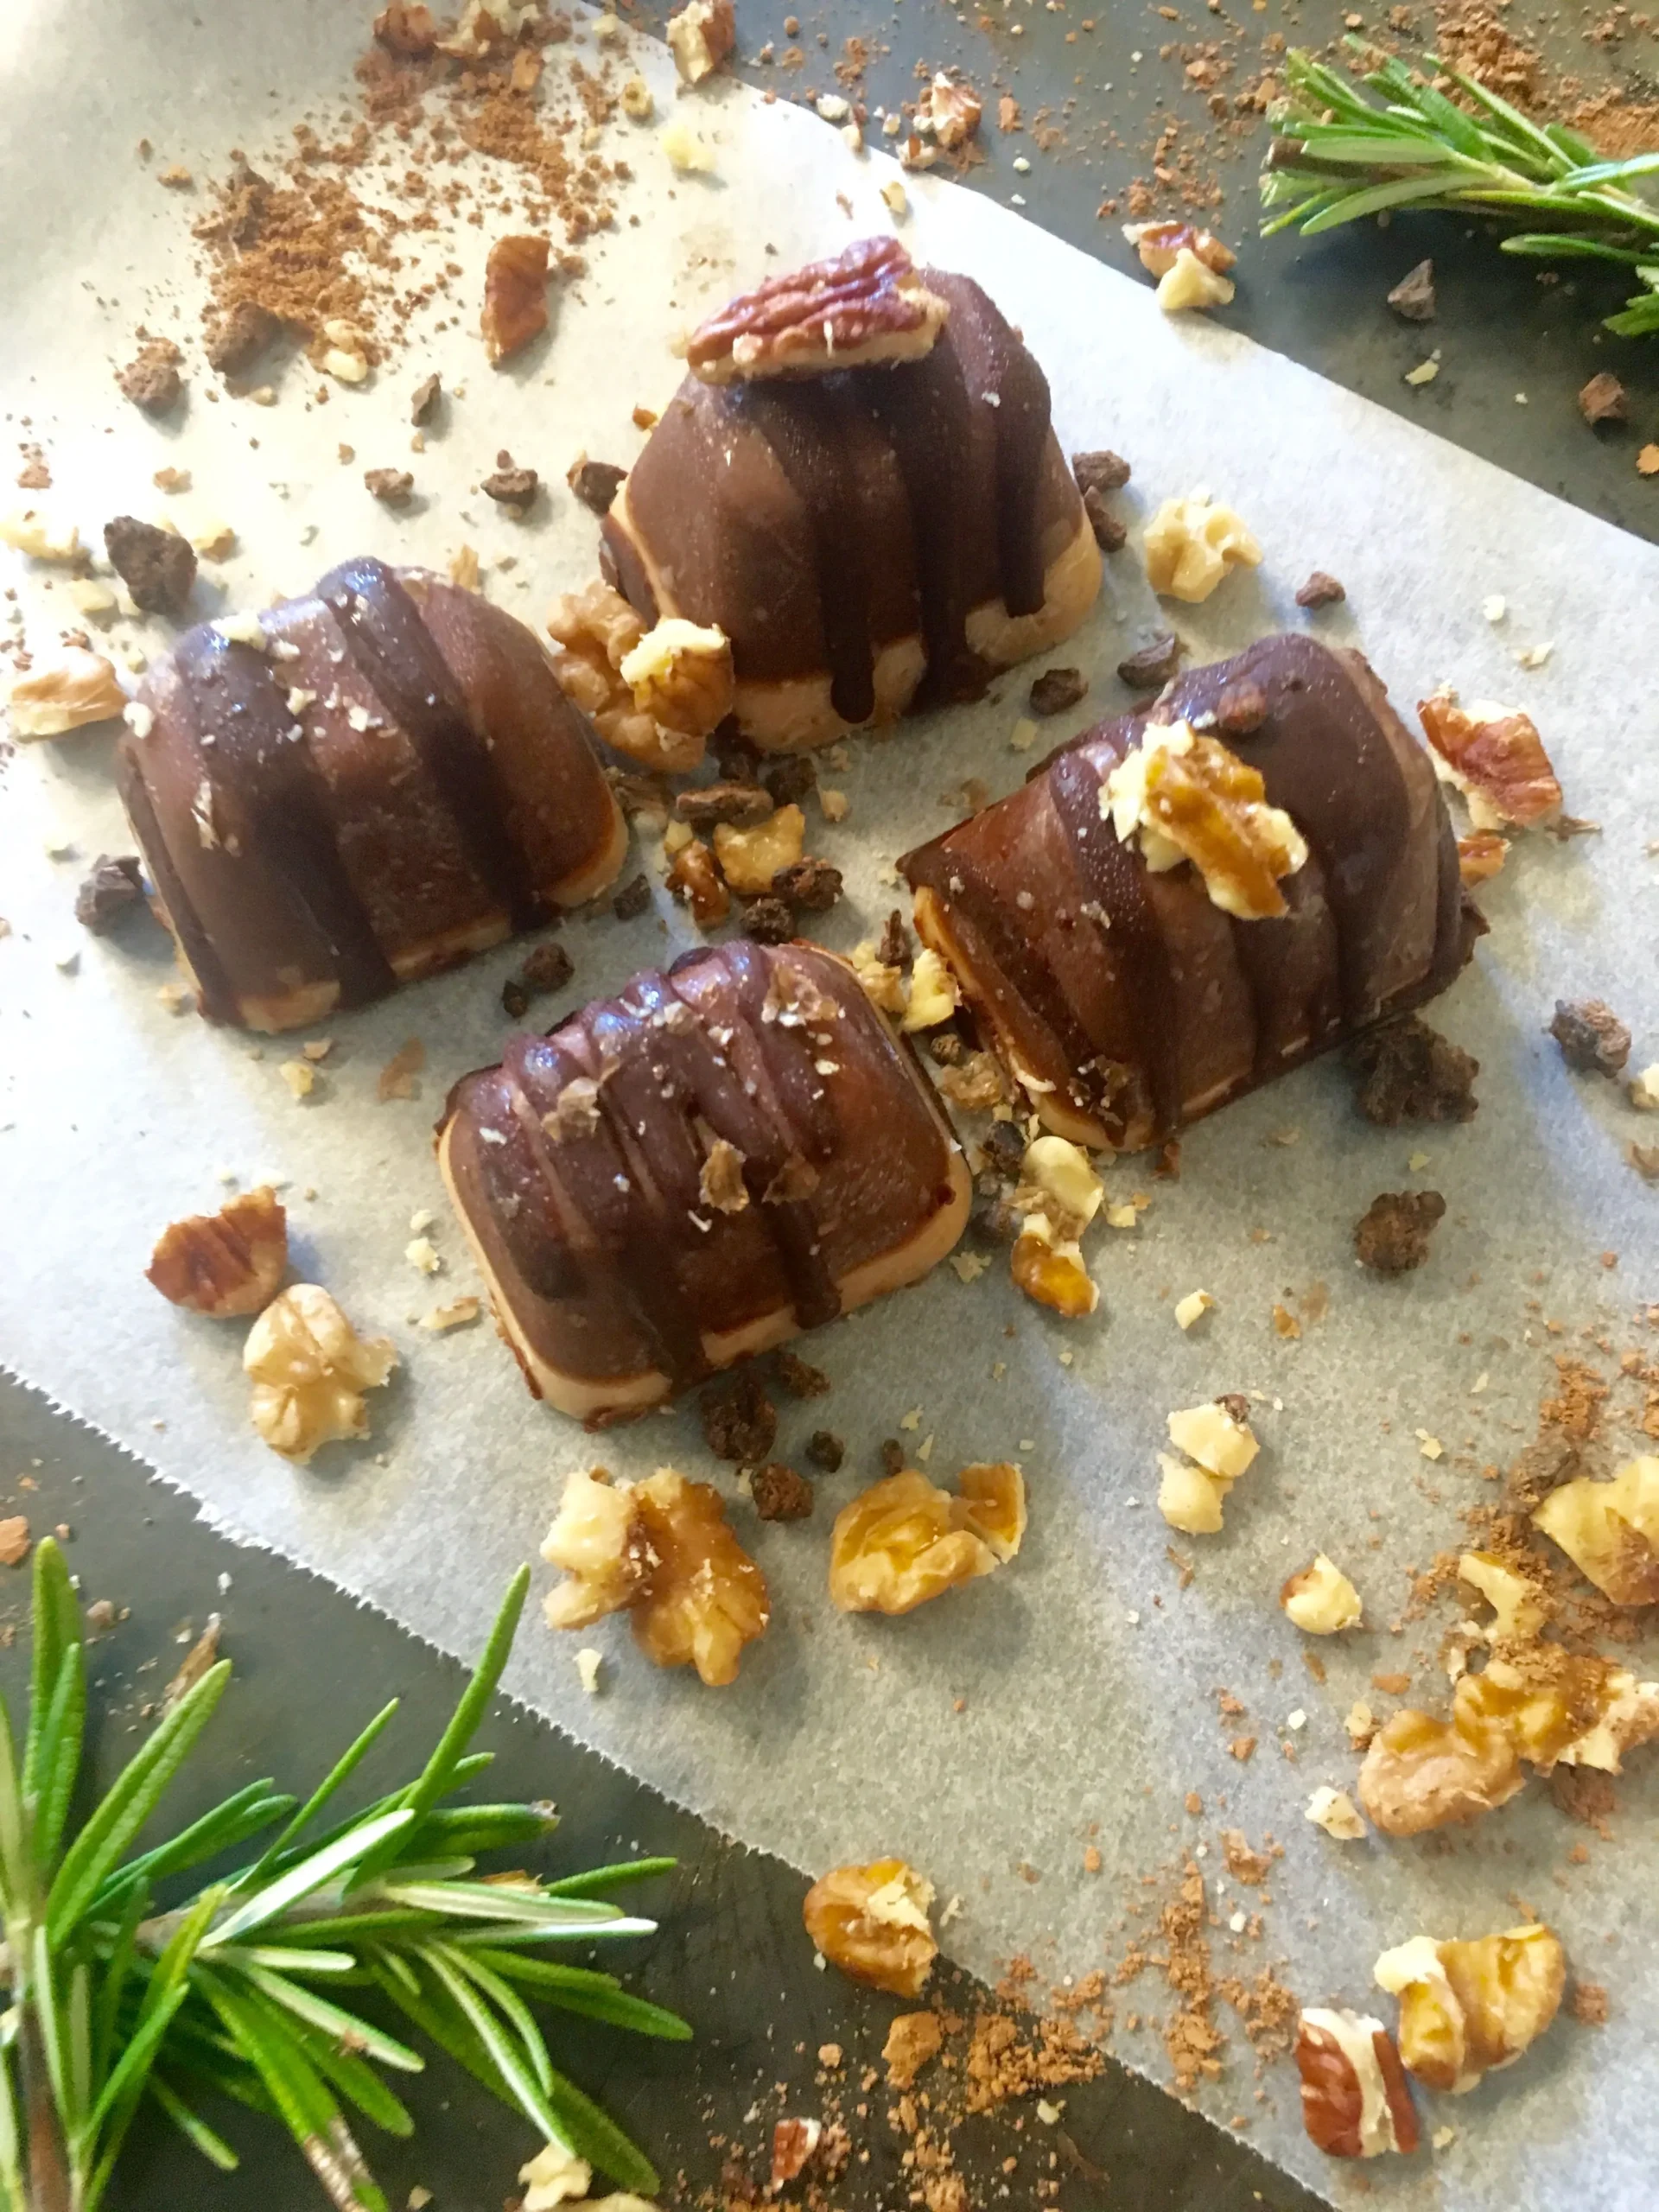
Are you ready to indulge in a guilt-free treat that satisfies your sweet tooth and keeps your energy levels high? Meet the Salted Caramel Fat Bombs – the perfect snack that combines rich flavors with healthy fats! In just 10 minutes, you can whip up these delicious little bites that are not only easy to make but also incredibly satisfying. Whether you're on a low-carb diet, looking for a quick energy boost, or simply craving something sweet, these fat bombs are your answer. Dive into the recipe below and discover how to create these decadent delights that will leave you wanting more!
Prep Time: 10 mins
Cook Time: -
Total Time: 10 mins
Cuisine: Snack
Serves: 12 bombs
Ingredients
- 1/2 cup coconut oil
- 1/4 cup almond butter
- 1/4 cup unsweetened cocoa powder
- 1/4 cup maple syrup
- 1/2 tsp sea salt
Instructions
- Begin by gathering all your ingredients: 1/2 cup of coconut oil, 1/4 cup of almond butter, 1/4 cup of unsweetened cocoa powder, 1/4 cup of maple syrup, and 1/2 teaspoon of sea salt.
- In a medium-sized mixing bowl, combine the coconut oil and almond butter. If your coconut oil is solid, you may want to gently warm it in the microwave for about 15-20 seconds until it becomes liquid.
- Once the coconut oil and almond butter are well combined, add the unsweetened cocoa powder to the mixture. Stir thoroughly until the cocoa is fully incorporated and the mixture is smooth.
- Next, pour in the maple syrup. This will add sweetness and help bind the ingredients together. Mix until the syrup is evenly distributed throughout the mixture.
- Sprinkle in the sea salt and stir again, ensuring that the salt is well mixed into the batter for that perfect salted caramel flavor.
- Prepare a mini muffin tin or silicone mold by lightly greasing it with a small amount of coconut oil to prevent sticking.
- Using a spoon or small cookie scoop, portion out the mixture into the prepared muffin tin or mold, filling each cavity to the top. You should be able to make about 12 fat bombs.
- Once all the mixture is in the mold, place it in the freezer for about 30 minutes or until the fat bombs are firm.
- After they have set, carefully remove the fat bombs from the mold. If you used a silicone mold, gently push from the bottom to release them.
- Store the salted caramel fat bombs in an airtight container in the refrigerator or freezer. Enjoy them as a quick snack or a sweet treat whenever you need a boost!
Tips
- Choose Quality Ingredients: The flavor of your Salted Caramel Fat Bombs will greatly depend on the quality of your ingredients. Opt for organic coconut oil and almond butter for the best taste and health benefits.
- Adjust Sweetness: If you prefer a sweeter treat, feel free to add more maple syrup to the mixture. Just be mindful of the overall texture, as too much liquid can affect the firmness of the bombs.
- Experiment with Flavors: Don't hesitate to customize your fat bombs! Add a splash of vanilla extract, a sprinkle of cinnamon, or even a few drops of liquid stevia for an extra flavor kick.
- Use Silicone Molds: For easy removal, silicone molds are the best choice. They allow you to pop out the fat bombs effortlessly, ensuring they maintain their shape.
- Storage Tips: These fat bombs can be stored in the refrigerator for up to two weeks or in the freezer for several months. Just make sure to keep them in an airtight container to preserve their freshness.
- Perfect Portioning: Use a small cookie scoop to portion out the mixture evenly, ensuring each fat bomb is the same size for consistent flavor and texture.
- Serving Suggestions: Enjoy these fat bombs as a quick snack, post-workout fuel, or a sweet treat after meals. They pair wonderfully with coffee or tea for an extra indulgent experience!
Nutrition Facts
Calories: 145kcal
Carbohydrates: 4g
Protein: 1g
Fat: 14g
Saturated Fat: 10g
Cholesterol: 0mg