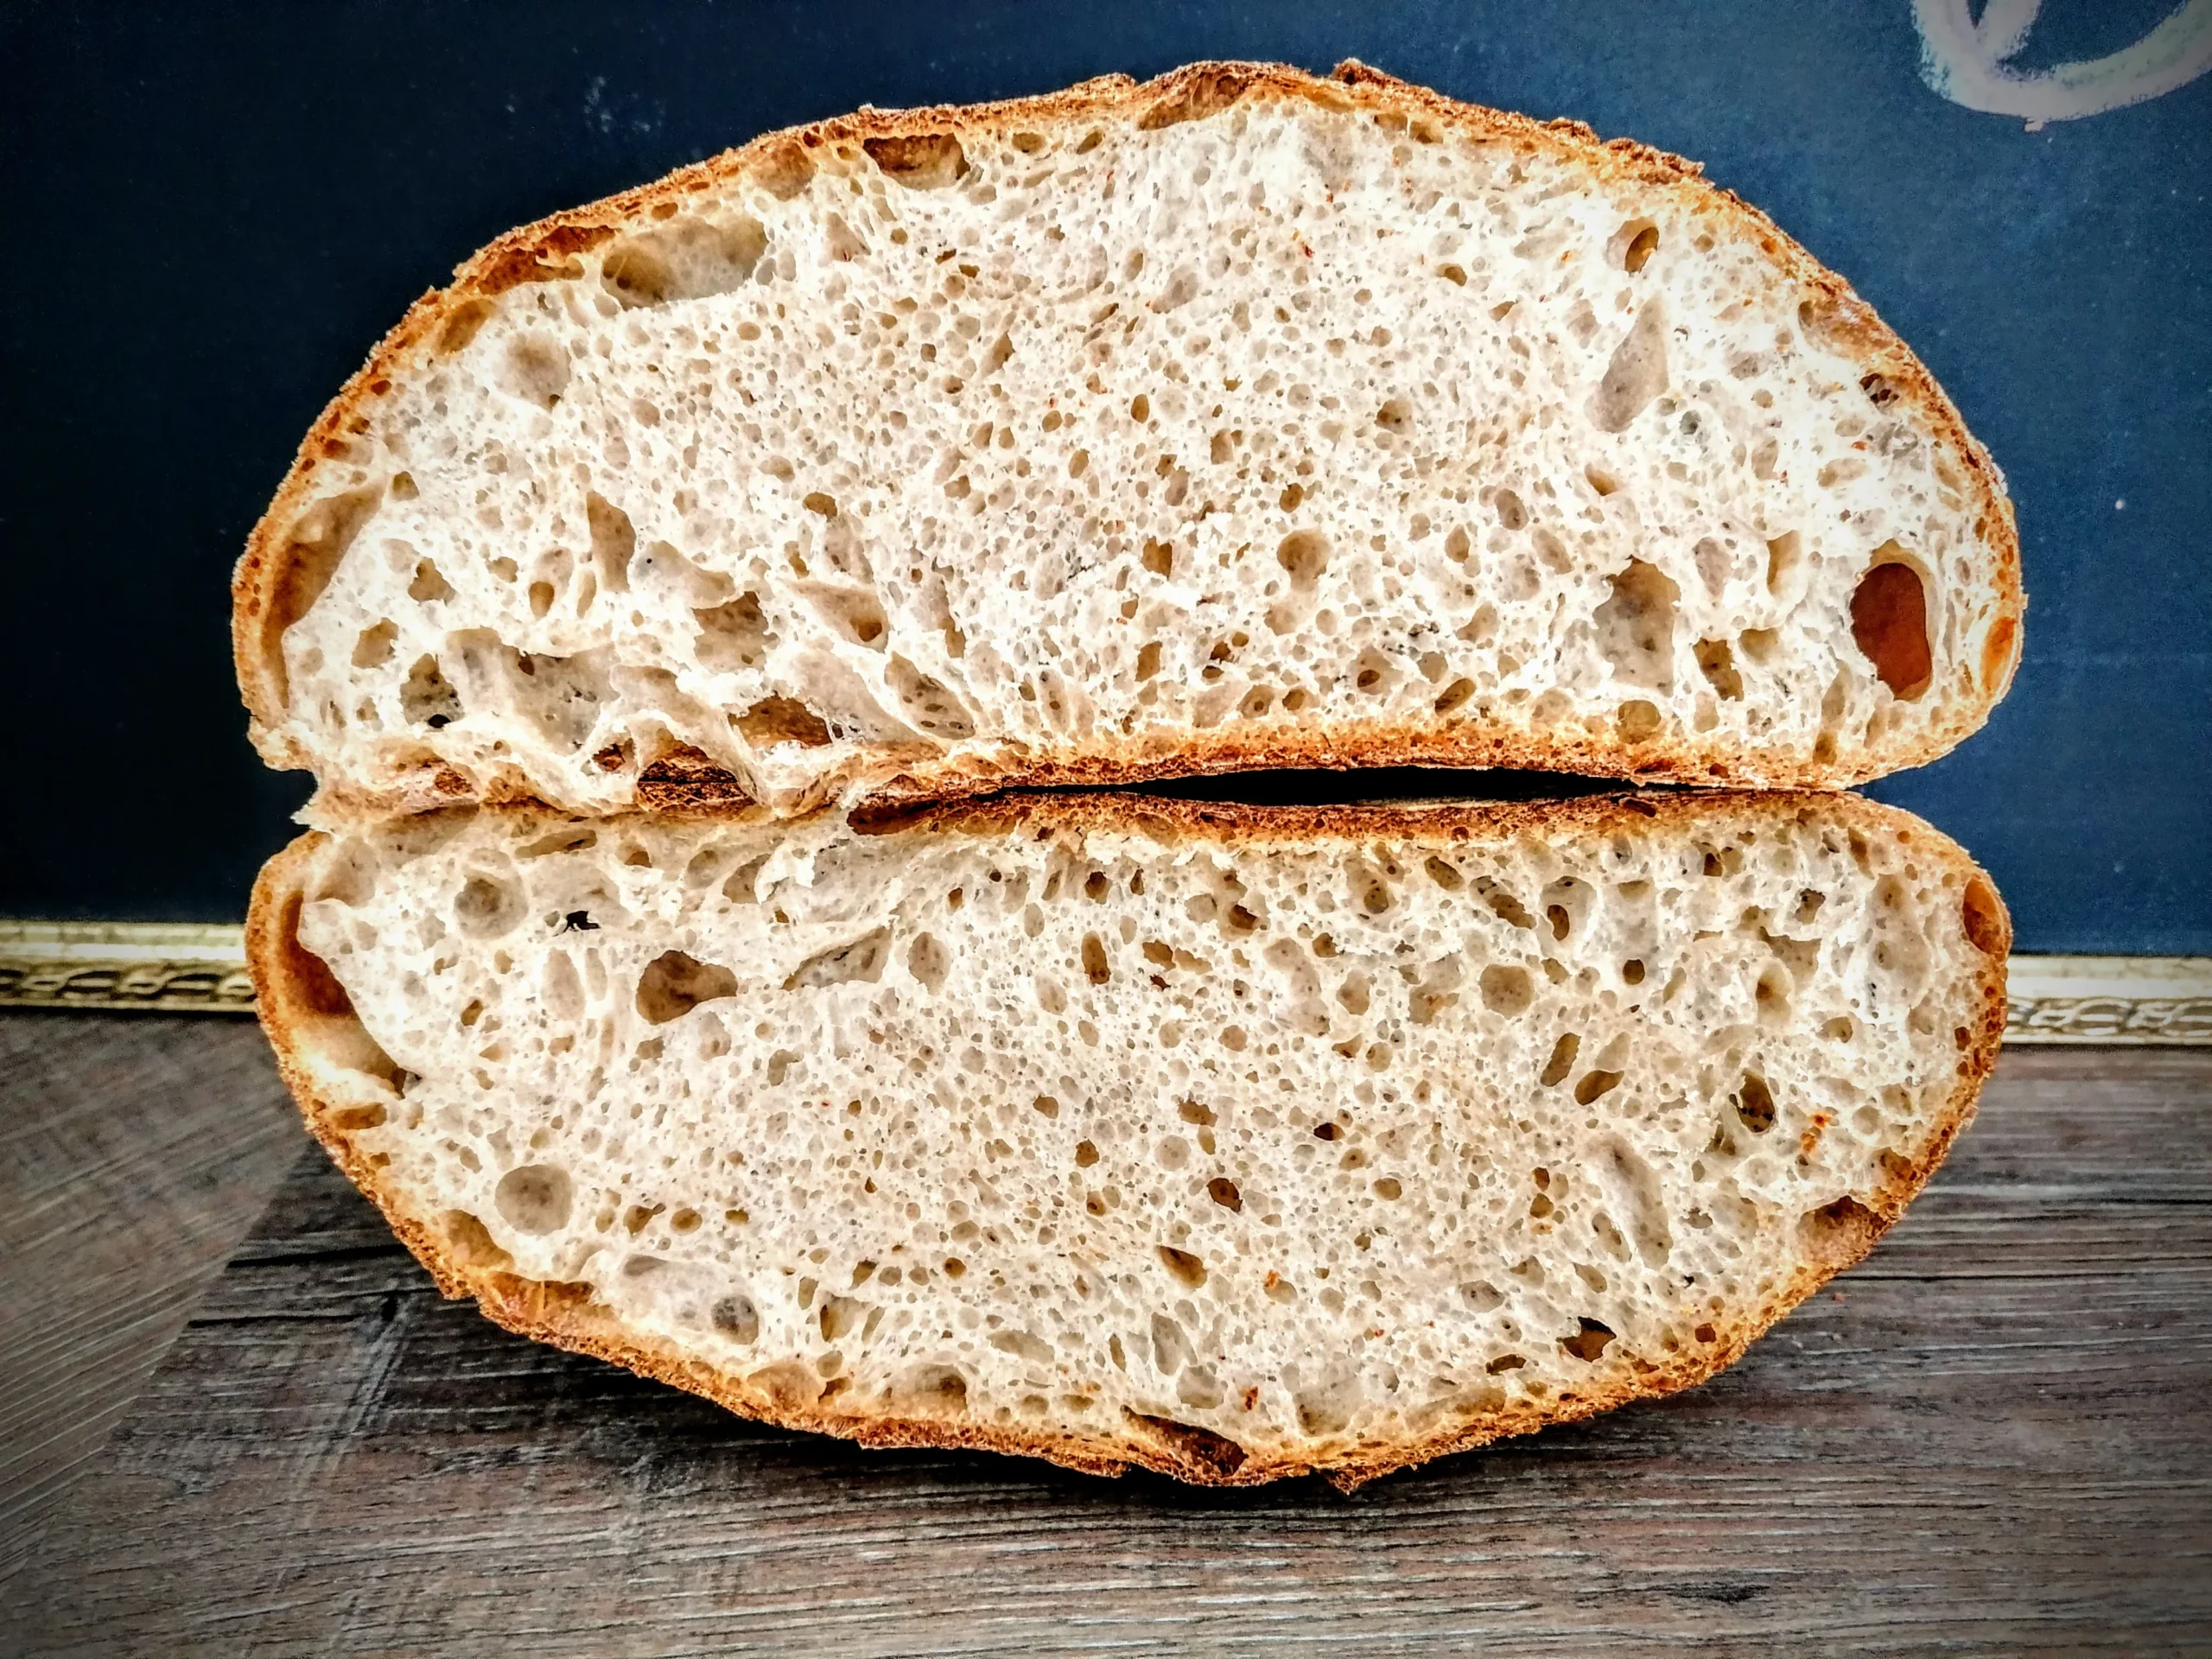
Imagine pulling a perfectly crusty, golden-brown loaf of sourdough bread from your oven, filling your home with an irresistible aroma that transports you straight to the bustling bakeries of San Francisco. This isn't just any bread - this is a time-honored tradition of artisan baking that combines simple ingredients with patience, technique, and a touch of culinary magic. Whether you're a novice baker or a seasoned bread enthusiast, this San Francisco Sourdough Bread recipe will transform your kitchen into a world-class bakery, delivering a loaf so authentic and delicious, you'll swear you're standing on a foggy street in the Bay Area.
Prep Time: 12 hrs
Cook Time: 30 mins
Total Time: 12 hrs 30 mins
Cuisine: American
Serves: 1 loaf
Ingredients
- 3 cups all-purpose flour
- 1 1/2 cups water
- 1/2 cup sourdough starter
- 1 teaspoon salt
Instructions
- In a large mixing bowl, combine the sourdough starter and water, stirring until well integrated and slightly frothy.
- Gradually add all-purpose flour and salt, mixing with a wooden spoon or spatula until a shaggy, rough dough forms.
- Cover the bowl with a clean kitchen towel and let the dough rest at room temperature (around 70°F) for 30 minutes, allowing the flour to hydrate. This process is called autolyse.
- Perform a series of stretch and fold techniques: Wet your hand, grab one side of the dough, stretch it upward, and fold it over the center. Rotate the bowl and repeat this process 4-6 times every 30 minutes during the first 2-3 hours of fermentation.
- Allow the dough to bulk ferment at room temperature for 8-10 hours, or until it has noticeably increased in volume and shows visible bubbles.
- Gently shape the dough into a round loaf on a lightly floured surface, being careful not to deflate the delicate air bubbles.
- Place the shaped dough into a proofing basket or well-floured bowl, seam-side up, and cover with a clean towel.
- Let the dough perform its final rise (proofing) for 1-2 hours at room temperature until it appears puffy and slightly jiggly.
- Preheat your oven to 450°F with a Dutch oven inside, allowing it to heat for 45 minutes.
- Carefully transfer the proofed dough into the hot Dutch oven, score the top with a sharp knife to allow steam escape, and cover.
- Bake covered for 25 minutes, then remove the lid and bake an additional 5-10 minutes until the crust is deep golden brown and crispy.
- Remove from oven and let the bread cool completely on a wire rack for at least 1 hour before slicing to allow internal structure to set.
Tips
- Temperature is crucial: Maintain a consistent room temperature around 70°F for optimal fermentation.
- Patience is your secret ingredient: Don't rush the fermentation and proofing processes - they develop flavor and texture.
- Use a digital kitchen scale for precise measurements to ensure consistent results.
- Keep your sourdough starter healthy and active before beginning the recipe.
- Invest in a Dutch oven for creating the perfect steamy environment that produces a crispy crust.
- Allow the bread to cool completely before slicing to prevent a gummy texture.
- Experiment with different flour types to discover your perfect flavor profile.
- Practice your stretch and fold technique - it's key to developing gluten and creating an airy crumb.
Nutrition Facts
Calories: 123kcal
Carbohydrates: 25g
Protein: 4g
Fat: g
Saturated Fat: g
Cholesterol: 0mg